The Battery Option in Windows 10 can be accessed from The Settings as well as from the Control Panel. For an easy operation, we have shown here how to create a shortcut of Battery Saver so that you can access all Battery related settings from a single Shortcut button.
Steps to Create a Battery Saver Shortcut in Windows 10
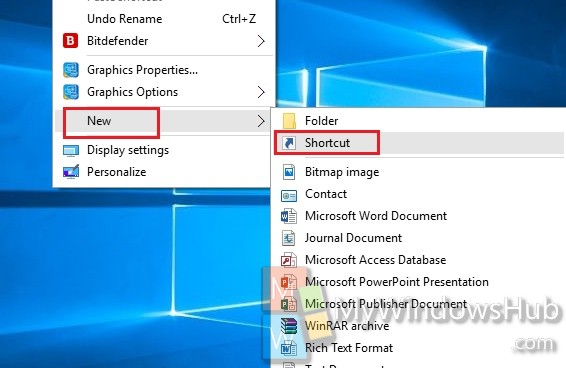
1. Right click on an empty space in the Desktop and go to New and select Shortcut.
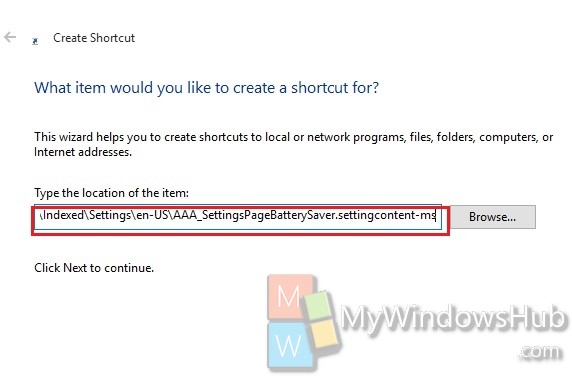
2. In the target area, type the following
%windir%\explorer.exe %localappdata%\Packages\windows.immersivecontrolpanel_cw5n1h2txyewy\LocalState\Indexed\Settings\en-US\AAA_SettingsPageBatterySaver.settingcontent-ms
Click Next.
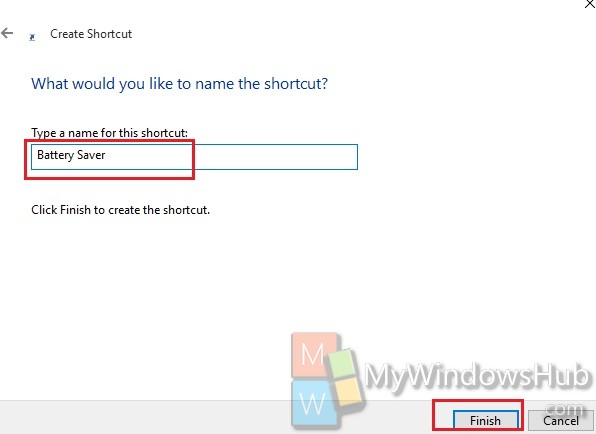
3. Now type the name Battery Saver and click Finish. Your shortcut will be created.
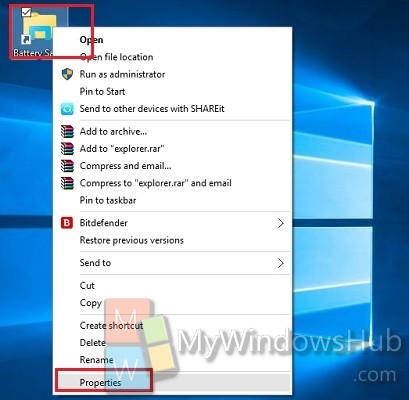
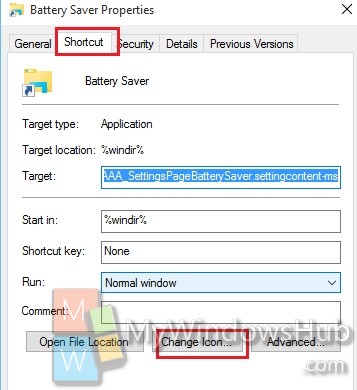
4. it’s now time to change the look of the shortcut to a more realistic one. Select the shortcut, right click and go to Properties.
5. Now under Shortcut tab, tap on Change Icon.
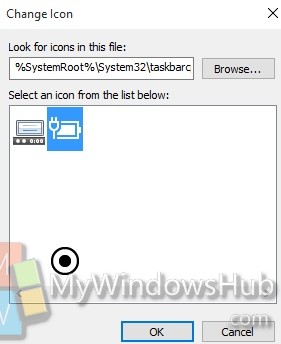
6. In the search tab of locating icons, type %SystemRoot%\System32\taskbarcpl.dll and press Enter. Select the Battery saver icon. Click Ok, then Apply and again OK.
8. The shortcut is ready!