This article will help you to Configure Parental Controls in Windows 8.
Parental Controls is an important facility in today’s world where both parents are working and the child is using the computer even in their absence. Not only parental Controls help in resolving security issues, but also lets you decide which websites or programs you’ll allow your child to watch. Parental Controls is also used in computers of Office and Educational Institutes to impose a set of restrictions on the users.
There are 3 sections under Parental Control-
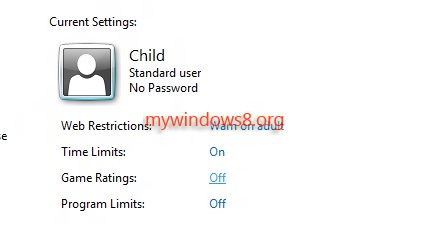
Web Restrictions– This option is set Off by default. You can change it to set which websites you allow the user to access. For example if you want to prohibit you child from watching any adult or social networking site, you can set the options as per your requirements.
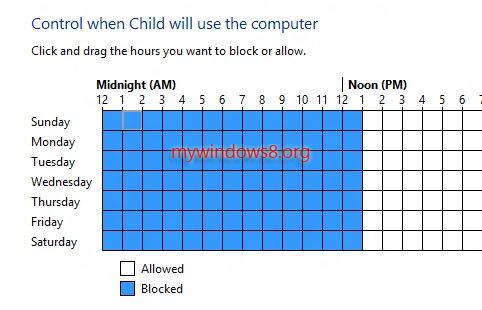
Time Limits– This is a timeline of seven days of a week plotted against 24 hours of a day. This is nothing but a 7X24 matrix, which allows you select each element to clock the user from using the computer during the specific time at the specific day. For example, if you’re working and you don’t want your child to use the computer in the afternoon from 2pm to 5 pm, select those elements in the weekdays to disable the computer during the mentioned time.
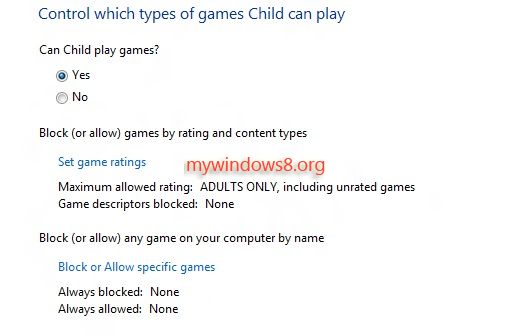
Game ratings– Allows you to set restrictions on amount of time spent for playing games or gaming sites you allow or prohibit.
Program limits – This is same as the previous one, just summarized as the programs you don’t want your child or user to watch.
Follow the tutorial to know in details about the configuration of parental controls. You must be logged on as Administrator to accomplish this task.
Steps to Configure Parental Controls in Windows 8
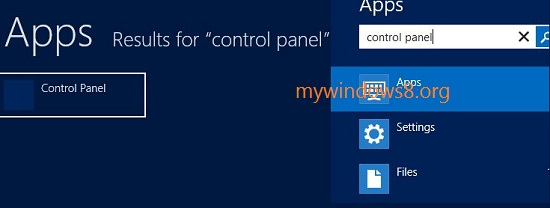
1. Press Windows key + C to go to Windows Charms Bar and type Control Panel and press Enter to open Control Panel.
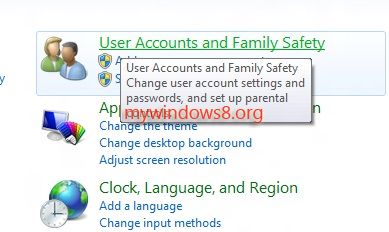
2. Click on User Accounts and Family Safety.
3. Click on Parental Controls. Click yes if prompted by UAC and continue to next step.
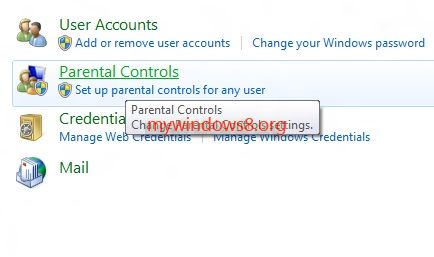
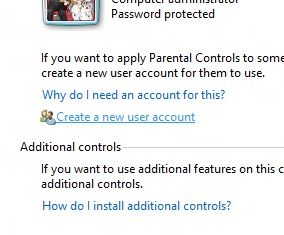
4. If you want to creat a new user Account, click on Create a new user Account.
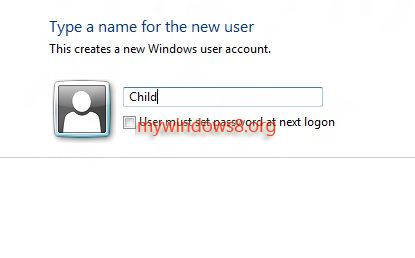
5. Now type a name for the new User. For example here I’ve named it as Child. Now click on Create Account.
6. Then you come across an option called Set how Child will use the computer. If you select Parental Controls off, it means there is no restriction imposed on the new user. But if you want to configure the accessibility of Child user, check On, enforce current settings.
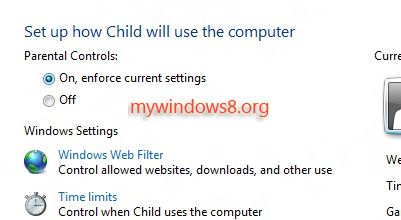
7. Now there are various options, first check the Web Restrictions option. By default it is marked Allow All. Click on Allow All to configure the settings.
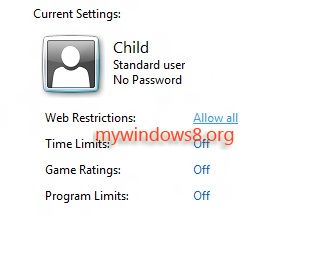
8. The new tab will ask which part can the new user visit. If you do not want to put restriction, exit. Else check Block some Websites or Contents option.
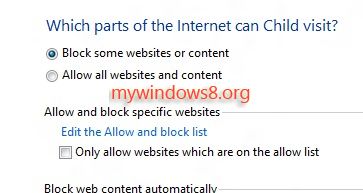
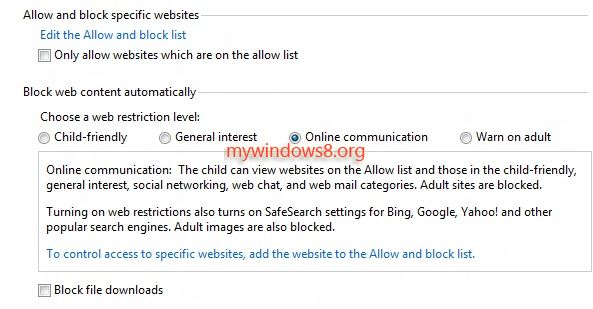
9. You’ll get a number of options, select the one you need. Select those that you require and clik OK to confirm.
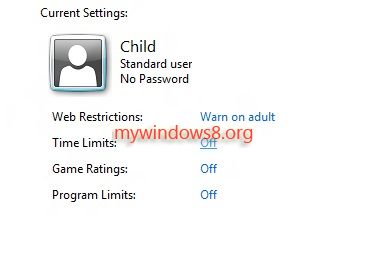
10. Now, comes Time Limits. By default it is turned Off. Click on it to change the settings.
11. A grid of Timeline will appear. White boxes specify the tile you’re allowing the user to access the computer. Click on the boxes which correspond to the time you want to restrict the user from using the PC. Clicking again will deselect it. The number of days and time are plotted in a graphical manner. Click Ok after you’re done.
12. Next comes Game Ratings. Click on “Off” to change the settings.
13. Out of the several options select those, that you need. Click “OK” to confirm.
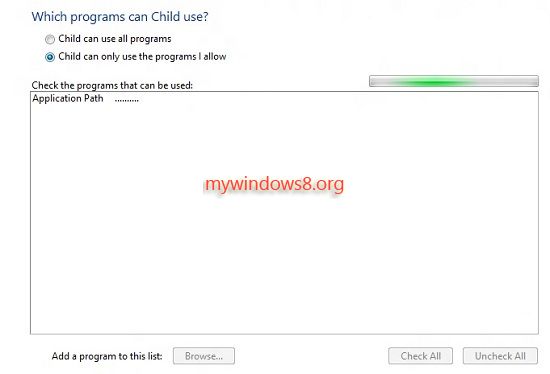
14. Program Limits will allow you to choose the programs you want the user to access.
15. After you have selected your option, it will take some time to let you choose the program you want. Now after you are done, click “OK” to save changes.
