

The following tutorial will help you to set Network as metered or non-metered connection in Windows 10. Many users use internet connection which has specific limit on the data usage. Hence it is very important to keep track of the data usage. When the data limit is crossed, either further usage incurs extra cost or the speed reduces. If you turn on the metered connection feature, then metered connection will help you reduce the amount of data sent and received.
Steps to Set Wireless Network as Metered or Non-Metered Connection in Windows 10
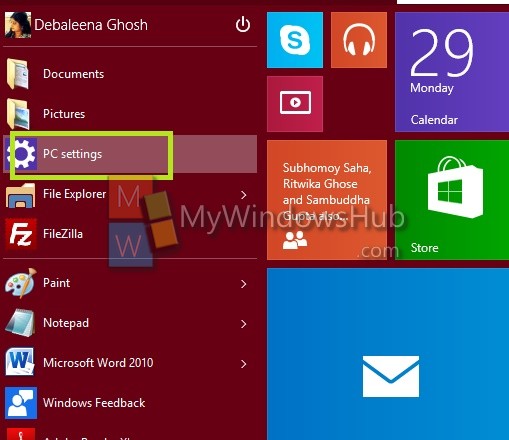
1. open Start Menu and go to Change PC Settings.
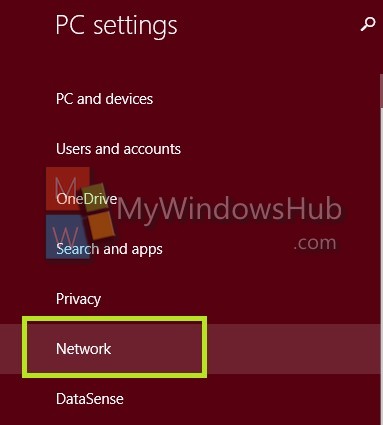
2. Tap on Network.
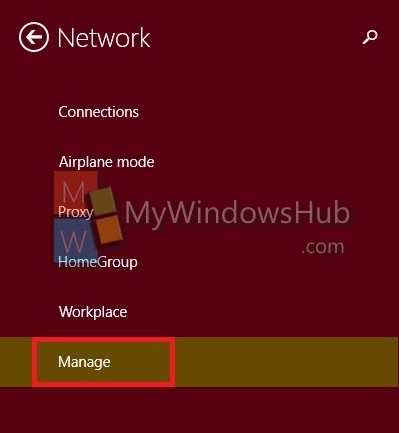
3. Go to Manage.
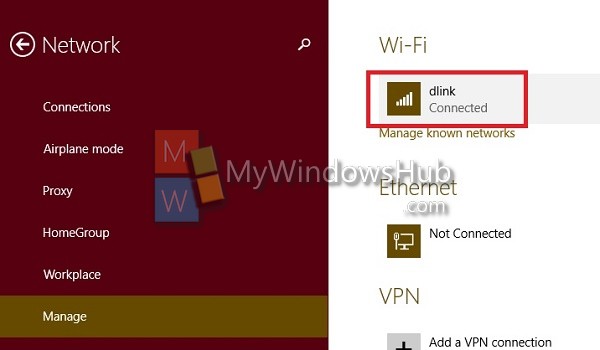
4. Tap on your network connection be it Wi-Fi or Mobile data.
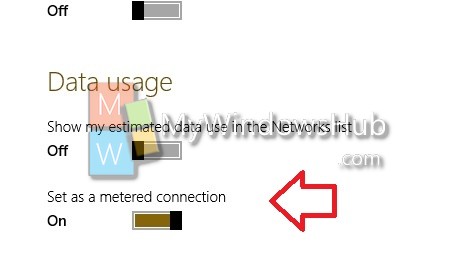
5. Under Data Usage, you will find the Metered Connection option. If you want to turn on metered connection, tap the slider to turn it on. If you want to turn it off, move the slider to the left.
About Nick
Nick is a Software Engineer. He has interest in gadgets and technical stuffs. If you are facing any problem with your Windows, feel free to ask him.