

Facing hard disk failure or data corruption are a few of the common issues reported by many. Just like any other device, the internal HDD(Hard Disk Drive) or SSD(solid-state drive) requires periodic check-up and clean up. Over time, due to consistent read and write, the disk drive starts to fragment and gets some physical issues such as bad sectors. Being a Windows user, it is always great to have an in-built tool that scans and repairs the most common errors related to disk drives. The Windows error-checking tool comes with a clean GUI(Graphical user interface) backed by the chkdsk tool. This article shall be walking you through the Windows CHKDSK(Check Disk) tool to automatically resolve a few commonly reported disk errors.
The disk error checking functionality is available in all the major Windows versions, starting from Windows XP to Windows 10. Please note that the overall process might take around 5 minutes to 2 hours based on your disk space, speed, and problems. With time, Windows had added the automatic scanning functionality in Windows 8 and Windows 10; in case of any potential error, it would notify you and take the necessary steps.
How to Scan a Hard Drive using the CHKDSK tool?
Once in a while, it is recommended that you should perform a round of scanning using the CHKDSK tool along with the defragmentation step to keep your disk drive healthy for a long time. In this step, we shall be elaborating you the steps to run a round of manual check on your hard drive,
- On your Windows 10/8 machine, navigate to “This PC” using the file explorer. In the case of an earlier version of Windows, you should be navigating to “My Computer” using the file explorer.
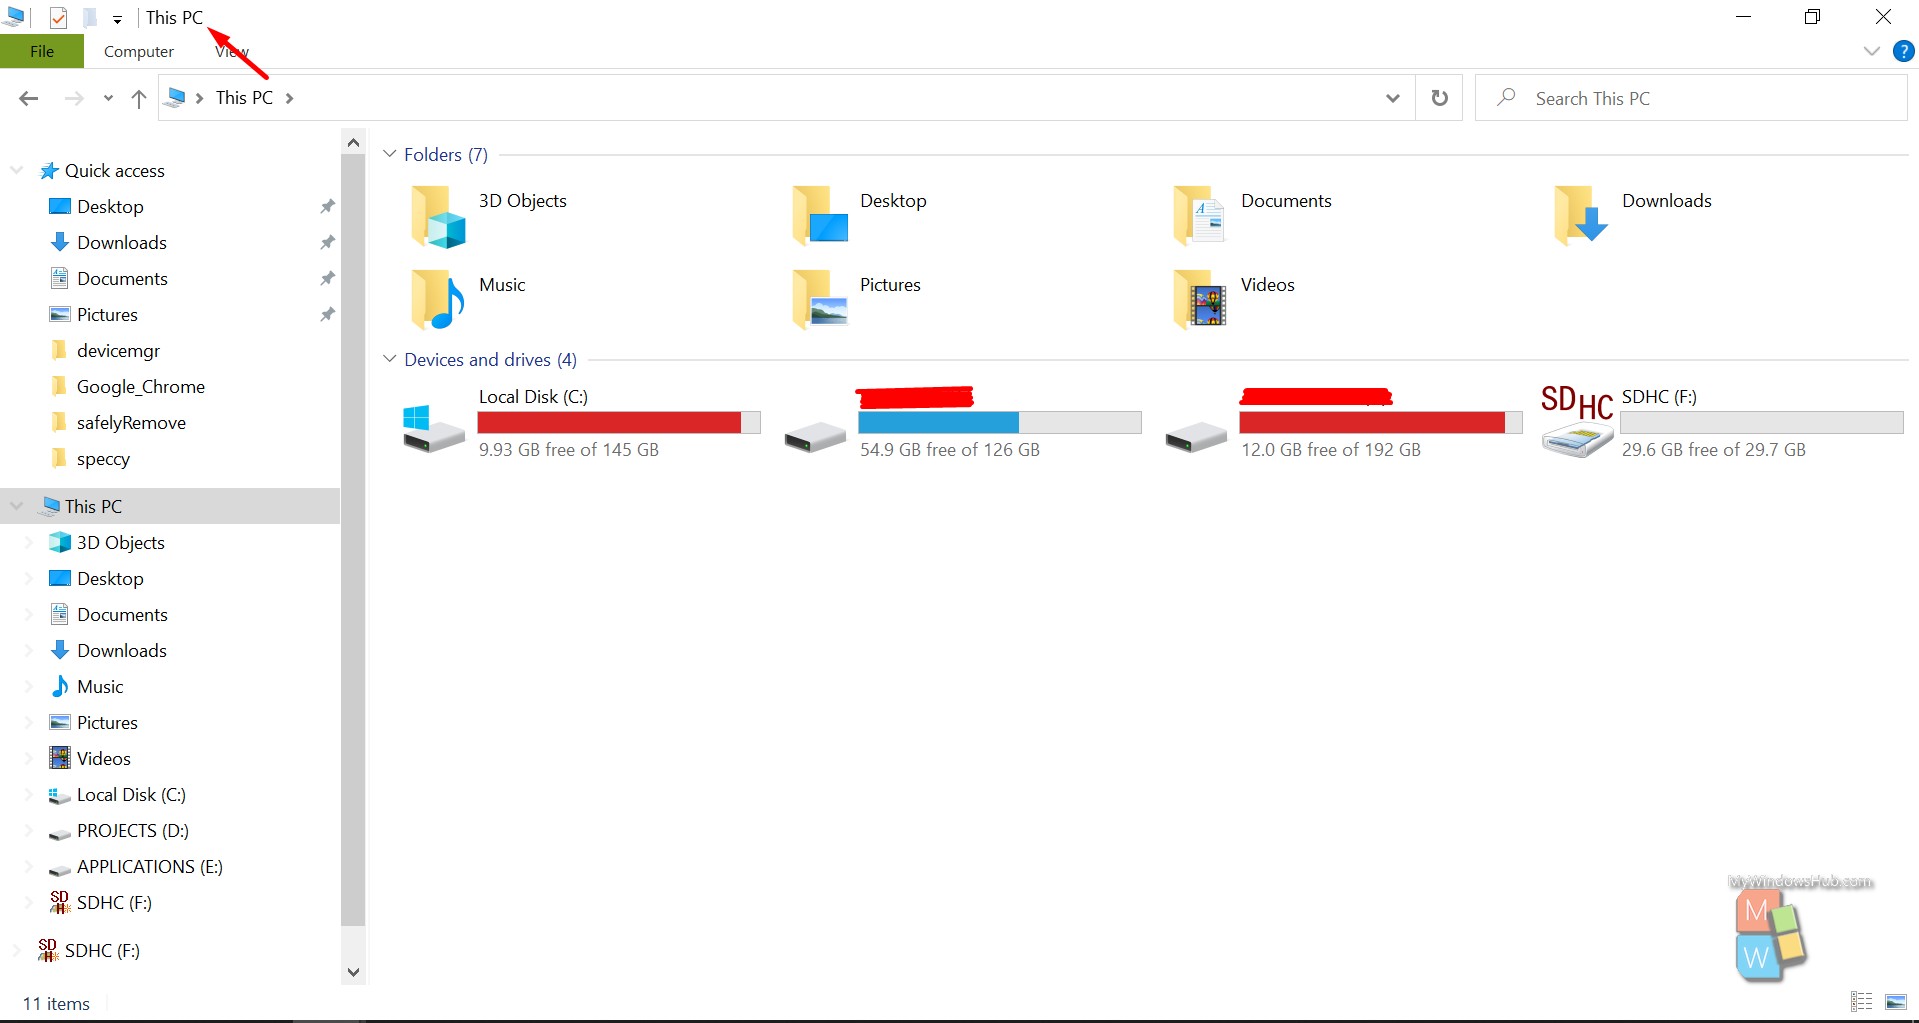
- The next step would involve selecting a drive that you would like to scan using the tool. In our case, we are choosing the Local Disk (C:) to check.
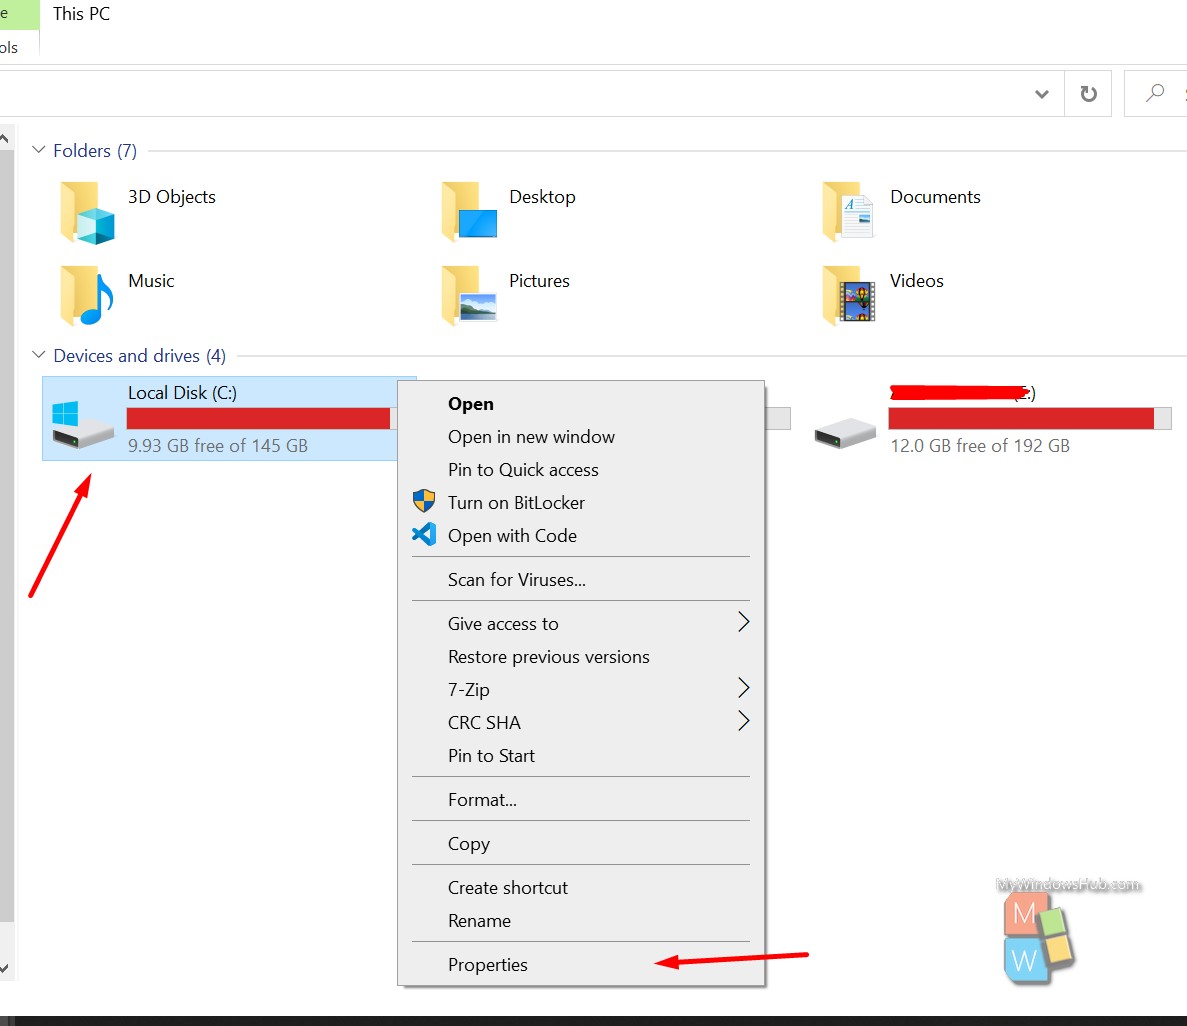
- Right-click on the disk and click on the “Properties” option.
- Then click on the “Tools” tab at the top of the Window.
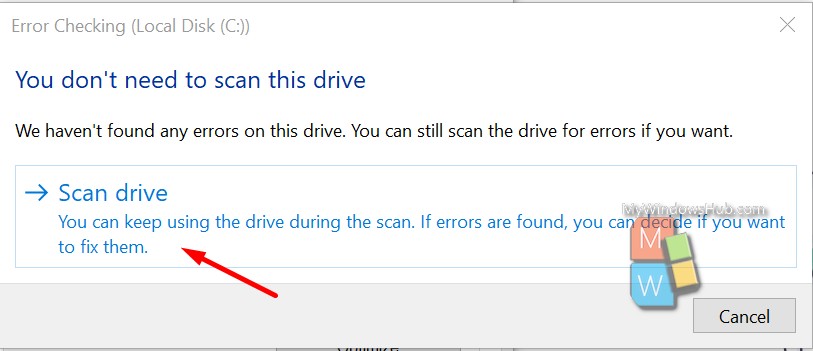
- Then click on the “Check” button present at the top to begin. Upon clicking the button, you shall be prompted with a message stating the disk’s current status, and then you can click on the “Scan Drive” button.

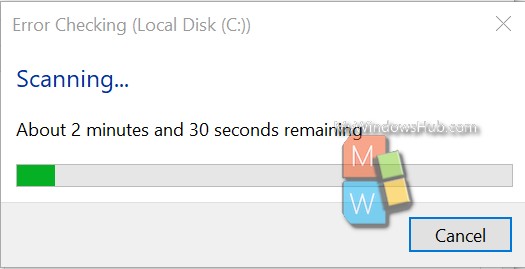
- This process would take some time; it includes finding the bad sectors, errors for the selected drive, and fixing those. In between, you might be prompted that “Windows can’t check the disk drive while it’s in use,” then you need to select the “Select disk check” button and restart your computer.
- Once th process is over, you can follow the instructions mentioned by Windows, or you can close the tab in case of no errors.
Summary:
In this article, we have walked you through the steps to run a round of manual disk error scanning/fixing using the CHKDSK tool on a Windows 10 system. It has been recommended to run the CHKDSK scan once in a while to keep your disk drive healthy, and many times, it can automatically fix the errors.
About Harsit Mohapatra
Harsit Mohapatra is a full-time Software Engineer passionate and hungry for tech updates and knowledge. Besides being a crazy software developer, he is an avid traveller and loves capturing the things that give him a perception through his lenses