

The robust user friendly Mail App leaves a user with plenty of personalization options that one can ask for. From adding multiple accounts, to renaming the accounts, from adding folders to favorites to customizing the sync options, everything can be found under the Settings option which is there on the main screen of the app. The Mail App has a three panel user interface which is extremely user friendly. The revamped Reading menu contains plenty of customization options involving Auto reading of mail, marking items as read and many more. The following tutorial will help you to customize the Reading Menu Mail App in Windows 10.
Steps to Customize the Reading Menu of Mail app in Windows 10
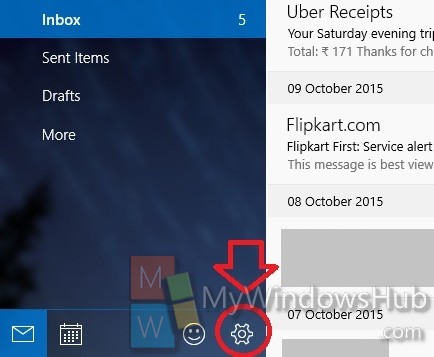
1. Open the Mail app and then tap on Settings.
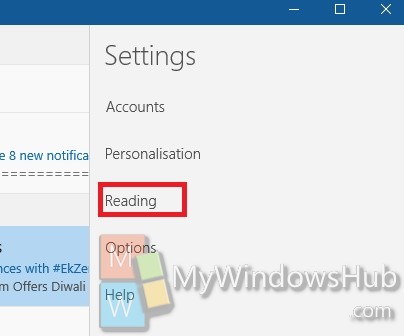
2. Now select on Reading.
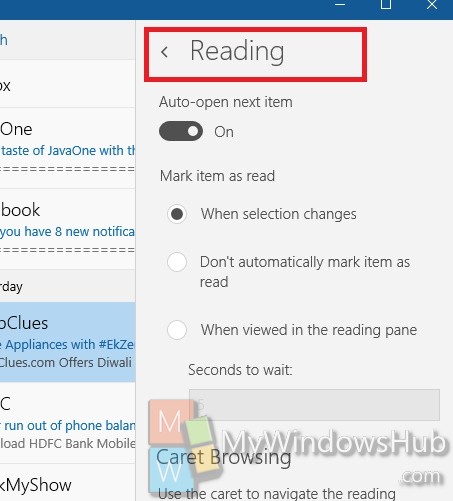
3. Now you can customize the Mail app settings according to your need. If you want to turn off Auto-open Next Item, then move the slider to the left to turn it off. You can turn it on back again, by tapping it again. Then Mail app also gives you provision of Marking messages as Read. You can mark mark item as read when 1. Selection changes, 2. Set time of wait when viwed in the Reading Pane and 3. Do not allow Auto Marking item as read.
That’s all for now. We will come up with more tutorials.
About Nick
Nick is a Software Engineer. He has interest in gadgets and technical stuffs. If you are facing any problem with your Windows, feel free to ask him.