

Paid Wi-Fi Services enable Windows 10 users to get online by buying Wi-Fi at the hotspot through Windows Store. Windows will temporarily connect to open hotspots that are not secure. You computer will then check if paid Wi-Fi is available. With Paid Wi-Fi users buy access to the Wi-Fi hotspots by increments of time rather than paying a monthly fee. Users need to pay via Windows Store in the same as as they purchase apps. The following tutorial will show you how to turn on or off Paid Wi-Fi Services for your account in Windows 10.
Steps to Turn On Paid Wi-Fi Services in Windows 10
1. Open Start Menu and go to Settings.
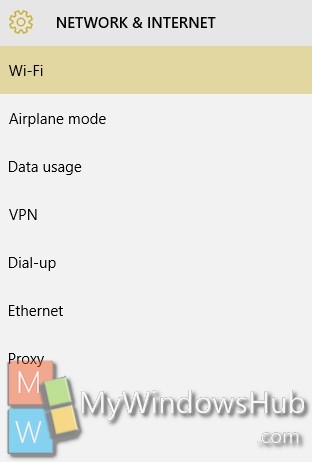
2. Tap on Network and Internet.
3. Click on Wi-Fi.
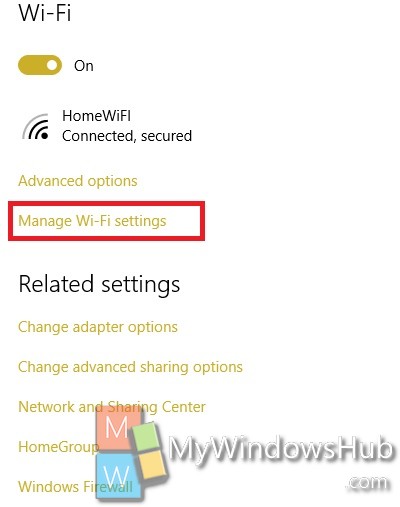
4. In the right panel go to Manage Wi-Fi Settings. in some version you may find Customize Settings option instead of Manage Wi-Fi.
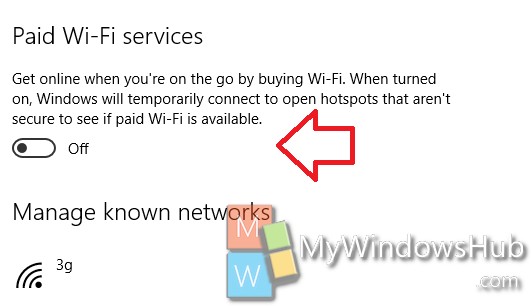
5. Now scroll down and find Paid Wi-Fi services. To turn it on move the slider from left to right.
That’s all! You can turn off Paid Wi-Fi in the same process.