

Driver Verifier is a utility tool which is used to verify the operablity or functionality of Microsoft Drivers or other third party drivers by putting the drivers to extreme stress condition. The stress conditions imposed on the drivers make the old, outdated drivers to crash. The ultimate result is a Blue Screen of Death or BSOD which generates a dump file containing the debugging reports of the concerned drivers. Driver Verifier is an extreme condition tool and to remind you again, it makes the drivers slow, sluggish and incompetent in the long run. So, in case you are willing to stress test your system drivers with the help of Driver Verifier, do not run it beyond 48 hours. If the BSOD occurs before 48 hours, then stop the verification process much before.
Steps to Enable and Disable Driver in Windows 10 in a nutshell
1. Run Driver Verifier
2. Configure Driver Verifier Settings and Enable
3. Disable Driver Verifier
Steps to Run Driver Verifier
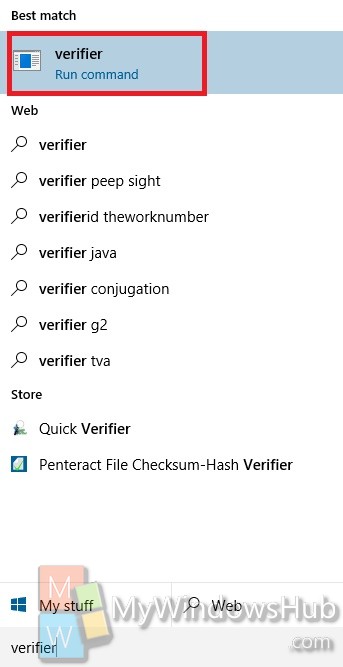
1. Open Cortana and type verifier. Select it to open.
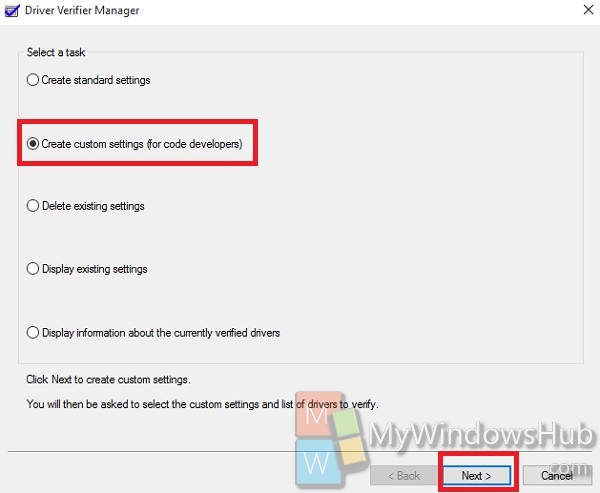
2. Click on Create custom settings (for code developers) and tap Next.
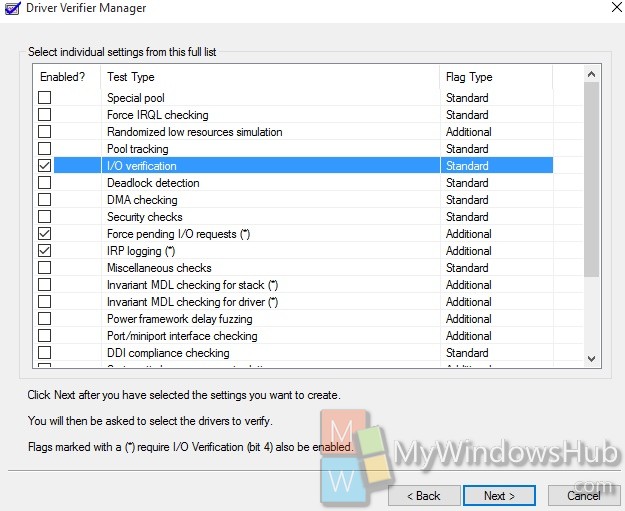
3. Now check the following options and tap Next:
1. I/O Verification
2. Force pending I/O requests
3. IRP logging
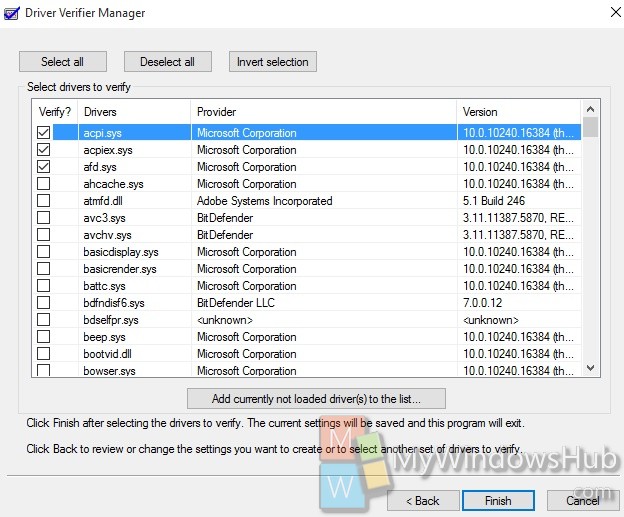
4. Now check the option Select driver names from a list and tap Next.
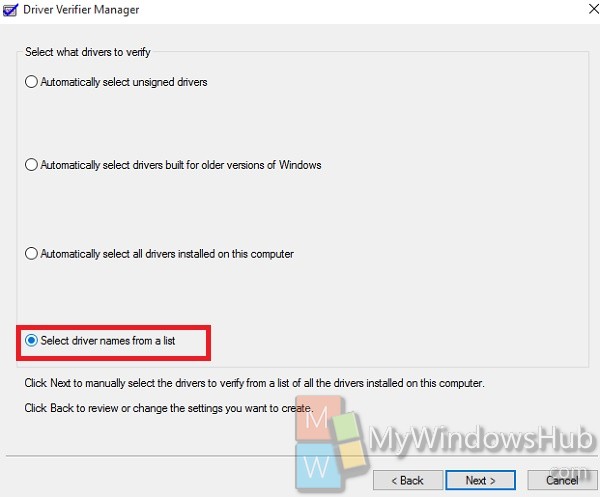
5. Now check the drivers you want to verify and then tap Finish.
You will be prompted to reboot your computer for the change to take effect. Click on OK to continue. The computer will reboot and driver verification will continue a the background. This means you will not get any visual indication to check how far the process has reached.
Steps to Disable Driver Verifier
This step can be accomplished by a number of methods, like closing the Settings using the tool itself, using Command Prompt, System Recovery, System Restore and many more. If you want to stop the process before the BSOD has occurred, then you can do it using the tool itself. Check out the steps below:
1. Open Cortana and type verifier. Select it to open.
2. Click on Delete existing settings and tap Finish.

Steps to Disable Driver Verifier by Command Prompt
When BSOD occurs you will get an option to do Windows Recovery.

1. Click on See advanced repair options..
2. Go to Troubleshoot.
3. Tap on Advanced Options.
4. Now choose any one of the following methods.
Method 1: Command Prompt
1. Click on Command Prompt.
2. Choose you Live account and login to your account.
3. Now as Command Prompt opens, type the command verifier /bootmode resetonbootfail and hit Enter.
4. Reboot your computer to see the changes.
Method 2: System Restore
1. Select System Restore.
2. Choose the Restore Point to restore to, then click Next.
3. Tap on Finish to Restore to an earlier times.
4. You might be asked to enter your login credentials, So as you are instructed.
Method 3: Startup Settings
1. Tap on Start-up Settings.
2. Select Restart.
3. Press 7 to Disable driver signature enforcement.
That’s all!