

Windows 10 Technical Preview Build 9926 has included a new feature. This feature will enable users to add Apps Group and move several apps under the common Apps group. This feature will be extremely helpful if you use certain apps quite frequently or do not use some apps at all. you can group them according and move the groups from one place to another. The best part of this setting is that you can drag the group here and there and all the apps linked with the group will move together. The following tutorial will help you to name Apps group in Windows 10 Start Menu.
Steps To Name Apps Group In Windows 10 Start Menu
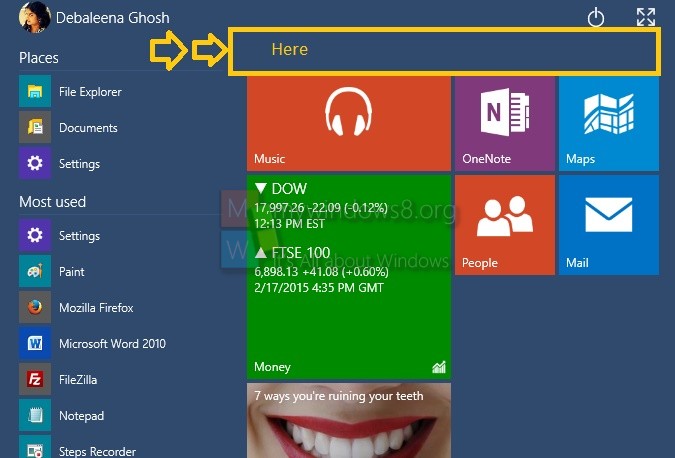
1. First, open the Start Menu and perform a single tap or a single click on the area marked in the screenshot.
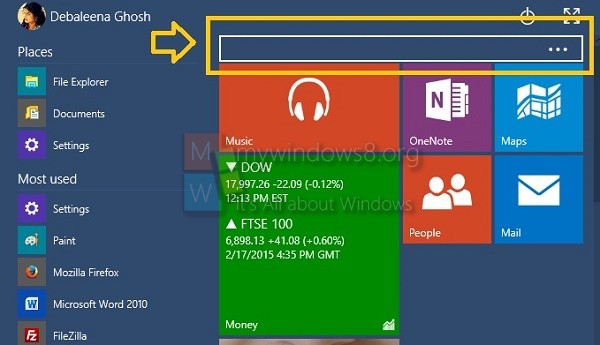
2. Now you will find that a rectangular bar has appeared at that area with three dots.
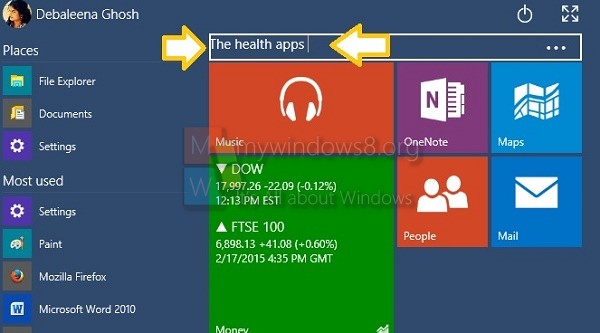
3. It will seem as if you can find a drop down box beside the apps, but it’s a text field to enter your App Groups name. Write any name of your choice.
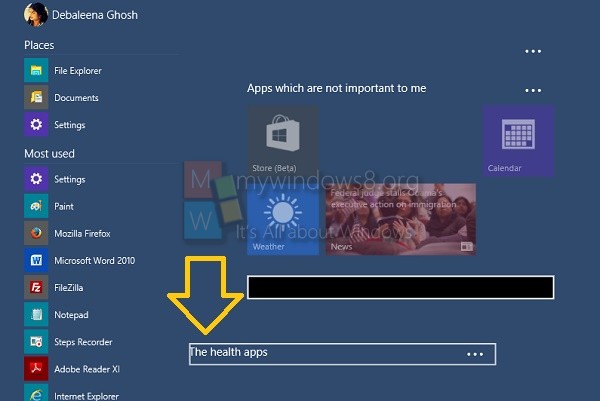
4. Now maximize the Start Menu. You will find the Apps Group of the specified name. Just and drop the apps of you choice.

5. If you drag the group from one placed to another, all the apps, under that group will move altogether.
6. You can now minimize the Start Menu.