

Windows backup and restore feature was originally included in Windows 7. The feature was deprecated in Windows 8 and finally removed in Windows 8.1. The feature was again added in Windows 10. The same Windows 7 Backup and Reset feature can be used to manage Windows Backup Disk Space in Windows 10. Users will have an option to include a system image in the backup. You can also choose to have these items be backed up on a regular schedule.
The following tutorial will let you manage backup disk space in Windows 10.
Steps to Manage Windows Backup Disk Space in Windows 10
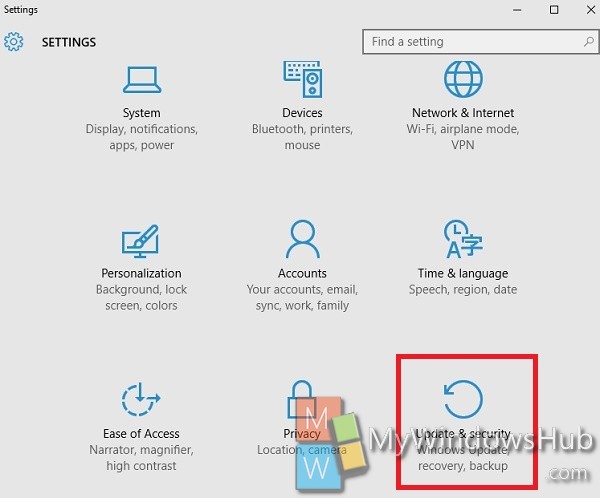
1. Open Start Menu, go to Settings.
2. Click on the Update & security icon.
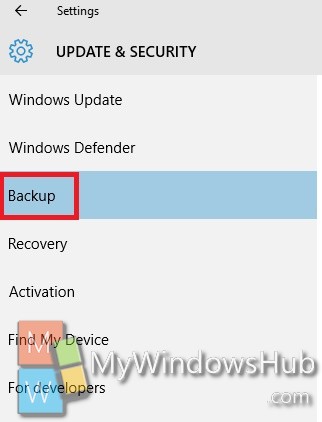
3. Click on Backup on the left panel.
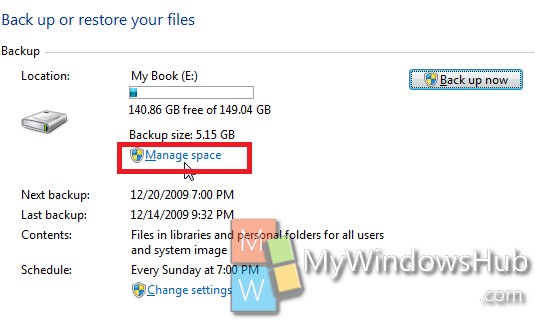
4.In the right panel, click on the Go to Backup and Restore (Windows 7). Click on Manage Space.
5. In the Manage Windows Backup disk space screen, tap on View Backups under the Data file backup section.
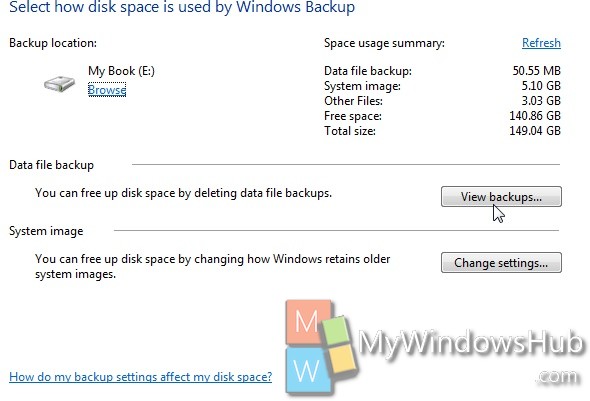
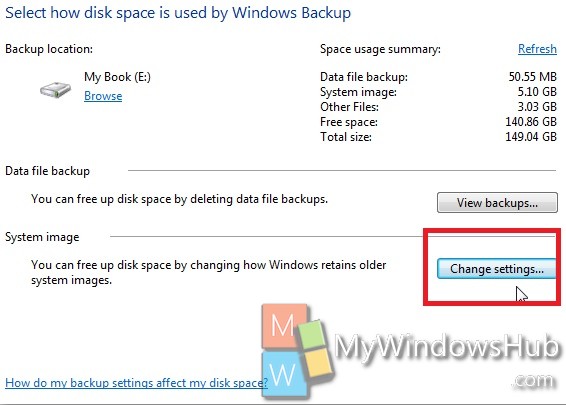
6. Now a list of backups for different time stamps will appear. You can delete comparatively older backups and keep the current backup. Deleting the obsolete old backups will free up a lot of space. This will made provision to store several backups. Next step involves storing only the most recent system image stored. Go back to the Manage Windows Backup disk space window we were at previously and this time click on Change settings which is under the System image section.
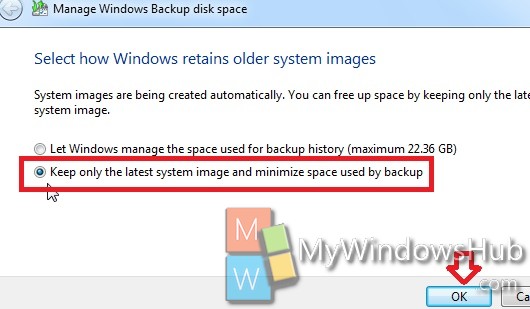
7. Next, select Keep only the latest system image and minimize space used by backup. Click OK.
About Nick
Nick is a Software Engineer. He has interest in gadgets and technical stuffs. If you are facing any problem with your Windows, feel free to ask him.
Manage space is greyed out. Cannot seem to find how to delete older backups on WIN10 when backups were made on WIN7