

No matter how efficient your CPUs are, there’s always a need for extra hertz cycles for graphics processing. Although modern systems are equipped with cutting-edge processing chips, an extra boost is always better for handling heavy graphics applications. Today, we’ll explore a cool feature introduced in the recent version of Windows, “Hardware-Accelerated GPU Scheduling,” which allows your machine to hand over high-priority graphics-intensive tasks to a dedicated GPU-based scheduler resulting in low latency and high throughput.
Before diving into the crux, let us understand the prerequisites to enable/disable this feature on your windows machine,
- Your system should be equipped with a GPU chip that supports hardware acceleration
- Graphics driver that supports WDDM 2.7 or higher (Windows Display Driver Model)
Once the above requirements are in place, you must be signed in as an administrator into your system to enable or disable the “Hardware-Accelerated GPU Scheduling” feature.
As usual, the above feature can be turned on or off in below two different ways,
- Enable or Disable Hardware Accelerated GPU scheduling in Settings
- Enable or Disable Hardware Accelerated GPU scheduling using Registry Editor
Enable or Disable Hardware Accelerated GPU scheduling in Settings
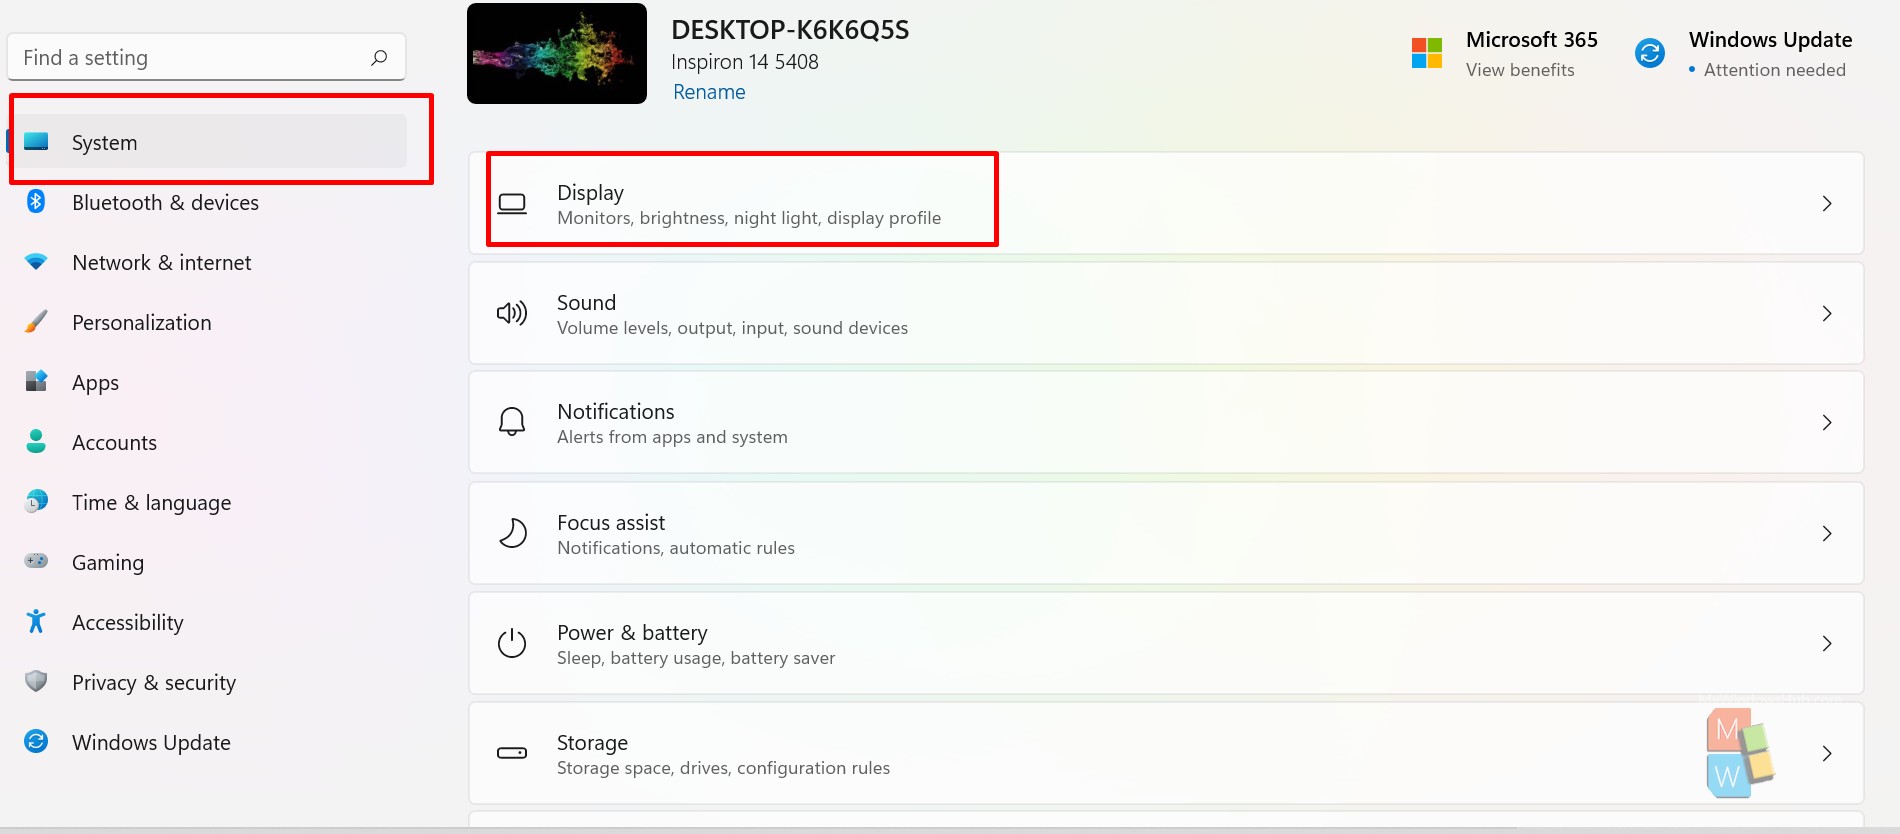
- Press “Win + I” on your keyboard simultaneously to open Settings.
- Click/Tap on the “System” option from the left-hand side quick navigation bar, followed by a click/tap on the “Display” option on the right-hand section.
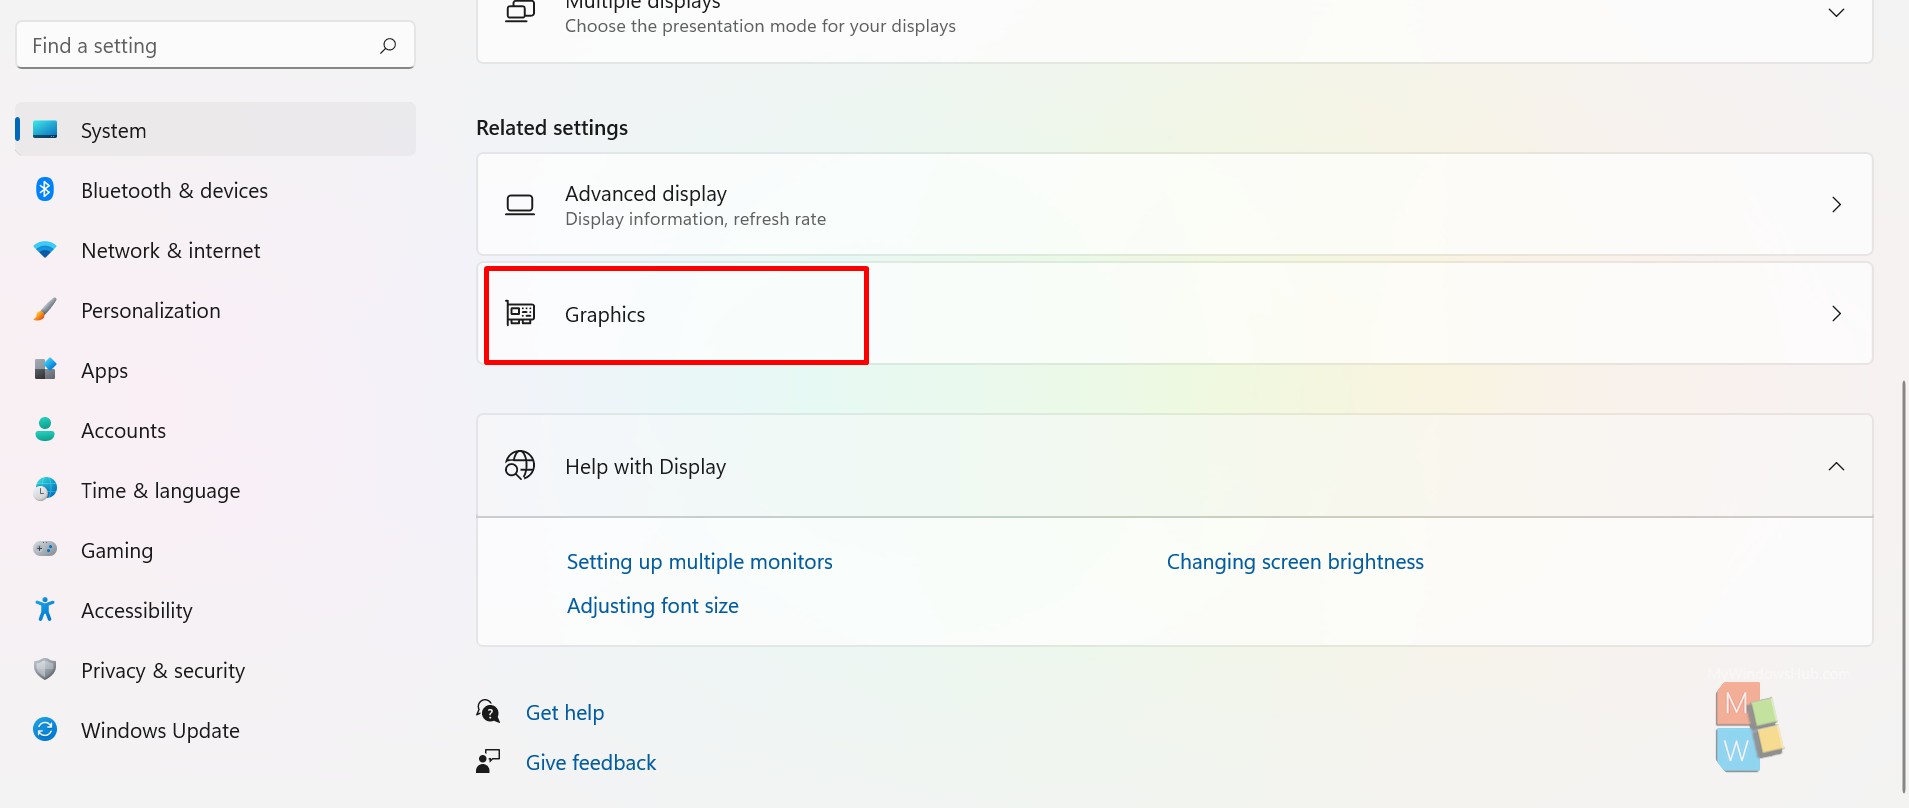
- Click/Tap on the “Graphics” section as mentioned in the screenshot,
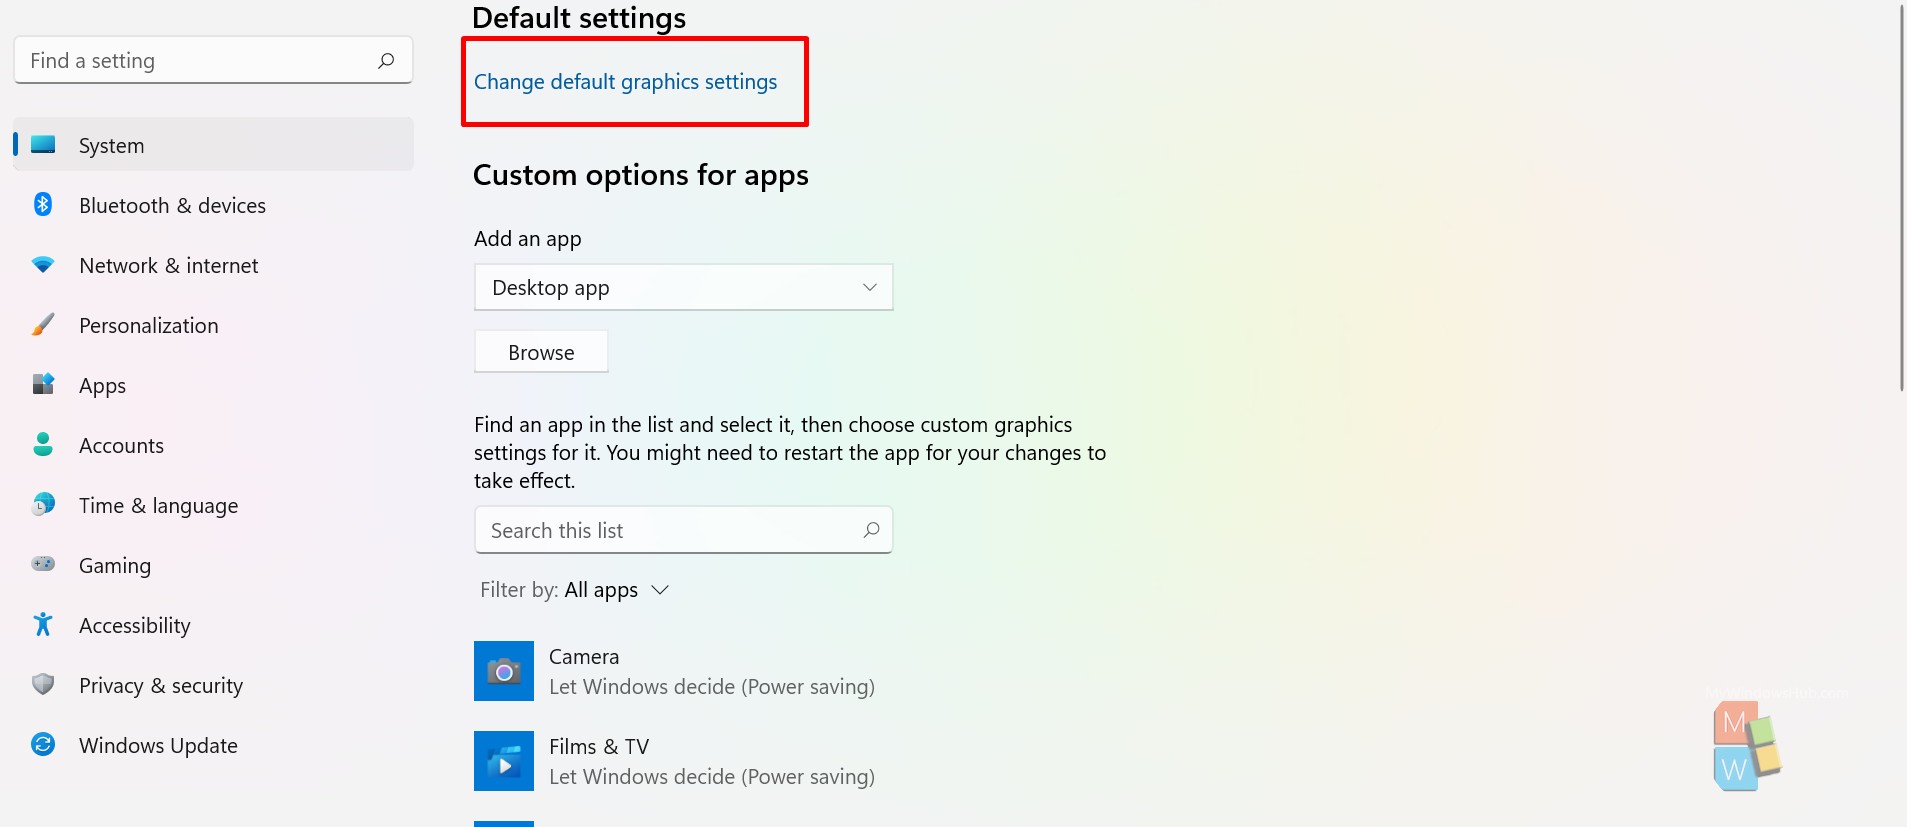
- Click/Tap on the “Change default graphics settings” link under Display settings.
- Under the Hardware-accelerated GPU scheduling section, you could find a slider button. If disabled(Off), please click on the slider button to enable this feature. If enabled(On), please click on the slider again to disable this feature.
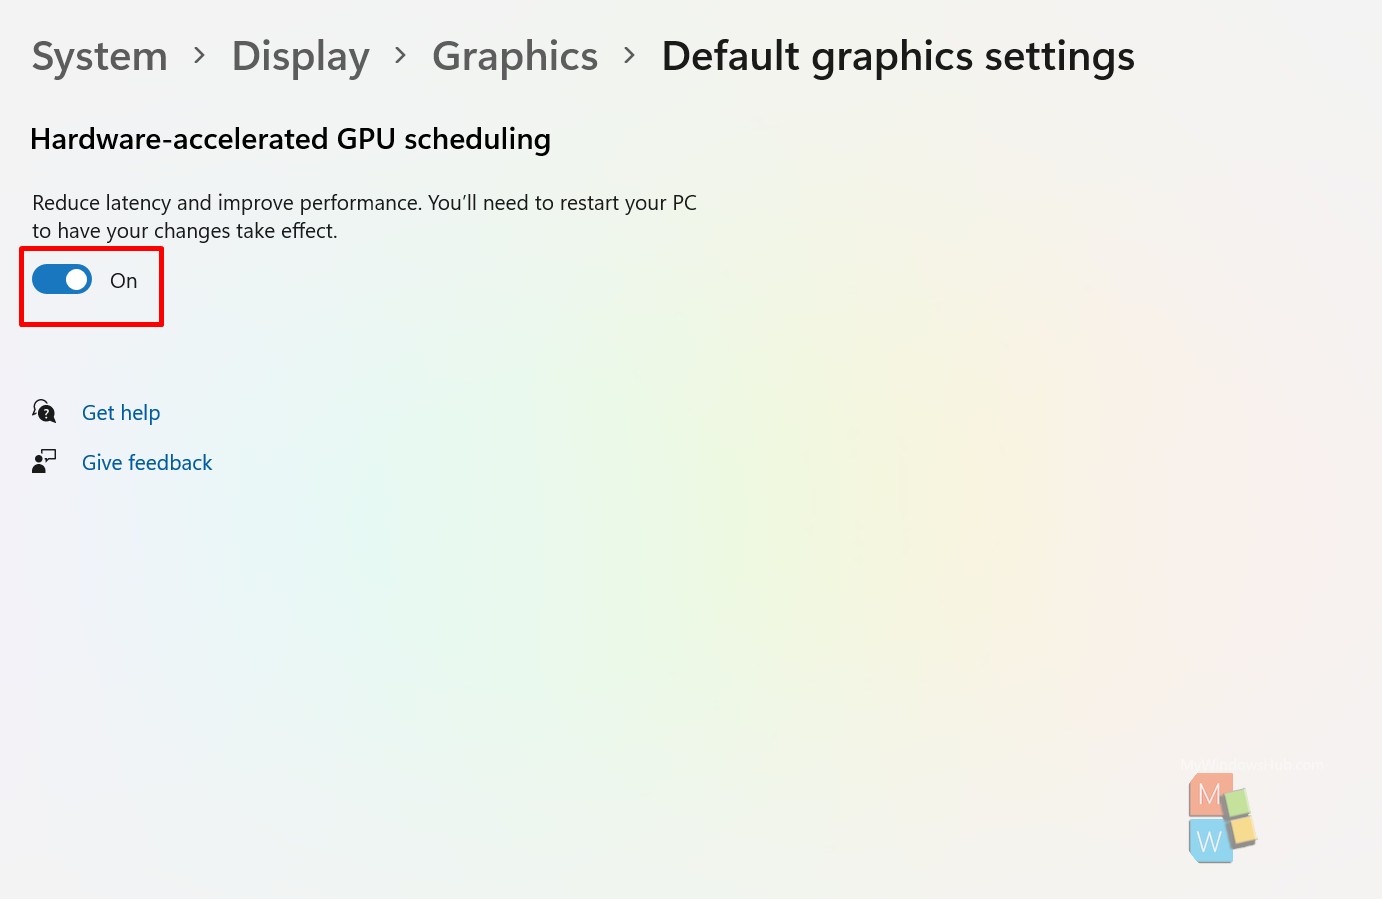
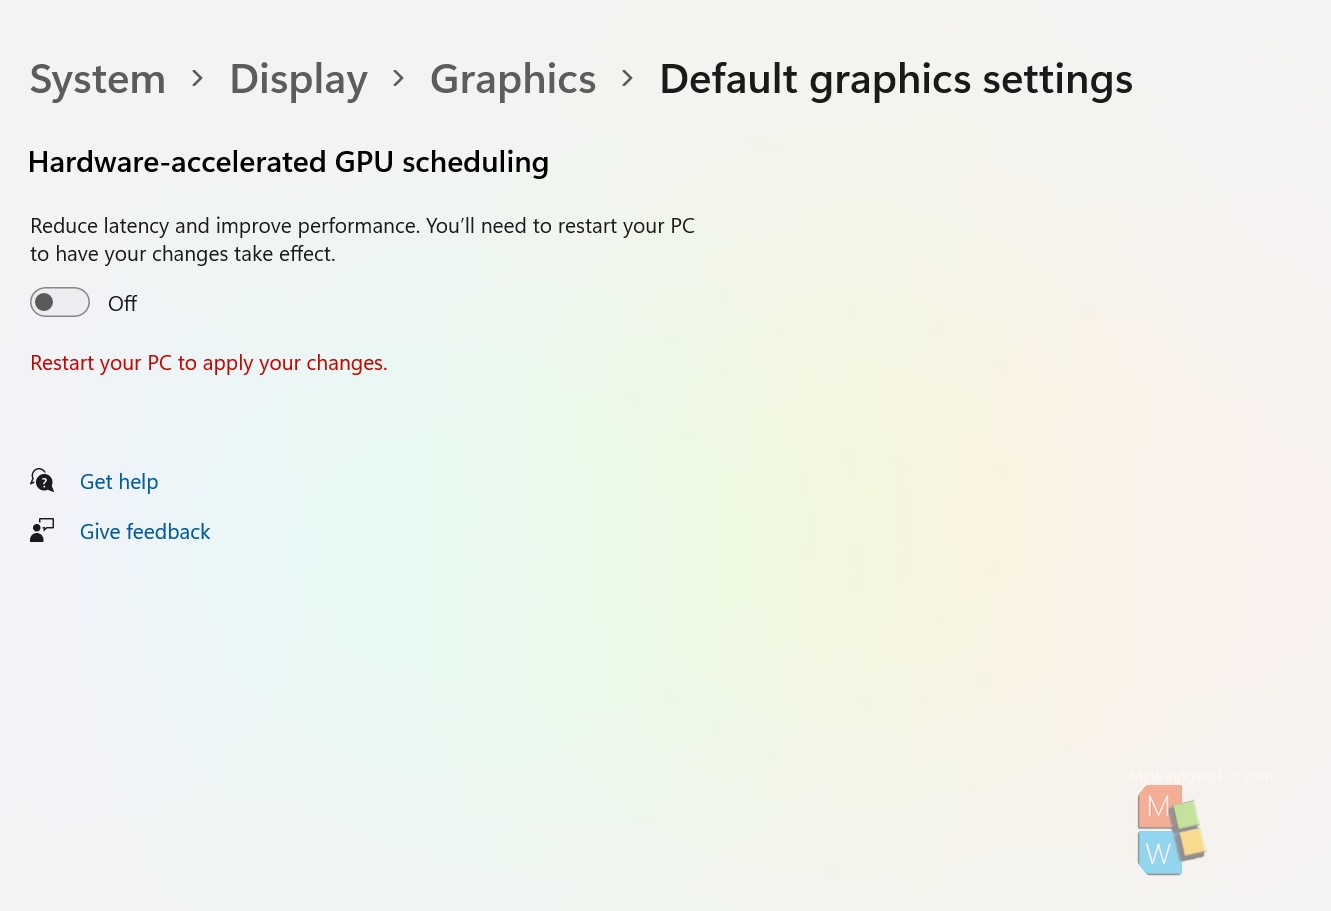
- You must restart your system to notice the applied changes.
Enable or Disable Hardware Accelerated GPU scheduling using Registry Editor [Recommedned]
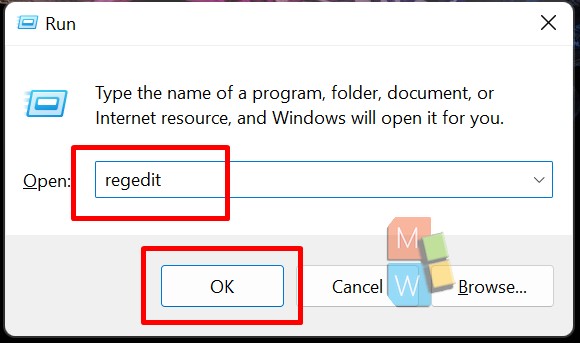
- Press the Windows + R key on your keyboard simultaneously to open the Run dialog. Type “regedit” and then hit the enter button to open the Registry editor.
- Then navigate to the below-mentioned path in the registry editor,
“HKEY_LOCAL_MACHINE > SYSTEM > CurrentControlSet > Control > GraphicsDrivers”
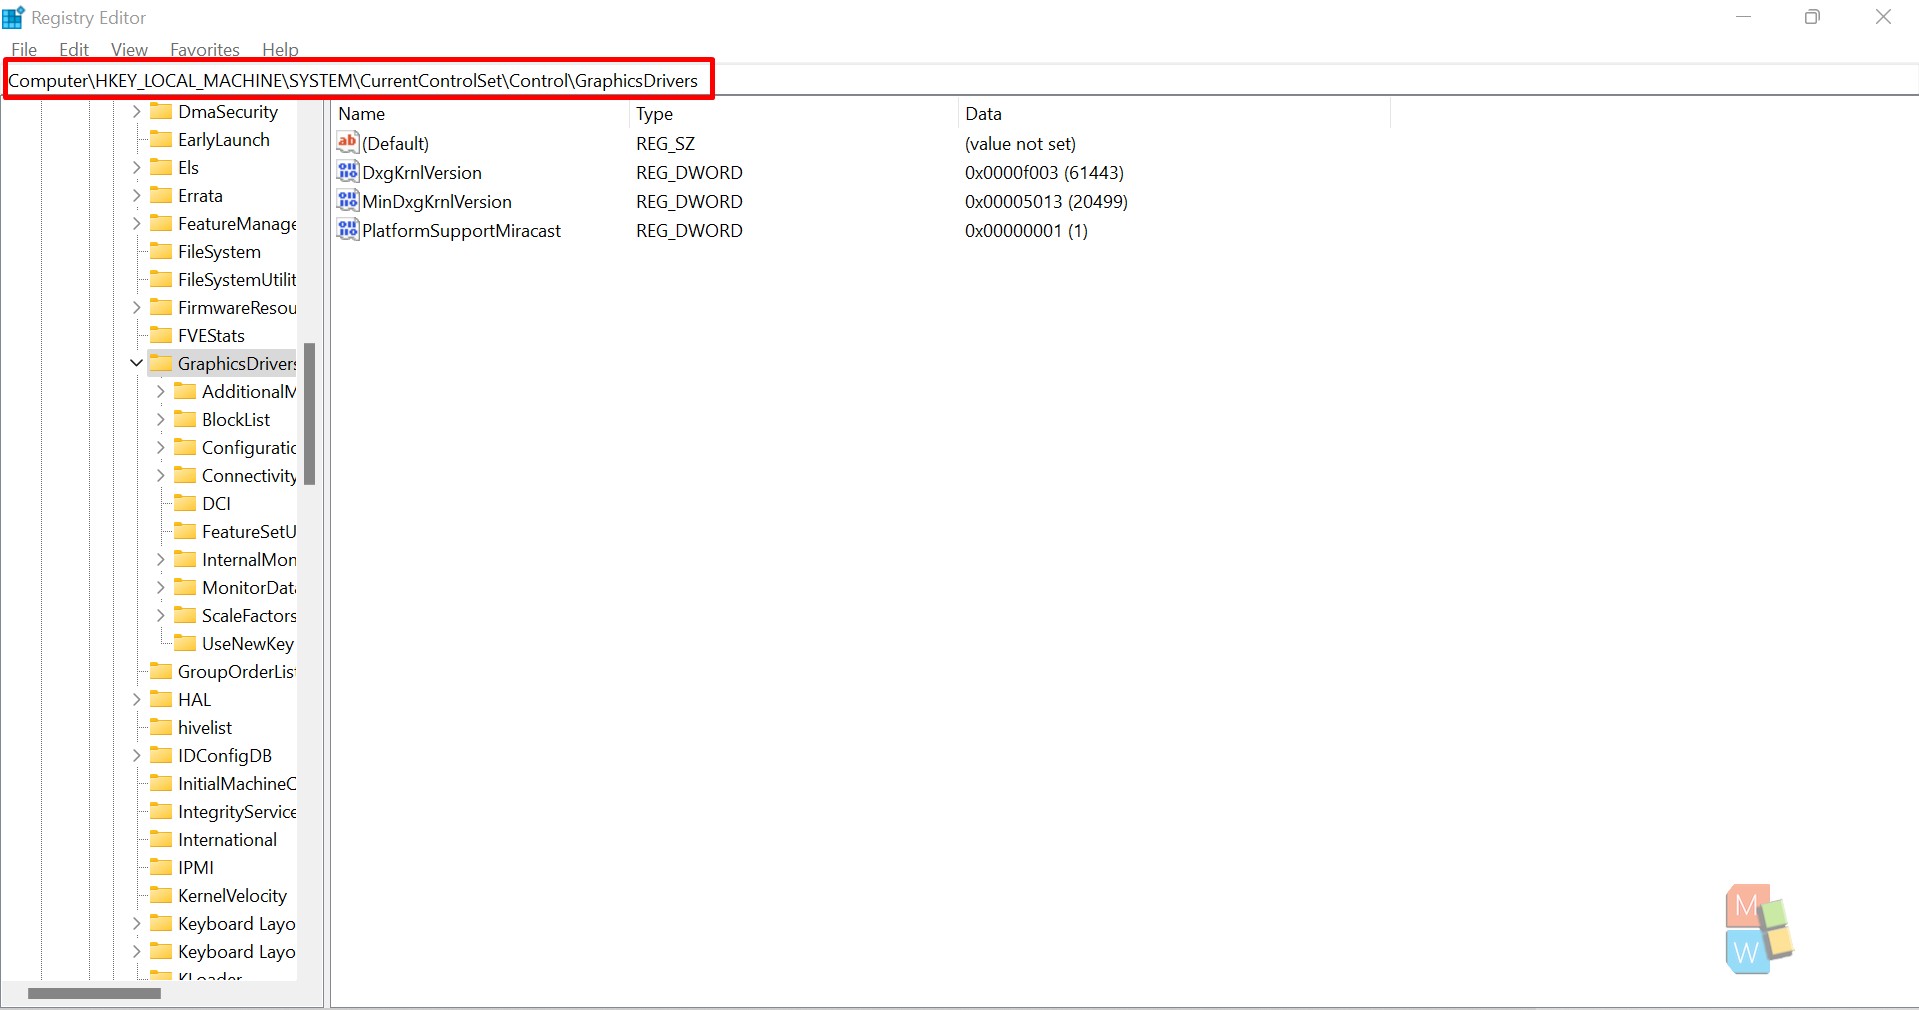
- If the “HwSchMode” variable is not listed under the GraphicsDrivers section, then right-click on the “GraphicsDrivers” option, create a new DWORD value and name the variable “HwSchMode” as mentioned below,
- Double click on the variable “HwSchMode” variable.
- Set the “Value data” field to “00000002” to enable the above feature.
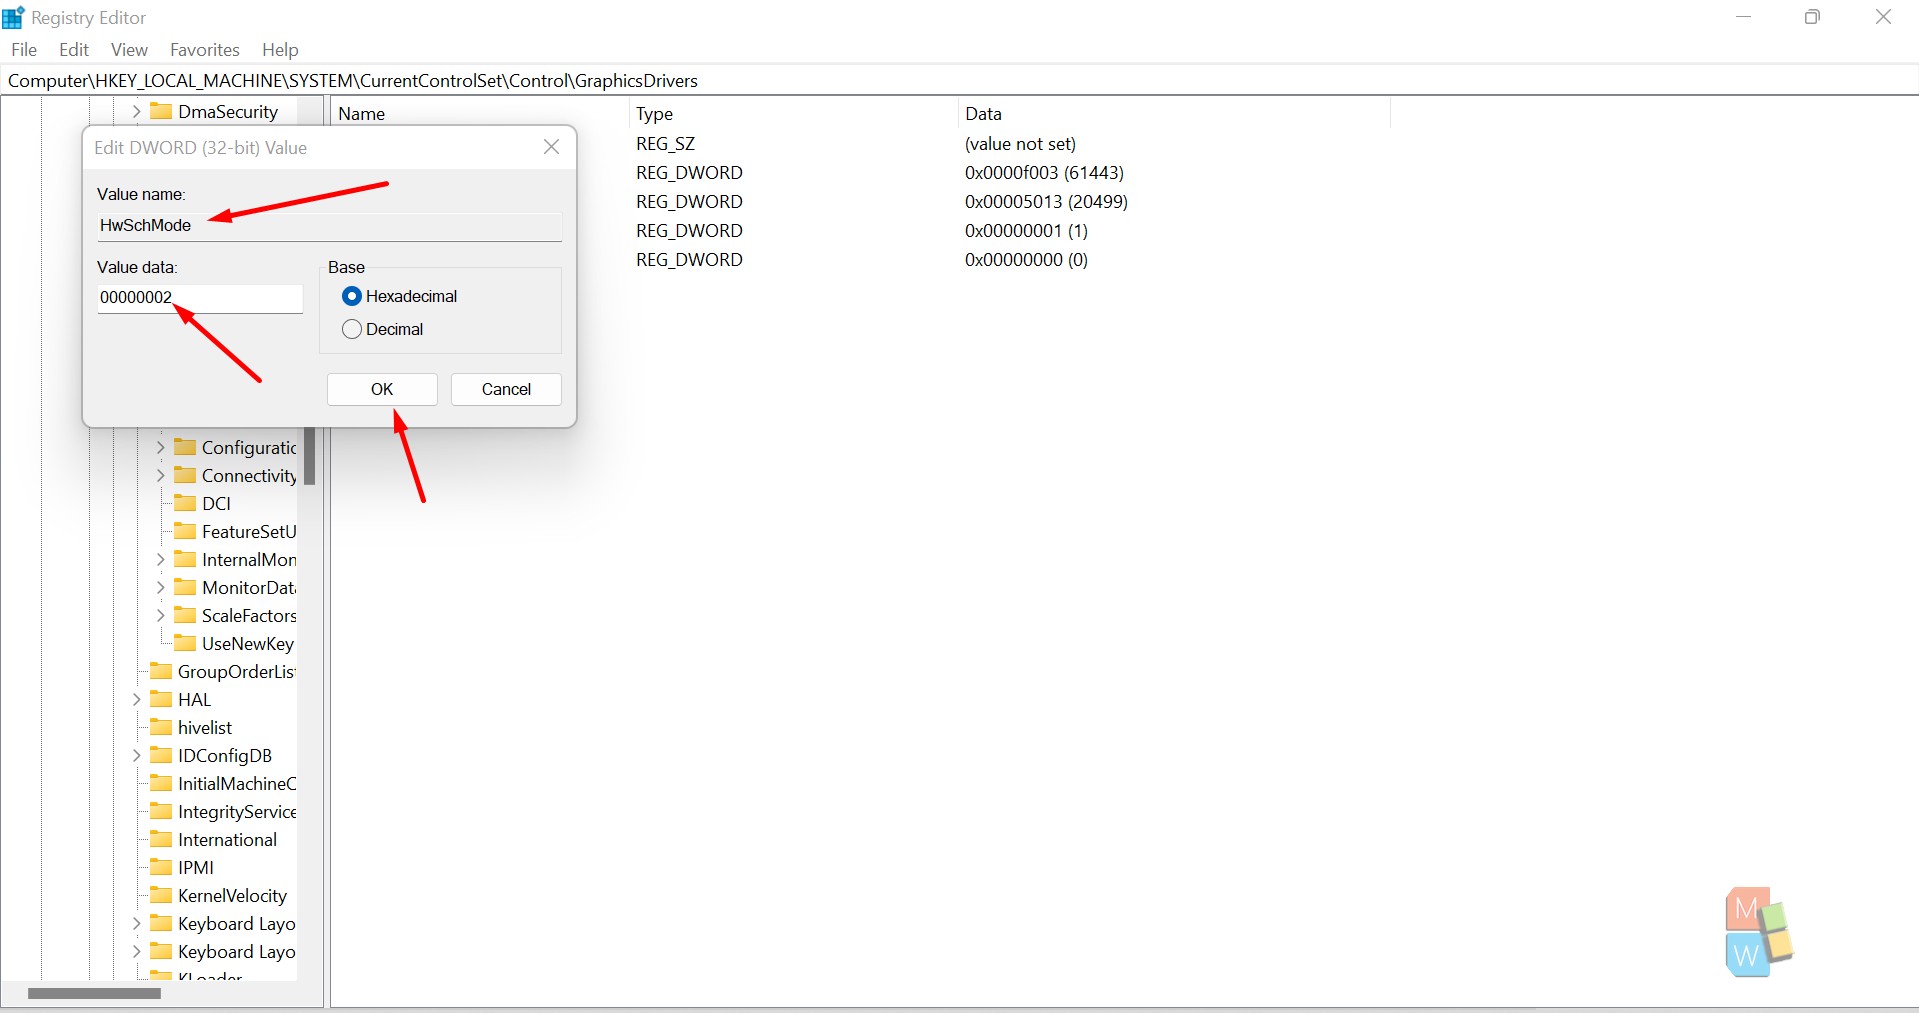
- Set the “Value data” field to “00000001” to enable the above feature.
- You must restart your system to notice the applied changes.
Enable or Disable Hardware Accelerated GPU Scheduling Using Registry Files
To make your life a lot easier, we have created registry files that you can directly download, and with just a few clicks, you can enable/disable the above feature.
Click here to download the registry file to enable the “Hardware-Accelerated GPU Scheduling” feature.
Click here to download the registry file to disable the “Hardware-Accelerated GPU Scheduling” feature.
Double-click/tap on the downloaded registry file.
If prompted, click/tap on the Run button. Approve the UAC(User access control) request and click on the “OK” button to merge the changes to your system registry.
You must restart your system to notice the applied changes.
You can delete the downloaded registry file(s) if they are no longer needed.
Conclusion:
Hardware-accelerated GPU scheduling helps windows users in gaining better graphics output while helping the CPU tweak the system’s performance. In this article, we walked you through different ways to enable or disable the “Hardware-accelerated GPU scheduling” feature in your windows machine.
About Harsit Mohapatra
Harsit Mohapatra is a full-time Software Engineer passionate and hungry for tech updates and knowledge. Besides being a crazy software developer, he is an avid traveller and loves capturing the things that give him a perception through his lenses