Windows 10 has ameliorated its features and Settings menu to a great extent. If you look into the settings, you will notice that the app is slowly consolidating the Control panel with the Start Menu Settings. Previously, the Settings had limited options and it didn’t impress users. But now, you can perform a lot of operations that you could find in Control Panel. For example, uninstalling an app. You can now uninstall any app, reset its data, limit its availability to users and many more on the Settings App.
In Windows 10, you can download Maps of various places across the world. Previously, this setting was under Cortana. After that, it was slowly moving to the Windows Settings app, but as a separate entity under the System settings. Now the Maps option has moved under the Apps menu which has been newly added. With offline maps, you can check map of different places on the globe any time any place without internet. You have to download the map once and then view it even without the internet. You can install as many maps as you want and delete them anytime. The download is aided in both metered and non metered connections.
In the following tutorial, I will show you how to move offline maps from one drive to another on Windows 10.
Steps To Move Offline Maps From One Drive To Another On Windows 10
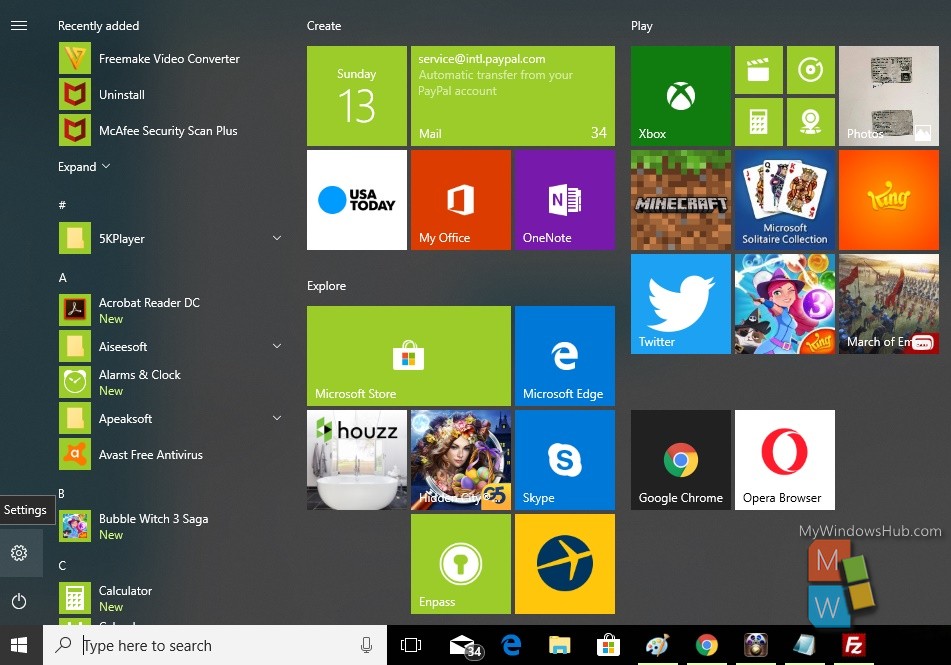
1. Open the Start Menu by tapping on the Start Button. Now click on the Gear icon to open Settings option.
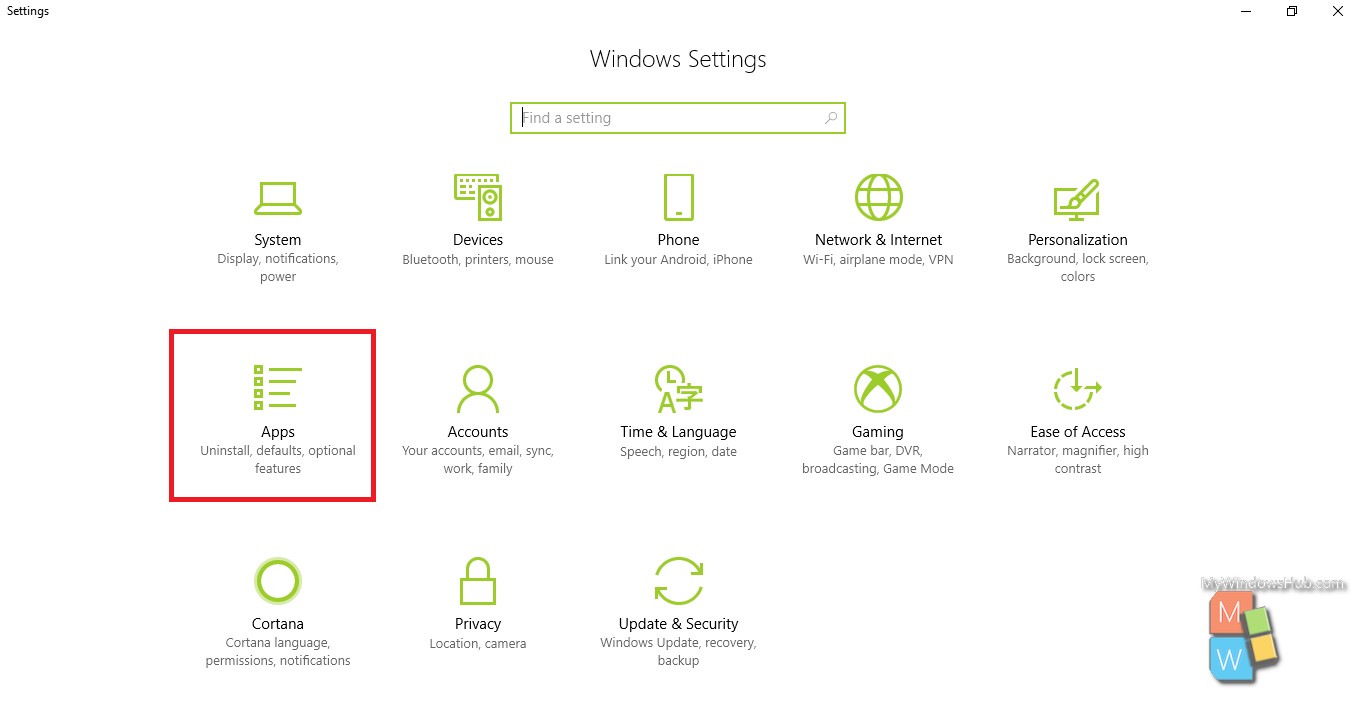
2. Next, tap on the Apps menu to open the Apps settings.
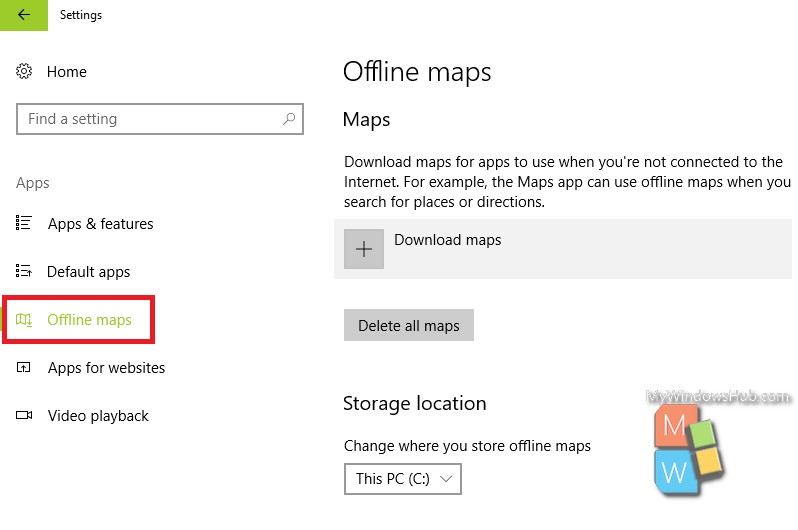
3. In the left panel, you will find Offline Maps.
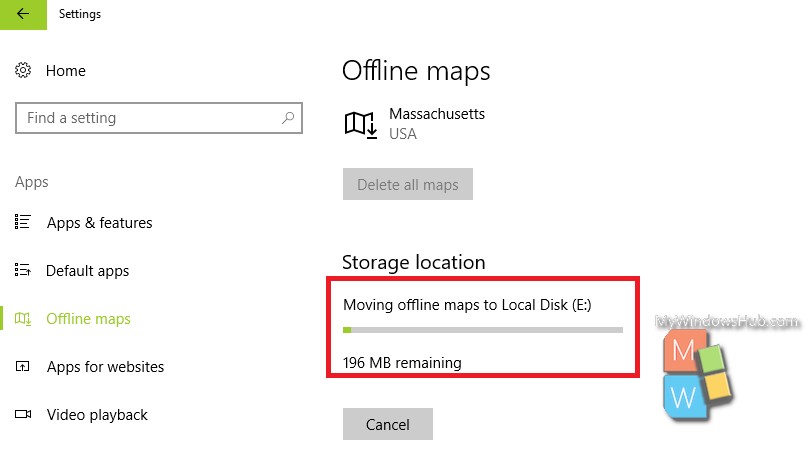
4. In the right panel, under Maps option, you will find Storage location. The default save location is usually the local drive or the C Drive in most cases. To change this location open the drop down menu and select the drive where you want to save the maps. Remember, by selecting this, your current maps will also be ported to the new drive.
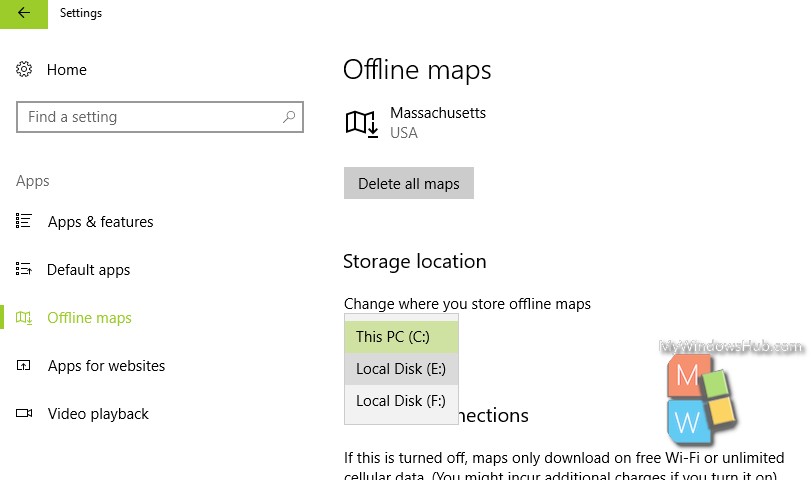
5. The maps will start moving to the new location.
That’s all!


How do I do this from a batch file? Is there a registry key I can set during Windows setup?