

PowerShell 7.0 on Windows 10
PowerShell is a.NET framework by Microsoft for Windows operating system. It was released on 2006 to replace command prompt. PowerShell is installed by default on every Windows version. M
Steps to install PowerShell 7.0 in Windows 10
Process 1:
- Press Windows key + X . Power user menu will appear on your screen.
- Press A to open PowerShell in administrative mode.
- Copy the cmdlet mentioned below and paste it on the PowerShell window.
iex “& { $(irm https://aka.ms/install-powershell.ps1) } -UseMSI”The command will download the PowerShell package directly from GitHub link according to compatibility of Operating system.
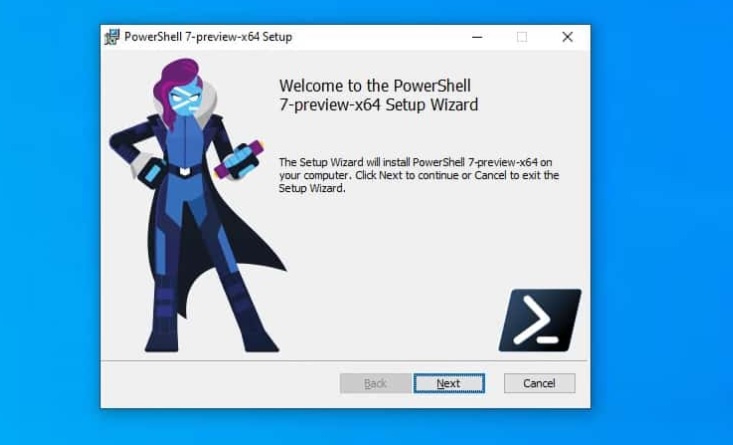
4. Once the package is fully downloaded, a set up wizard will appear. Click Next to complete installation process.
Process 2:
Go to GitHub PowerShell release page. Scroll down the Assets. Select your operating system with proper configuration. Click to download and then install.
Once the installation is complete, you can see the shortcut at start menu.