

Windows 11 Start Menu is classified into three sections, Pinned, All Apps and Recommended. Pinned apps are the ones that you use most of the time. You can pin any app just by right clicking on it and selecting “Pin to Start”. Likewise, you can pin as many apps as you want. But pinning many apps to the Start will clutter it badly. So you can group similar pinned apps into a folder. For e.g., if you need Photoshop, Paint and Word application quite frequently, you can pin the apps to the Start Menu and then group them to a single folder.
The small feature is extremely helpful in organizing your Windows 11 Start Menu. But this feature is available in Windows 11 starting from Build 22557. Builds before 22557 will not get this feature. You can add as many pinned apps as you like to a folder. You can also remove them whenever you want.
This article will help you learn how to organize and group your pinned apps on the Start menu into folders for your account in Windows 11.
Steps To Group Pinned Apps Into A Folder In Windows 11
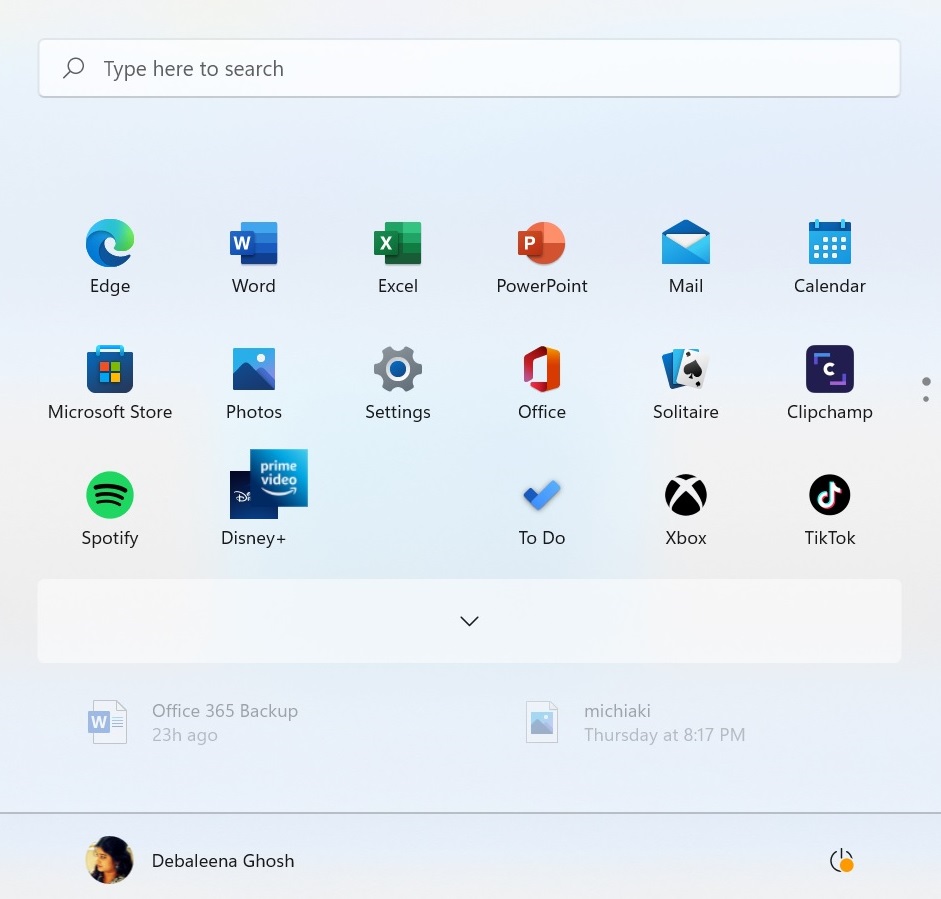
- Click on the Start button.
- Drag a pinned app on the Start menu and drop it on your required pinned app.
That’s all. If it is not happening, check the Build number. The build number should be 22557 or newer. Try updating your PC and then try again.
You can drag and drop any app outside the folder to remove it from the group. It is as simple as that.
About Nick
Nick is a Software Engineer. He has interest in gadgets and technical stuffs. If you are facing any problem with your Windows, feel free to ask him.