The literal meaning of Sandbox implies isolating sensitive contents for privacy purposes. The same applies to the world of computer science; sandboxing in Windows 10 means running third-party applications in an isolated environment by avoiding the unnecessary introduction of malwares and viruses on your device. Windows 10 creator added one outstanding feature known as “Windows Sandbox,” allowing you to run the third-party application in an isolated environment without worrying about getting affected by malwares, viruses. Being Windows user, we are always scared of running third-party executable programs directly, and the Sandbox feature comes in handy to rescue. This article shall discuss Windows’ own “Sandbox” feature and the steps to configure it properly on your device.
What is Windows Sandbox?
- It is an isolated desktop environment where you can execute not trusted third-party applications without the fear of impacting your host machine.
- Any software installed inside the Sandbox remains inside it and can’t access the host machine’s resources.
- Once the Sandbox is closed, the softwares and files inside it get deleted automatically.
- When you enable the Windows Sandbox, an 8 GB PortableBaseLayer partition is created and should not be deleted.
Properties of Windows Sandbox:
- Comes with Windows: Everything needed to enable this feature ships with Windows 10 Pro and Enterprise. No need to download any image file(.VHD) explicitly.
- Clean: Every time you start a Sandbox, it is a brand new clean installation of Windows.
- Disposable: Nothing inside the Sandbox is intended to persist; everything is discarded once you close the Sandbox instance.
- Secure: As the Sandbox feature works over Microsofts’ Hypervisor virtualization technology, it is completely secured from the host.
- Efficient: It uses kernel scheduler, smart memory management, and virtual GPU for maximum throughput.
Prerequisites for Windows Sandbox:
- Windows 10 build 18305 or higher
- AMD64 bit architecture
- Virtualization technology-enabled form hardware level
- At least 4GB of RAM(8GB+ recommended)
- At least 10GB of free disk space(SSD recommended)
- At least 2 CPU Cores (4 CPU Cores with hyperthreading recommended)
How to enable Windows Sandbox in Win 10 Pro and Enterprise?
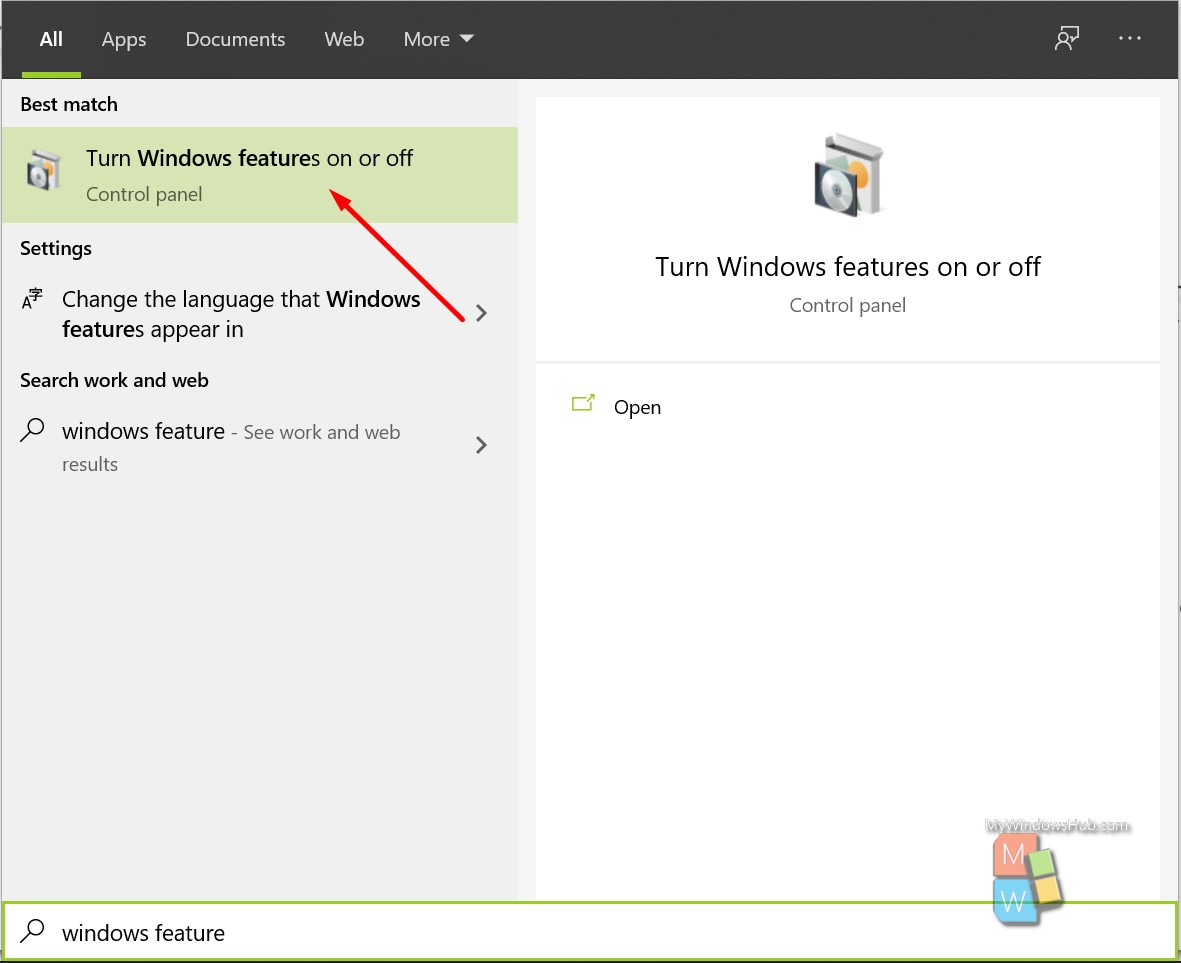
- Search for the keyword “Windows Feature” on the Start menu and open the first app as mentioned below,
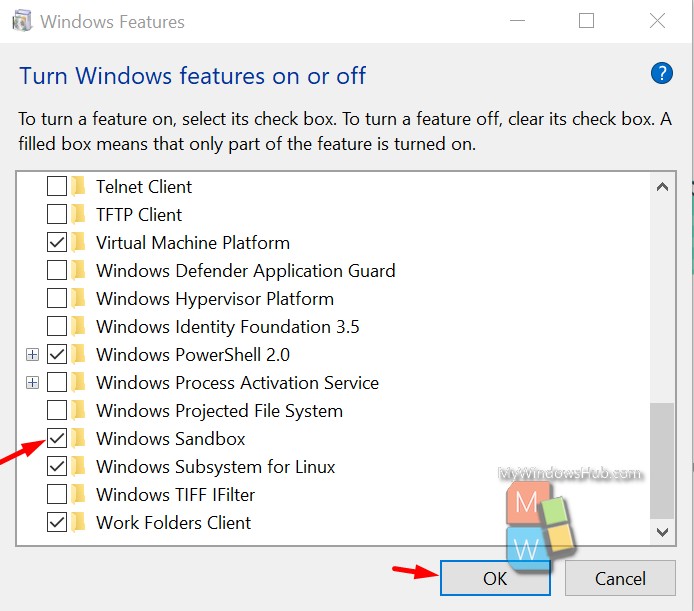
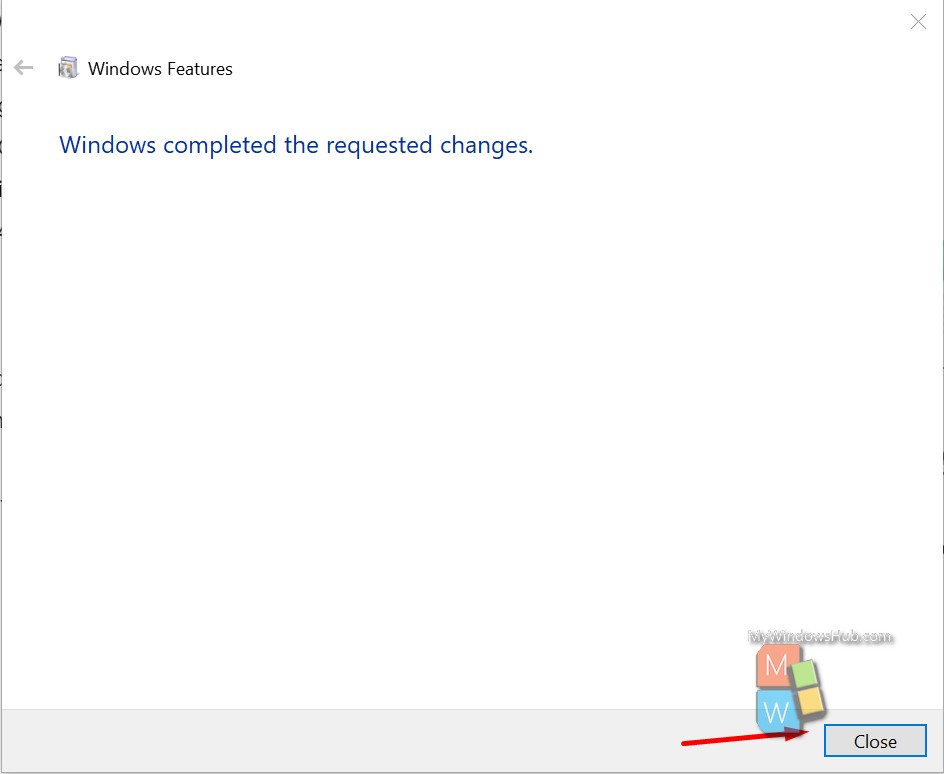
- Scroll down and check the “Windows Sandbox” option and click the “Ok” button to enable it. This process will take a while to finish. Once done, click the “Close” button to continue.
- Then search for the keyword “Windows Sandbox” on the Start menu and open the first option as mentioned below,
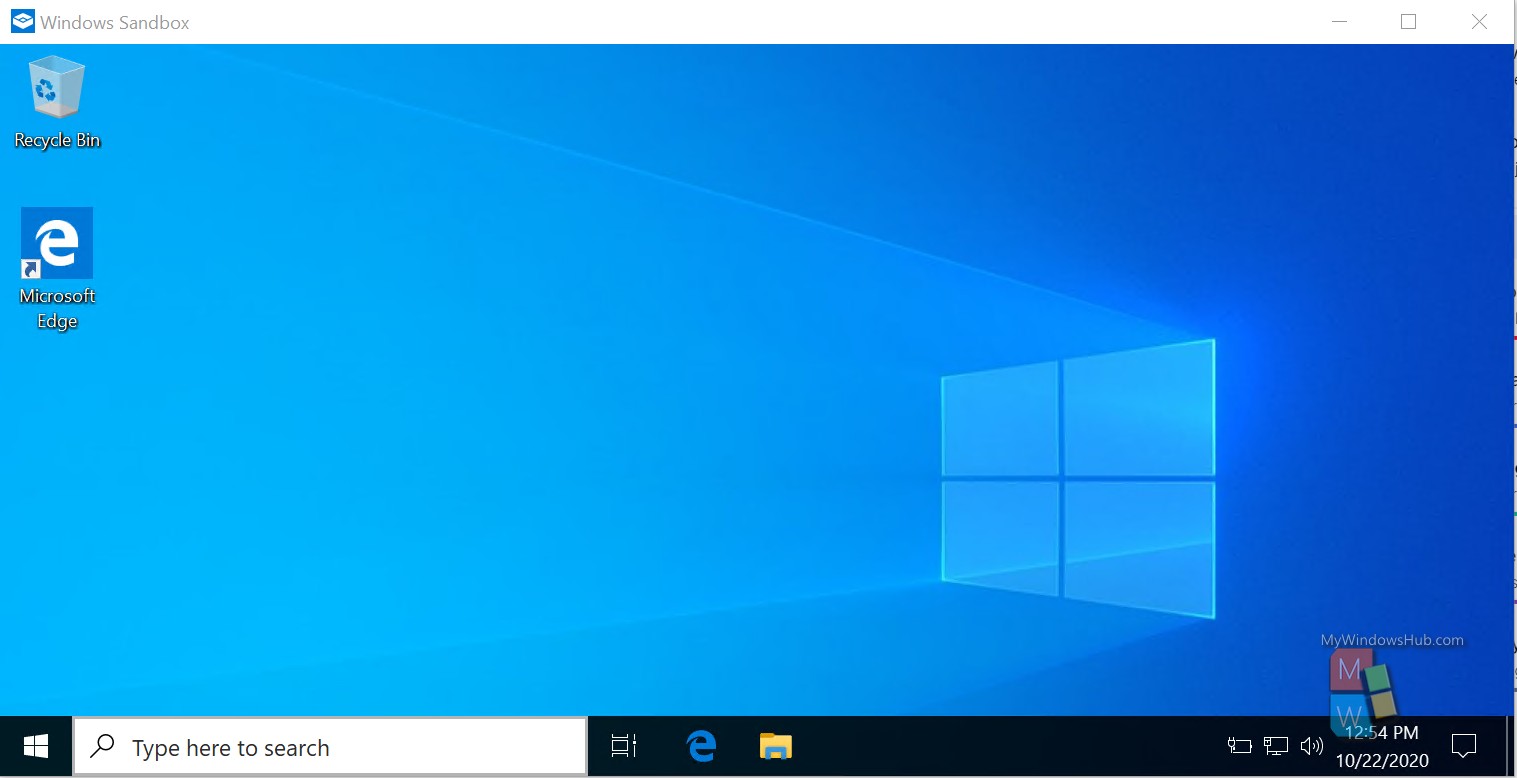
- Windows will take some time to boot up the isolated sandbox environment, and once done; you shall be able to see Windows desktop manager as shown below,
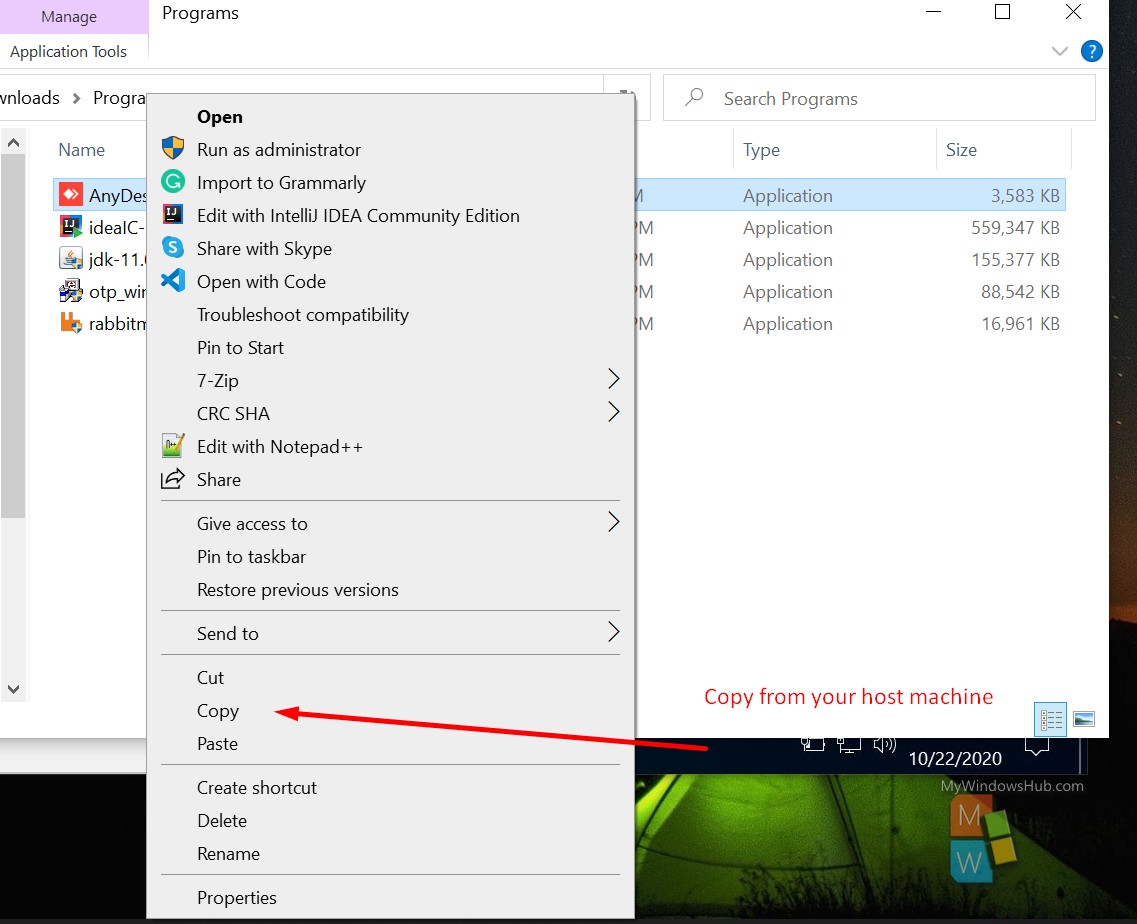
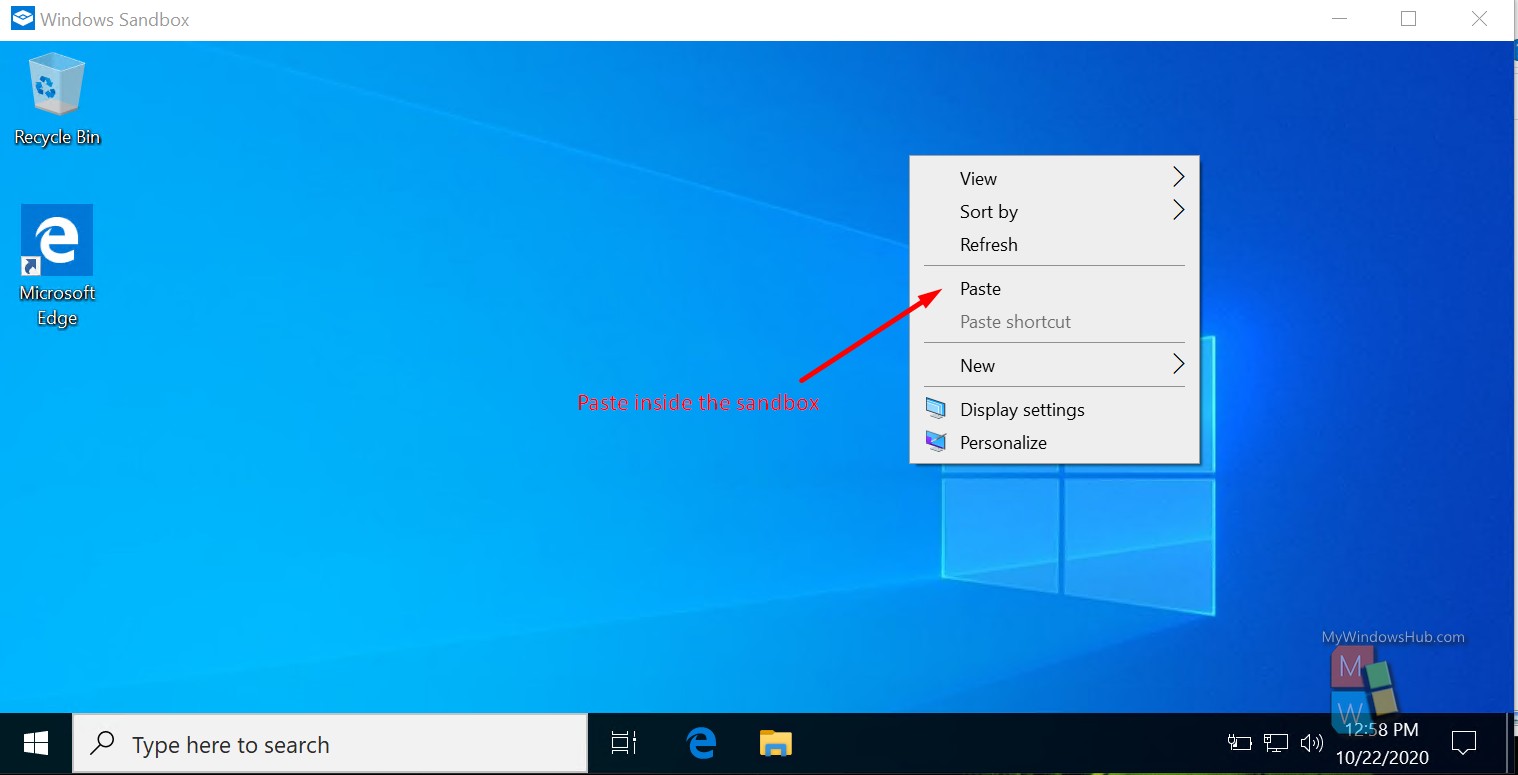
- Copy the executable file from the host machine you want to run and then paste it inside the Sandbox.
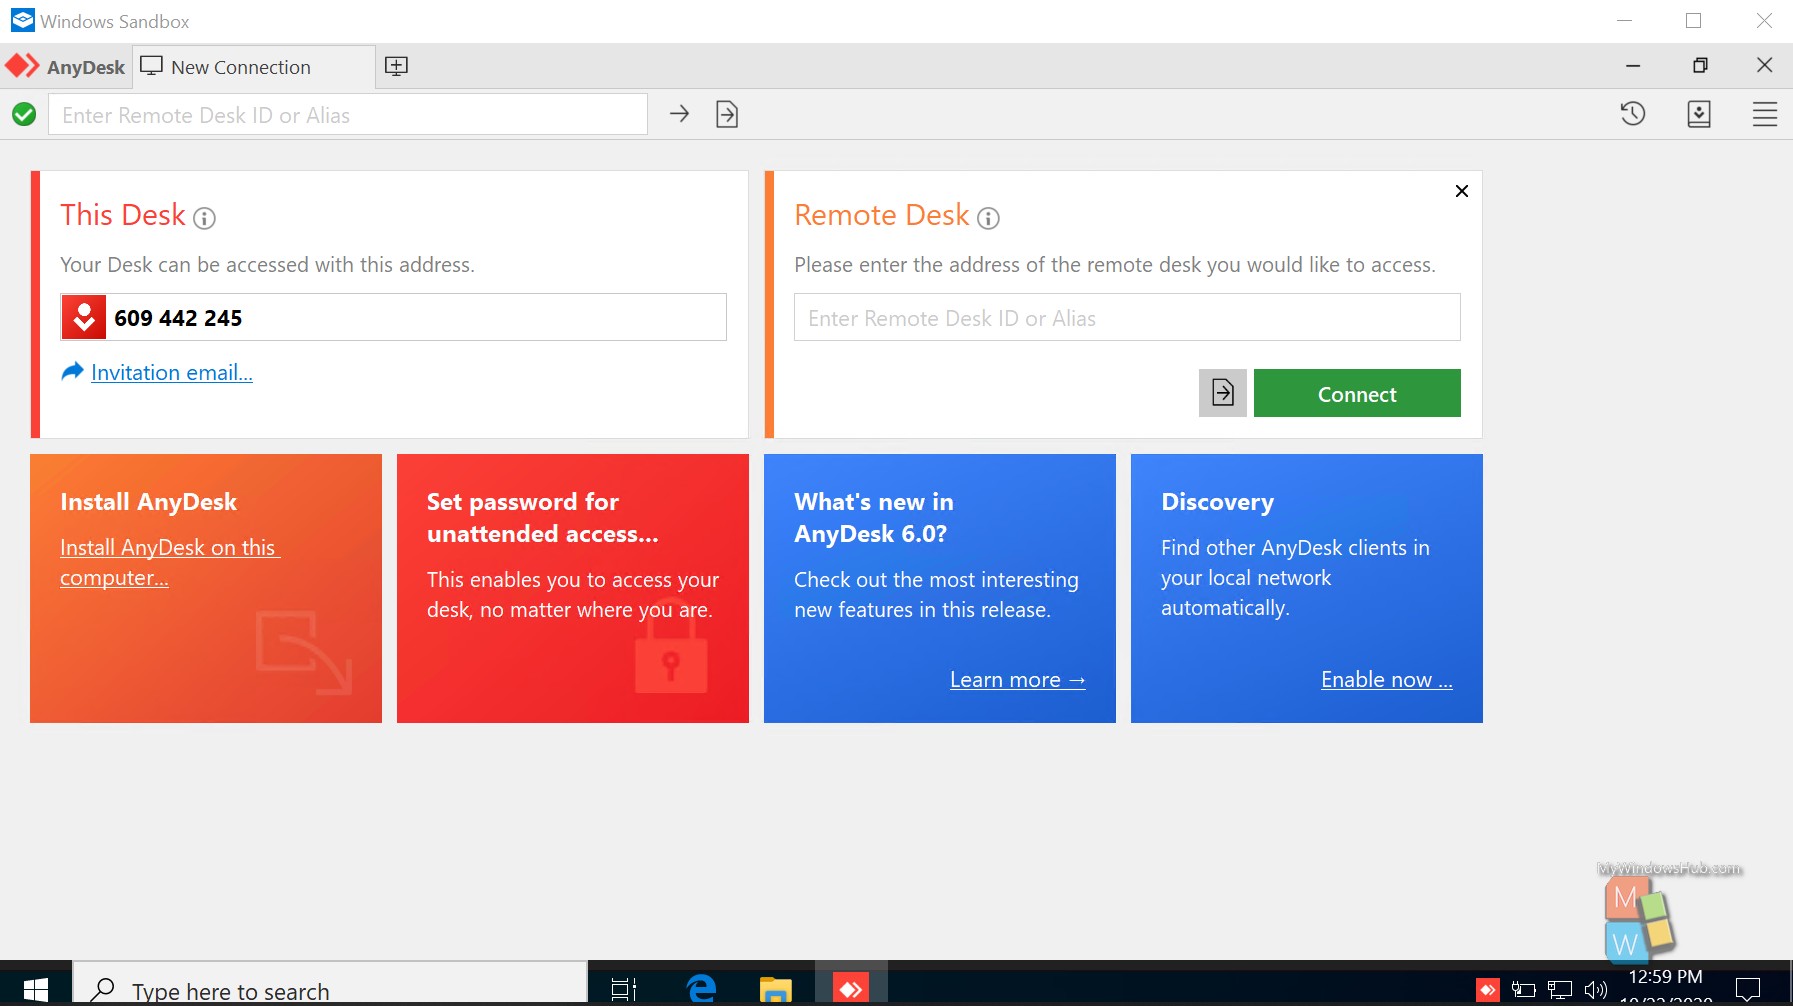
- Once copied, run the executable file by double-clicking on it. There is no way the executable file will access the host machine and won’t affect anything that contains any harmful code.
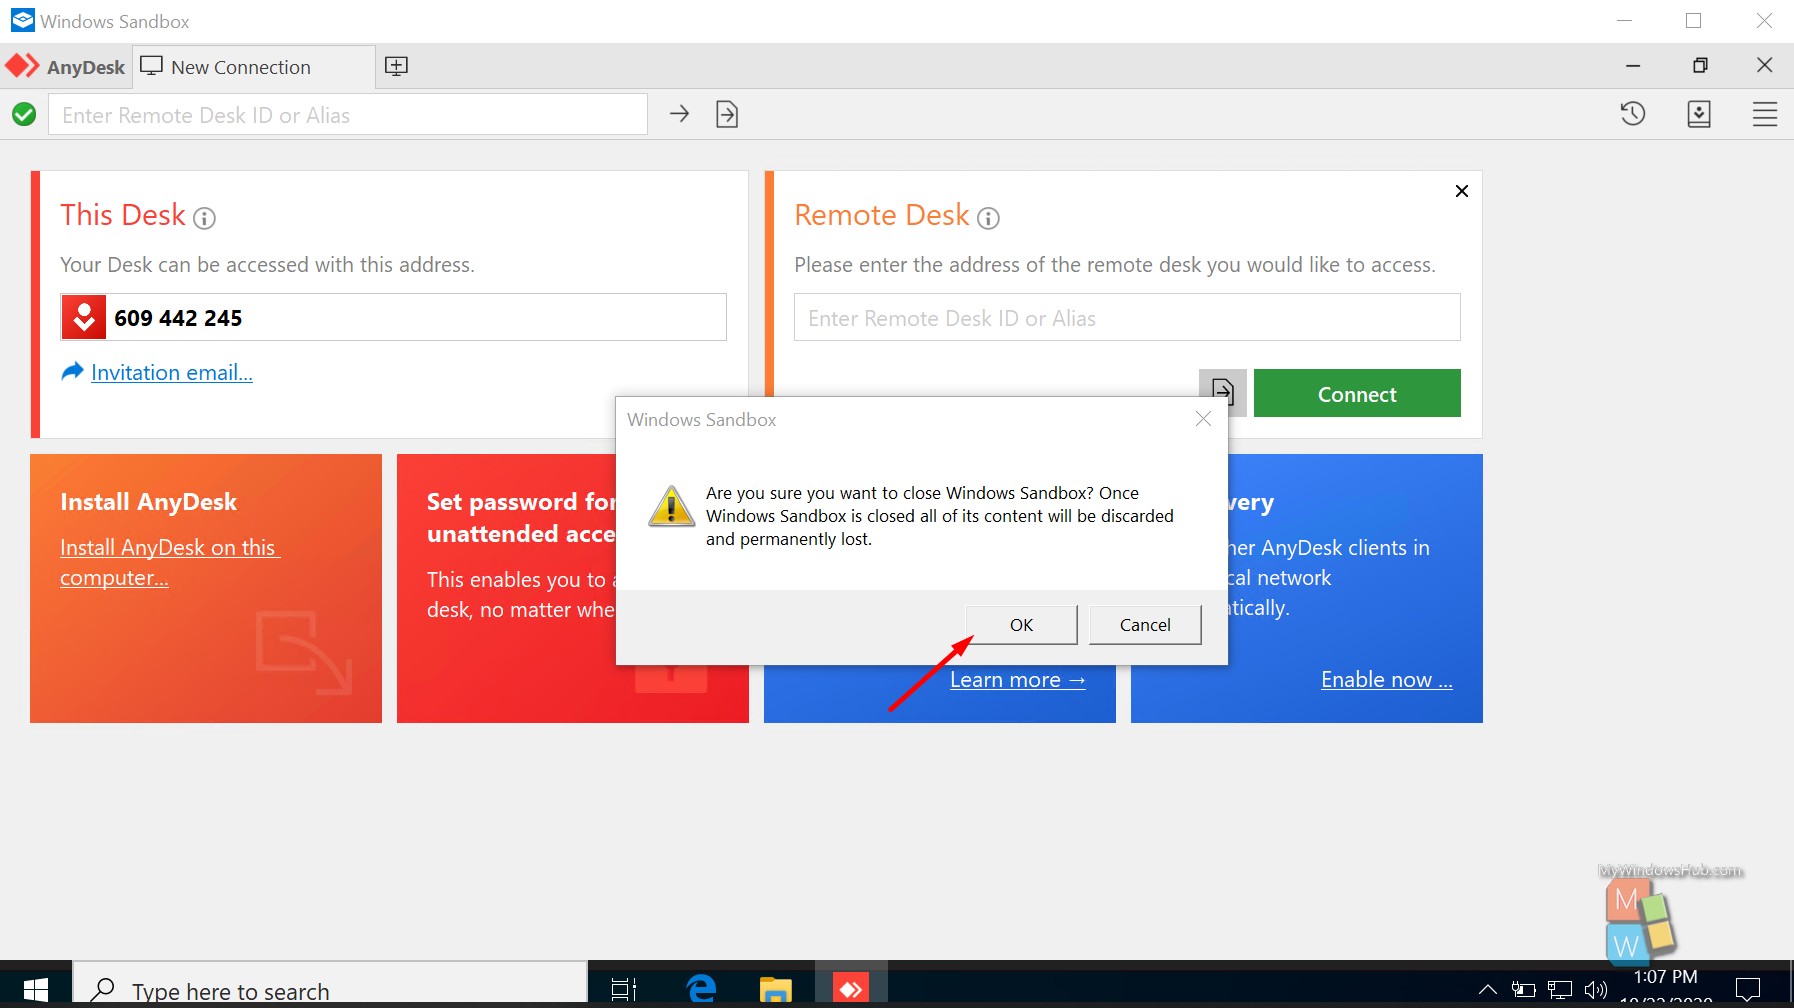
- Once you are done executing the third-party application, you can close the Sandbox by clicking the “Cross” button at the right-hand top corner. You shall be asked to confirm, saying, “Once you close the Sandbox, all the contents will be discarded.” Press the “Ok” button to continue.
Conclusion:
In this article, we had discussed one of the new features from Windows, “Windows Sandbox,” that provides you an isolated environment for running third-party harmful applications. We also walked you through the steps to enable the Sandbox feature on your Windows 10 Pro & Enterprise version. In our upcoming article, we shall be showing you to configure the Windows Sandbox feature on Windows 10 Home edition.

