

This tutorial will help you to enable or disable disk write caching in Windows 10. Disk Write Caching is an important aspect of Windows operating system that uses fast volatile memory like RAM to accumulate write commands and then sends it to data storage devices. It then caches them until hard disk, which are slow memory device, can write them. This feature improves system performance and makes application run fast. Disk Write Caching is always enabled in Windows 10, and disabling it may hamper its performance.
Steps to Enable or Disable Disk Write Caching in Windows 10
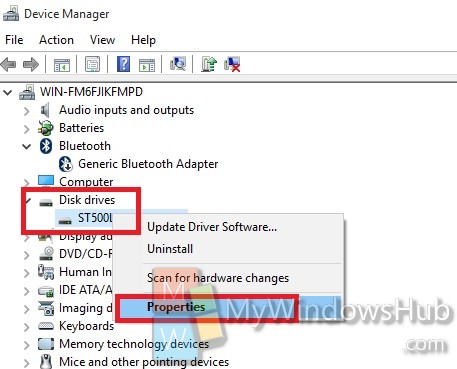
1. Press Win+X and go to Device Manager
2. Under Disk Drives, you’ll find your disk drives. Select it, right click and go to Properties.
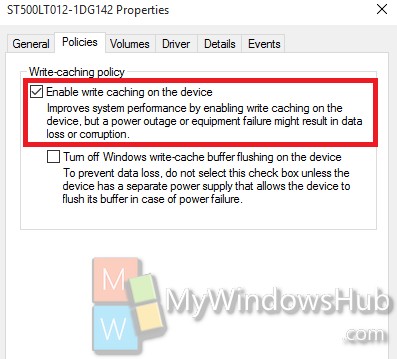
3. Go to Policy tab. If you want to Enable Disk Write Caching on the device, check the option as shown in the screenshot.
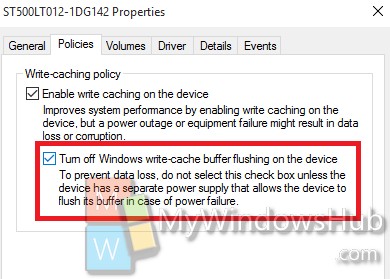
4. If you want, you can check Turn off Windows write-cache buffer flushing on the device. Remember, this option is pretty risky and you are recommended not to turn on unless you have a potential power back up like a UPS.
5. If you want to disable Disk Write Caching on the device, uncheck the option Enable write caching on the device box under Write-caching policy.
About Nick
Nick is a Software Engineer. He has interest in gadgets and technical stuffs. If you are facing any problem with your Windows, feel free to ask him.