

All the Windows 10 devices are coming with Windows Insider Service (wisvc), irrespective of the users’ participation; it will keep running in the background for the Windows Insider program. Windows Insider program is an open-source testing platform that allows the licensed user to get the pre-release build of the operating systems. Most of the time, this service is considered useless for users who don’t want to participate in the Insider program. In short, the unnecessary services running in the background will hamper the overall performance of your device. This article shall show you various steps to disable the Windows Insider Service on your Windows 10 device.
How to disable Windows Insider Service?
This can be achieved in the three ways as mentioned below,
- Via Services console
- Via Command Prompt
- Via PowerShell
Disable Windows Insider Service via Services console:
In this method, we shall be walking you through the steps to disable the Windows Insider Service using the Services console. Please follow the below-mentioned steps,
- Press the “Win + R” key on your keyboard to open the Run dialog.
- Then type “services.msc” and hit the enter key to open the Services console.
- Now scroll the right-hand section and look for “Windows Insider Service.“
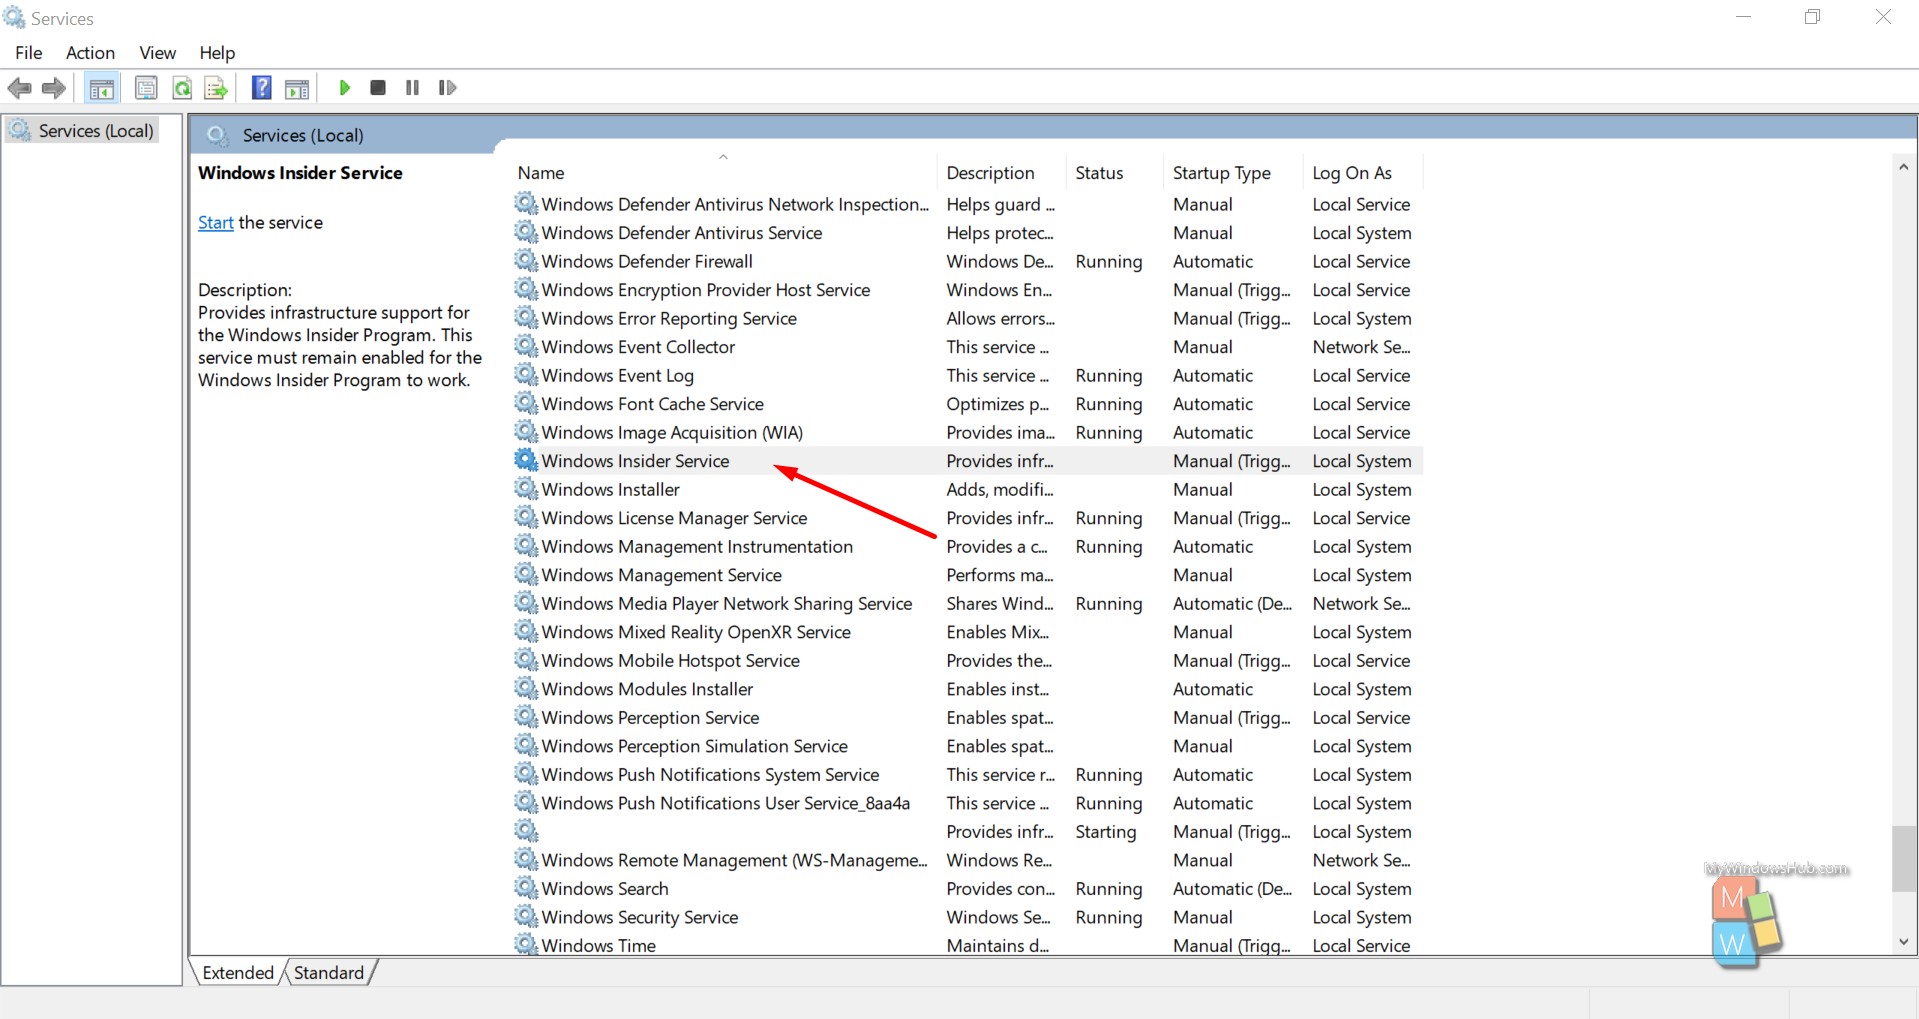
- Then double-click on the entry to open the properties window.
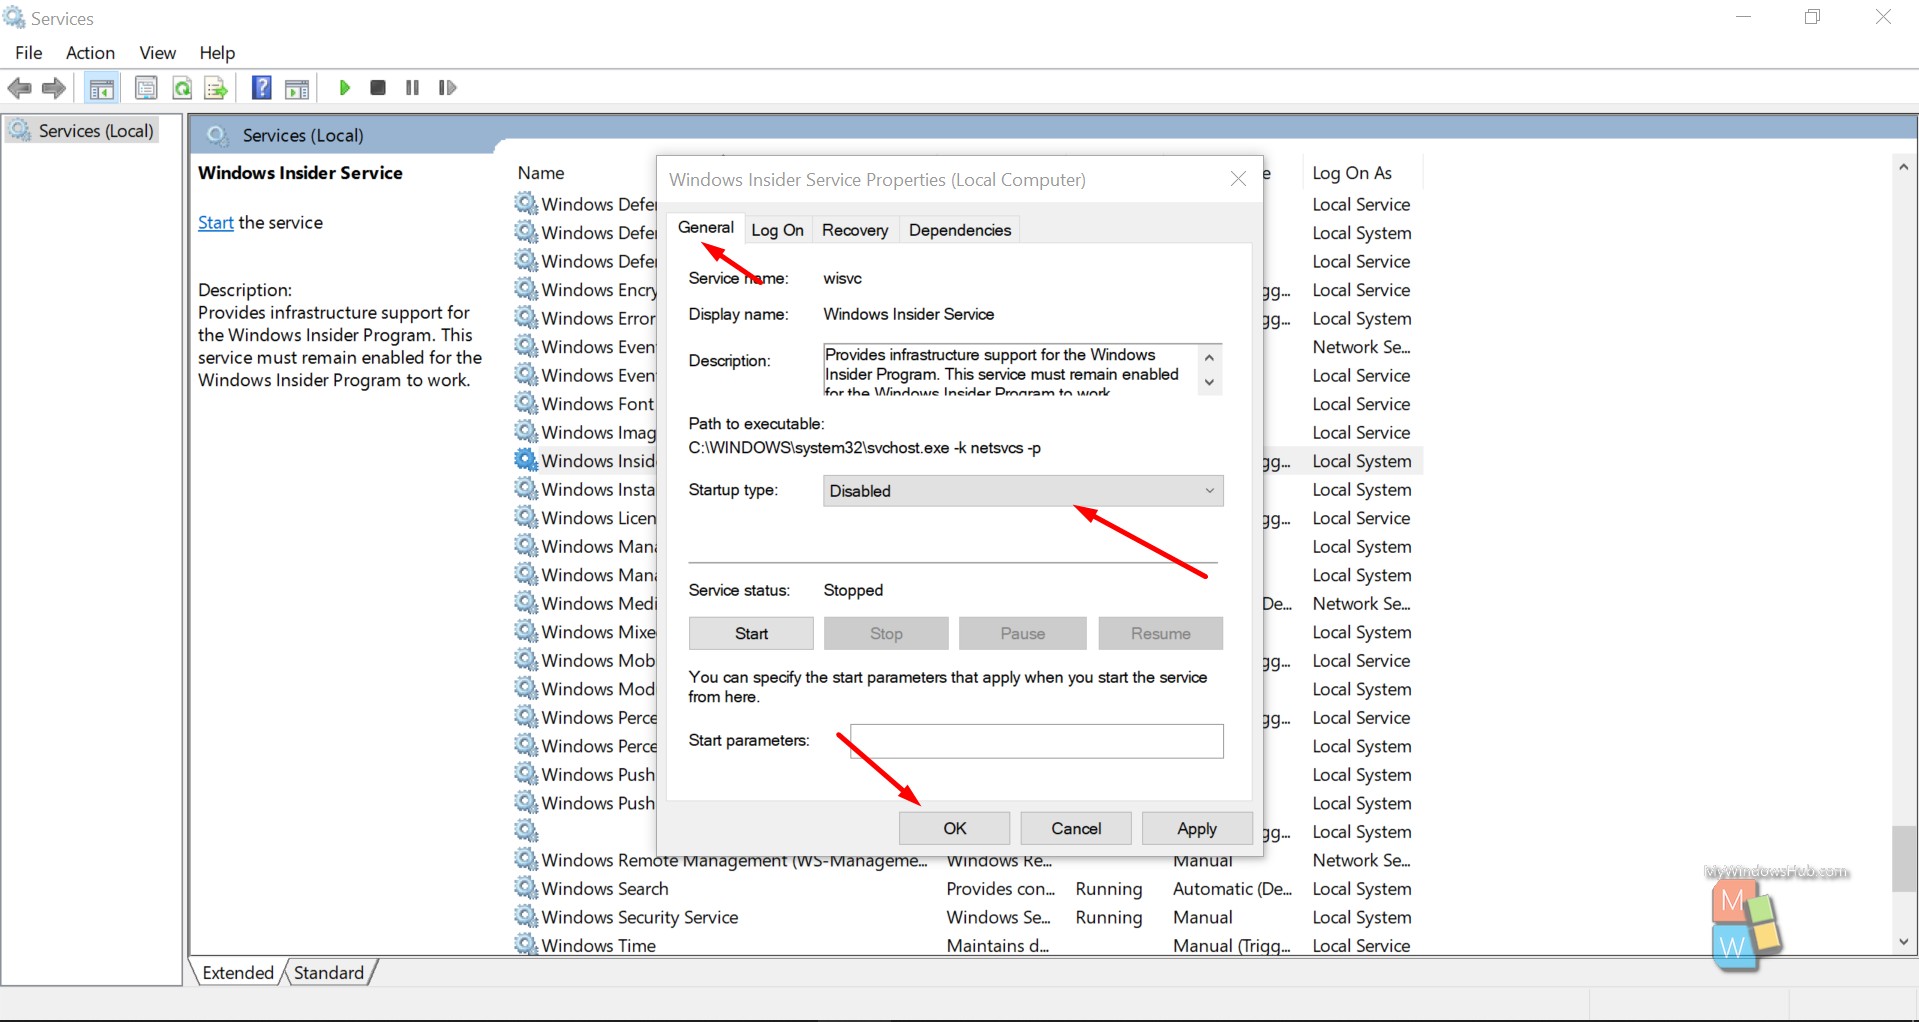
- Navigate to the “General” tab, then select the “Disabled” option from the “Startup type” drop down.
- Click on Apply and then Ok button to save the changes.
You can now close the Services console.
Disable Windows Insider Service via Command Prompt:
- Press the “Win + R” key on your keyboard to open the Run dialog.
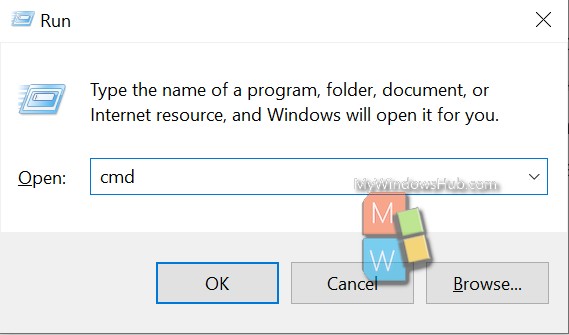
- Then type “cmd” and hit the “CTRL + SHIFT + ENTER” keys together to open the elevated command prompt.
- In the command prompt, type the below command and hit the enter key,
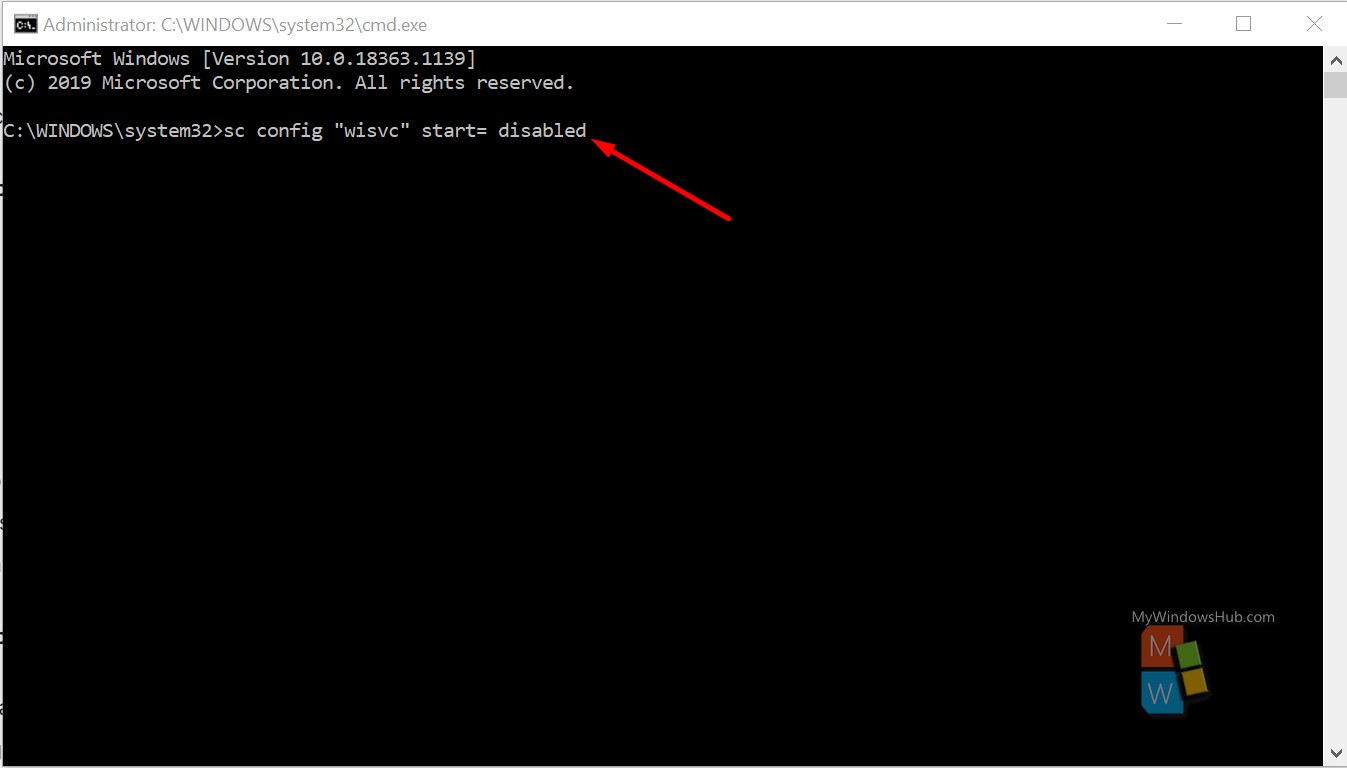
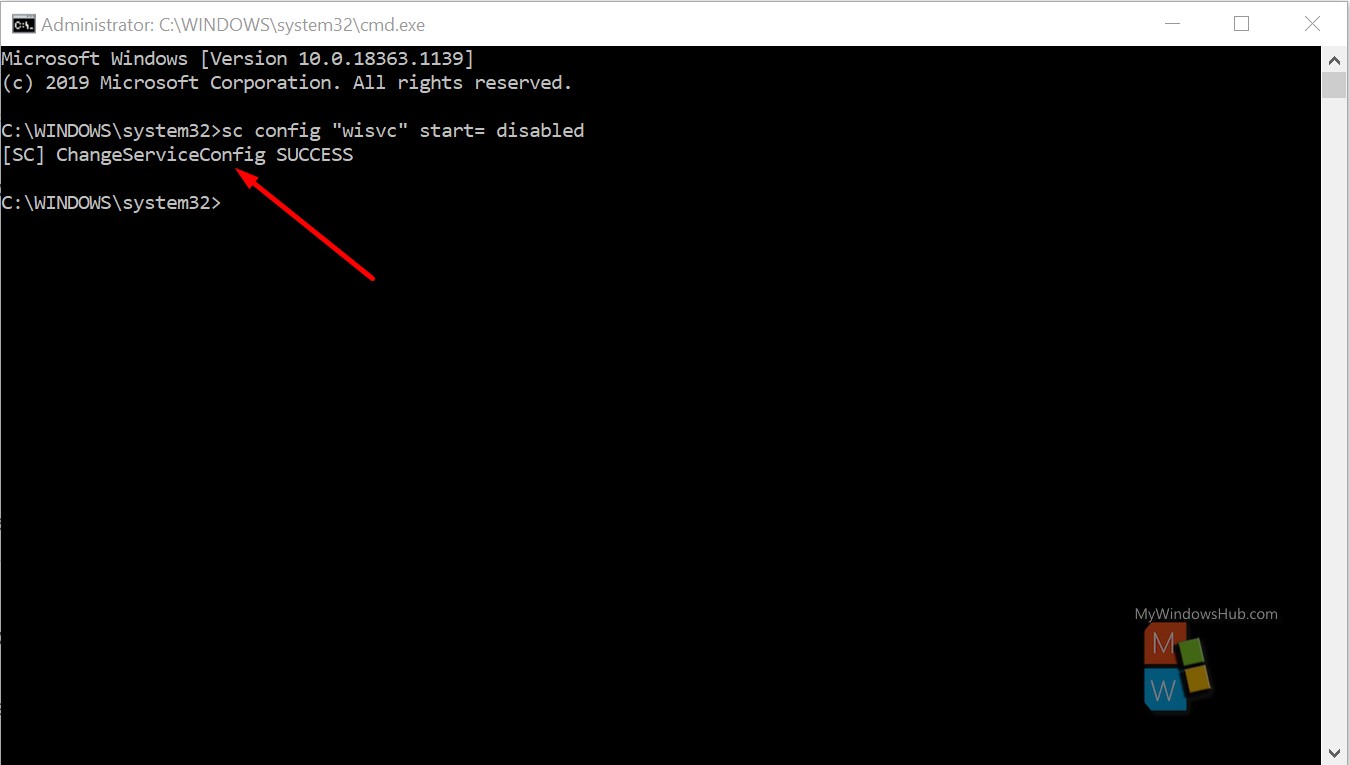
sc config “wisvc” start= disabled
That’s it. You just disabled the Windows Insider Service using the elevated Command Prompt.
Disable Windows Insider Service via PowerShell:
The last method would walk you through the steps to disable the service using PowerShell. Please follow the below-mentioned steps,
- Press the “Win + X” key to open the Power User Menu.
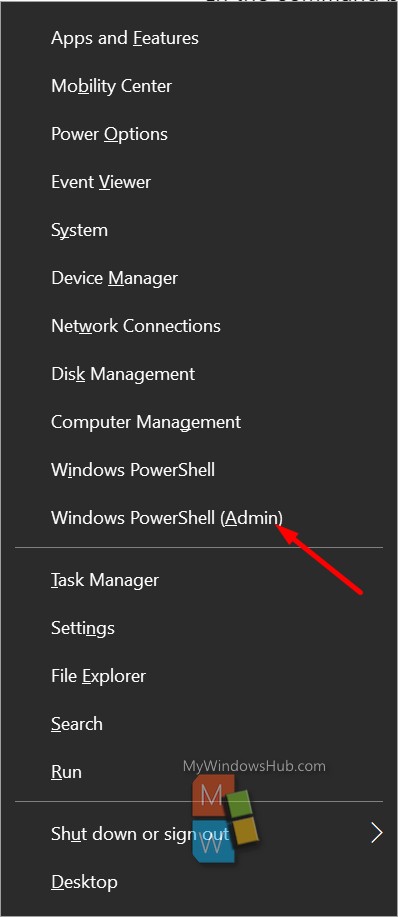
- Then press “A” on your keyboard to open the PowerShell in the elevated mode.
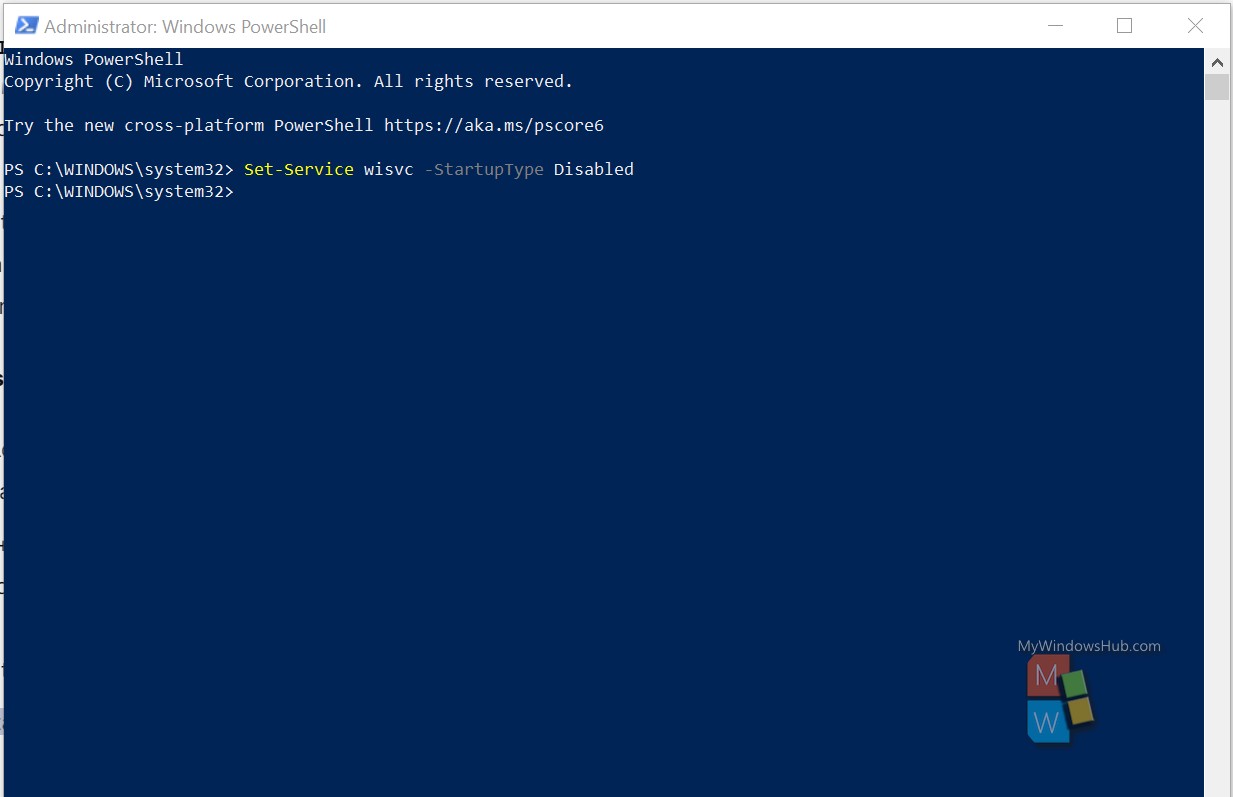
- In the console, type the below command and hit the enter key,
Set-Service wisvc -StartupType Disabled
Conclusion:
This article has shown you three different ways to disable the Windows Insider Service on your Windows 10 device. In case you find any difficulties in executing any of the steps mentioned above, please leave a comment below.