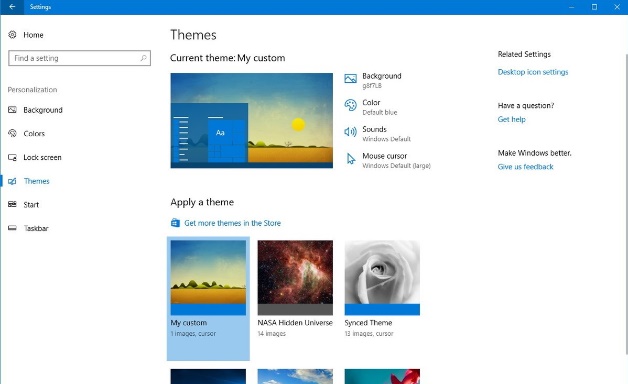
Microsoft has started pushing Windows 10 Creators Update. This new version has come up with a bundle of new features that you’ll definitely love. One such feature is the Themes. Windows 10 Creators Update comes with three default themes. But that’s not all. There are a plethora of Themes which can be downloaded from Windows Store. If you look at the themes, they are very basic with nominal design. All you get is a combination of a wallpapers and a matching accent colors. So, if you like simple things, then the Themes feature will be perfect for you. But if you are not satisfied with simple themes, then also you have a reason to rejoice. You can create your own custom theme. So if you are a person with an innate knack of computers and a bit of creativity, then you can easily create your own Windows Themes.

The Creators Update has a strong support for the customized themes. Hence switching themes is not at all a difficult task. It can be accomplished with just a click.
Now let us see how to create a custom Theme. The steps are extremely simple. A customized theme contains an accent color and one or multiple wallpapers. To create your own wallpaper,
1. Open you Start Menu.
2. Go to Settings.
3. Go to Personalization.
4. Now click on Background in the left tab.
5. In the right panel, select picture or pictures by making proper selection in the Background tab. These pictures will be your theme’s wallpapers.
6. Now tap on the Colors tab in the left panel.
7. Chose a color that complements your wallpapers. This color if your accent color. Your theme has been created.
8. Now you have to save your theme. Go to the Themes tab located in the left panel.
9. Check the preview tab on the right pane. You can find your custom theme. Click on ‘Save Theme’ button. Enter a name for your theme, and click ‘Save’. 10. That’s all! The themes will be saved. No matter if you delete the images from your computer by mistake, the themes will remain intact.

