

A DNS(Domain Name System) is a service that allows you to access your favourite websites with simplified domain names. Earlier before DNS, it was challenging to remember the remote hosting servers’ IP address(s) in order to access the web content. When you access the internet via your Internet Service Provider, you are most likely to use the default DNS server. The good thing is that you can select the third-party DNS service, which could offer better services than the default ones. Sometimes the default DNS server(s) are overloaded and responds to the requests slowly. To avoid this and improve the browser experience, you need to switch to a fast DNS server. In the case of a shared network, you can update the DNS configuration for your laptop only. And in the case of a private network, you can directly override the DNS settings in your Router.
All the major companies already started testing the DNS over HTTPS(DoH), and after Windows 10 build 19268, you can now test the DoH directly without any third-party tools. This article aims to walk you through the steps to change the IPv4 and IPV6 DNS address on your Windows 10 device. This can be achieved in many ways as mentioned below,
- To Change IPv4 and IPv6 DNS Server Address in Command Prompt
- To Change IPv4 and IPv6 DNS Server Address in Control Panel
- To Change IPv4 and IPv6 DNS Server Address in PowerShell
- To Change IPv4 and IPv6 DNS Server Address in Settings
- To Change DNS Server Address on Router ( Specific to Routers )
To Change IPv4 and IPv6 DNS Server Address in Control Panel:
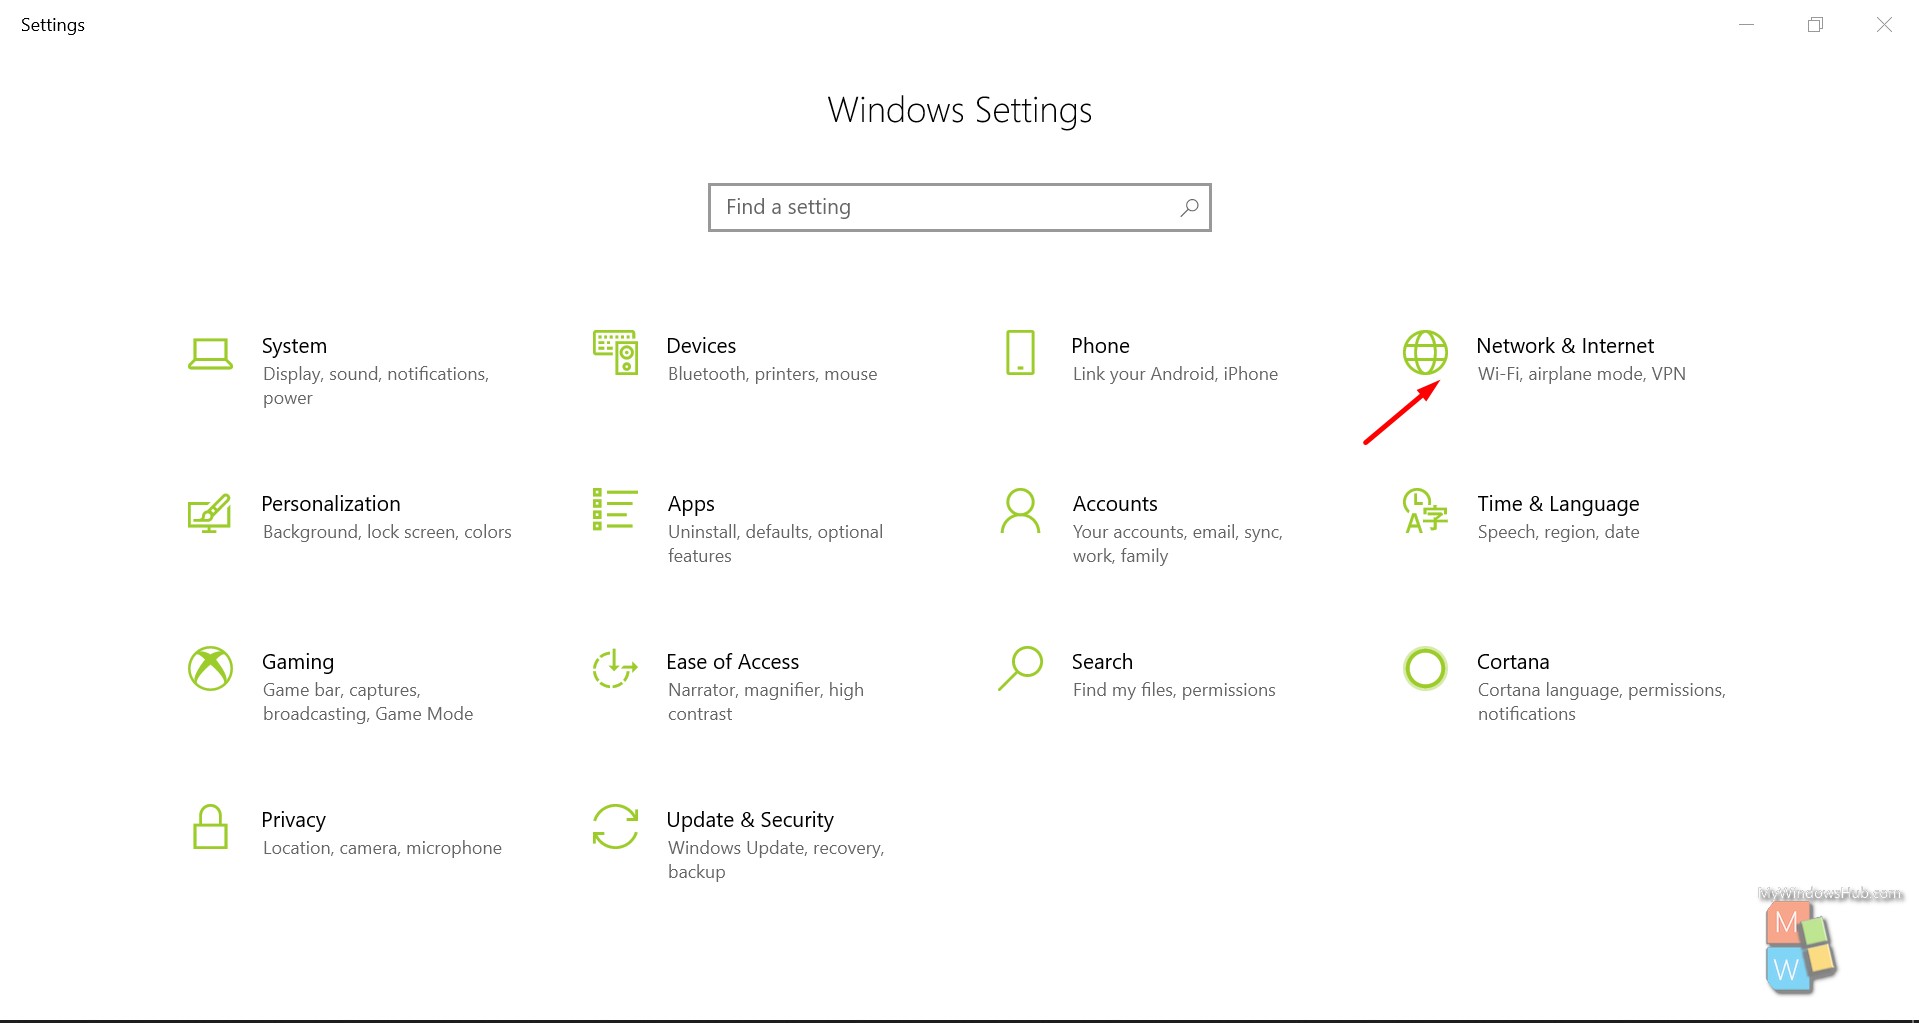
- Press the “Win+ I” keys on your keyboard to open the Settings app.
- Click on the “Network & Internet” option.
- Then click on the “Network & Sharing Center” from the right-hand pane.
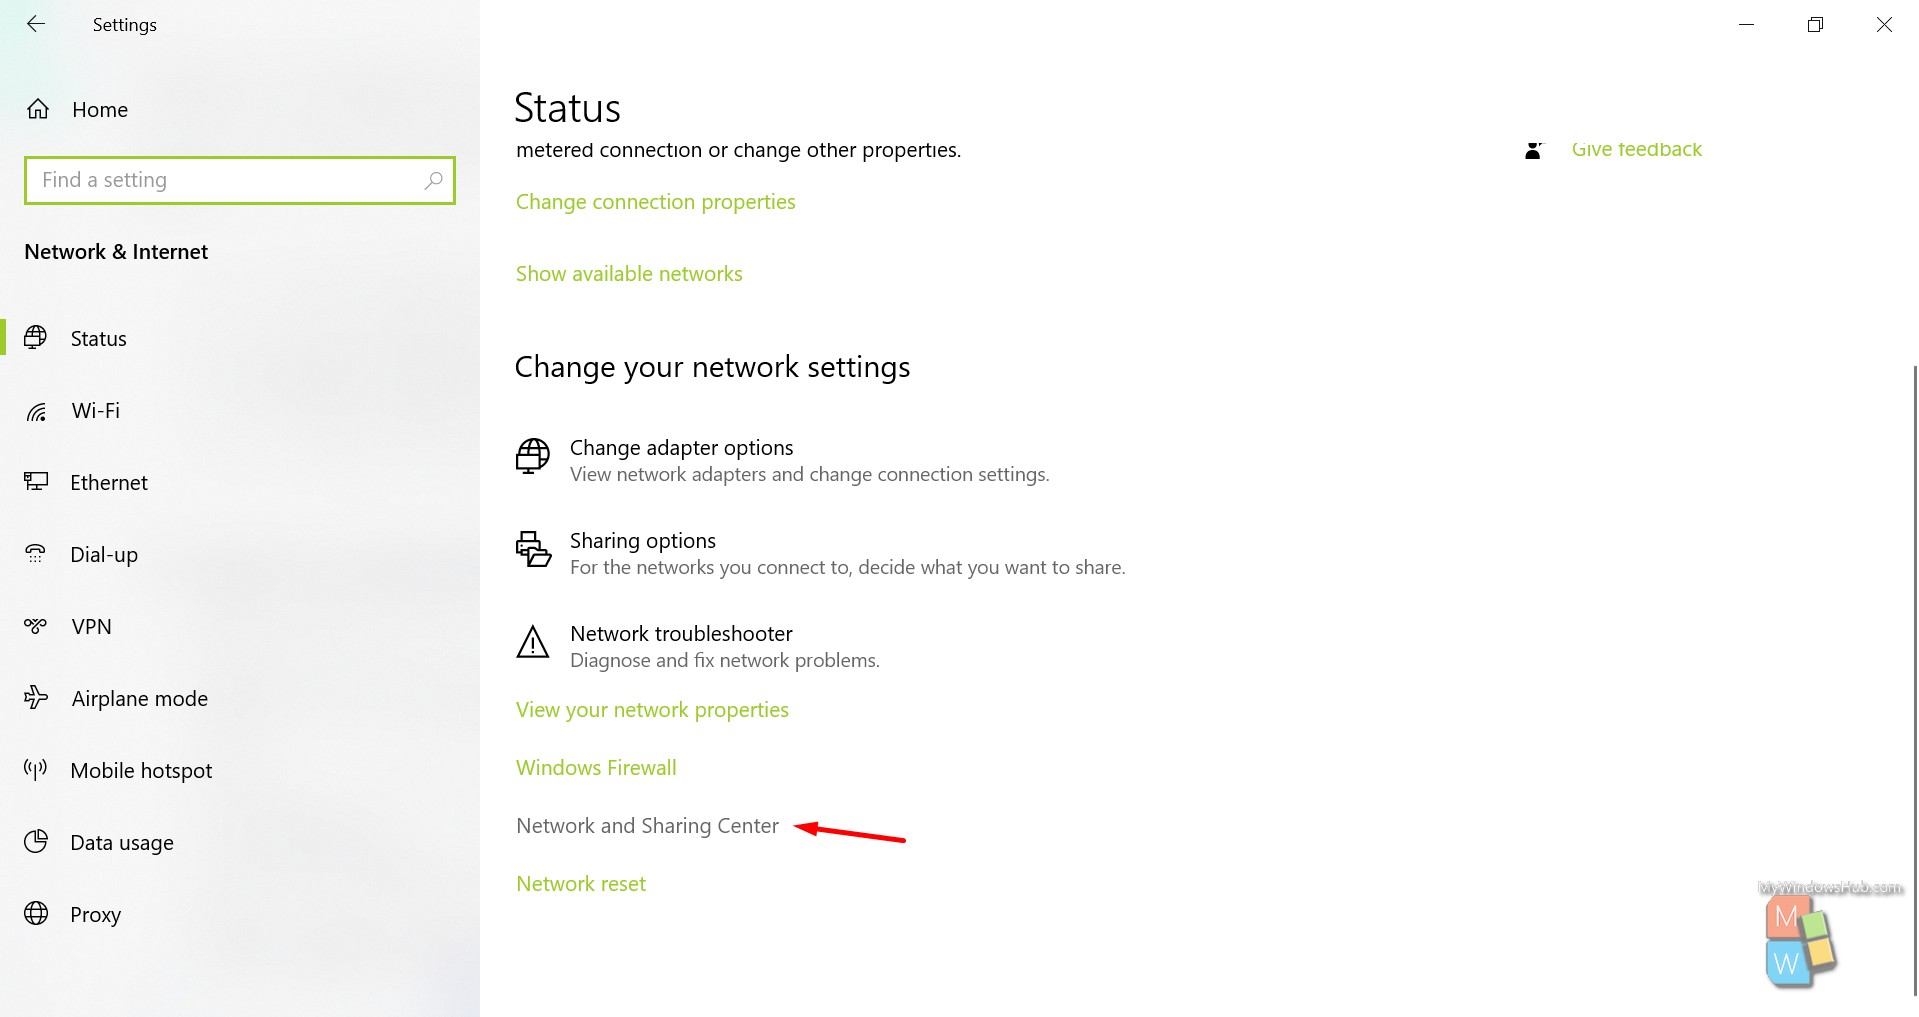
- Identify your current network and click on the link aside from the Connections tag.

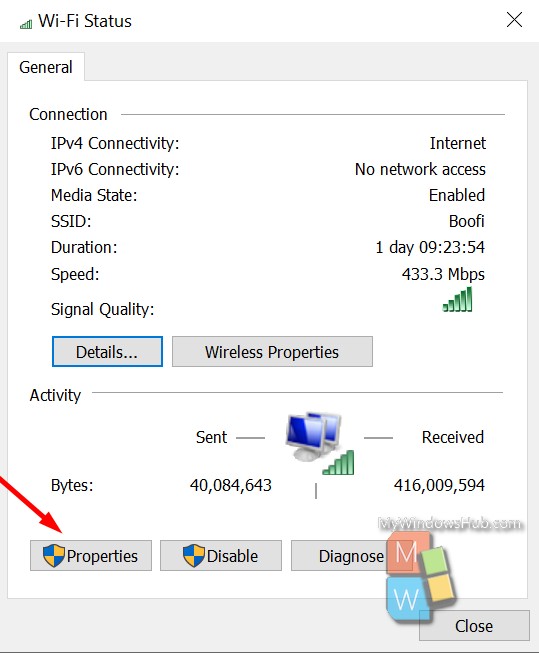
- Click on the “Properties” button.
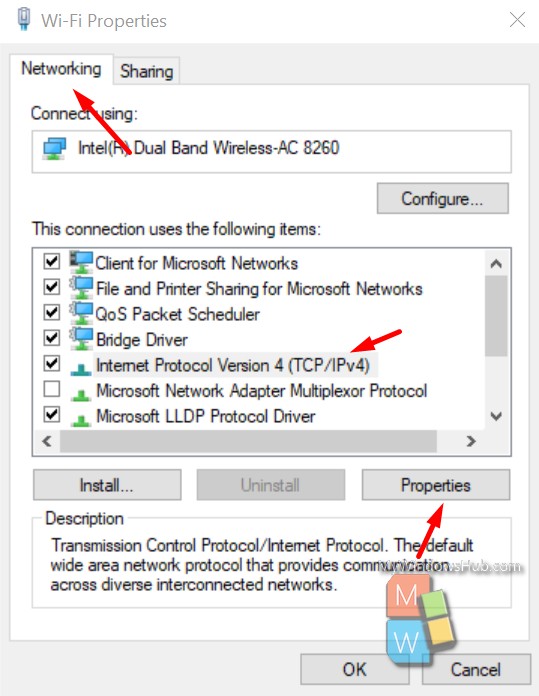
- Make sure you are on the “Networking” tab, select the Internet Protocol Version 4 (TCP/IPv4) or Internet Protocol Version 6 (TCP/IPv6), and click on the “Properties” button.
- Here you shall be able to see two options,
- One is to fetch the DNS settings automatically.
- Another one is the manual configuration.
- Tap on the “Use the following DNS server addresses” checkbox. Before proceeding further, make sure you have the DNS server details. If not, search in google for the fastest DNS server, and you are good to go.
- Copy and paste the preferred and alternative DNS server address in the specified areas. Then click on the “Ok” button to save the changes.
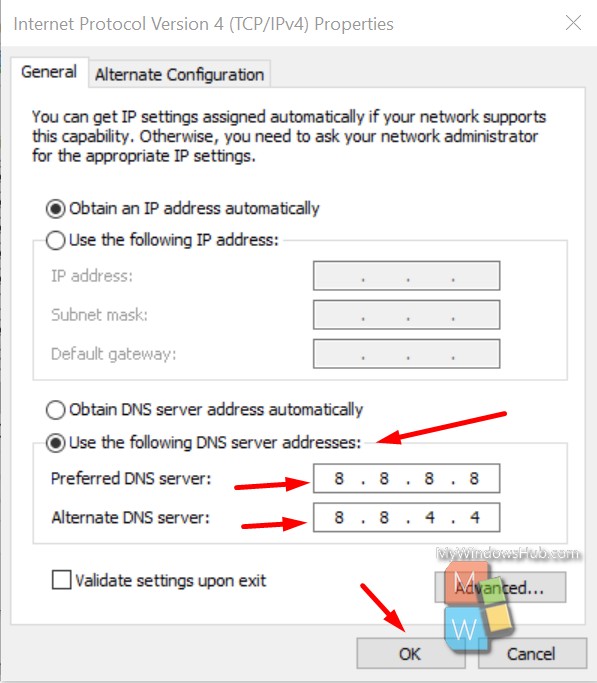
- Finally, tap on the “Close” button to continue.
- The next step would be to flush the DNS resolver cache to ensure that the updated DNS server is applied.
To Change IPv4 and IPv6 DNS Server Address in PowerShell:
Before proceeding further, make sure that you are signed in as an admin user account to try out the below-mentioned steps,
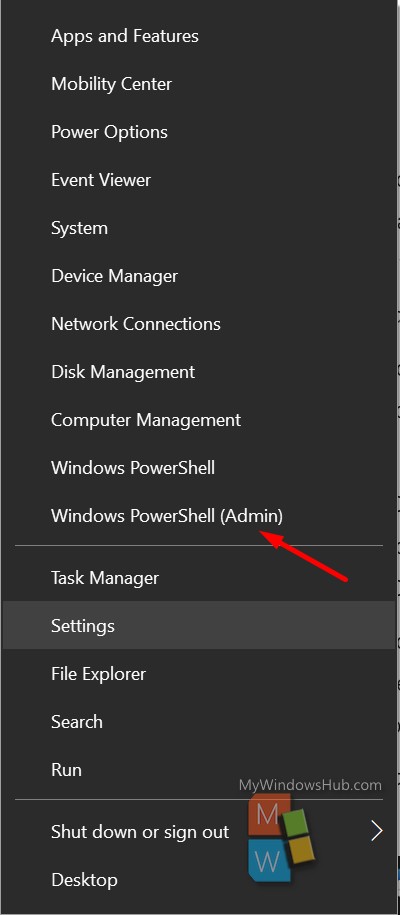
- Right-click on the Start menu and select the “Windows PowerShell(Admin)” option to open the elevated PowerShell.
- Paste the below command and hit the enter key to get the detail of all the network adapters. It would help if you got the Interface Alias of the adapter for which you want to change the DNS server.
Get-DnsClientServerAddress
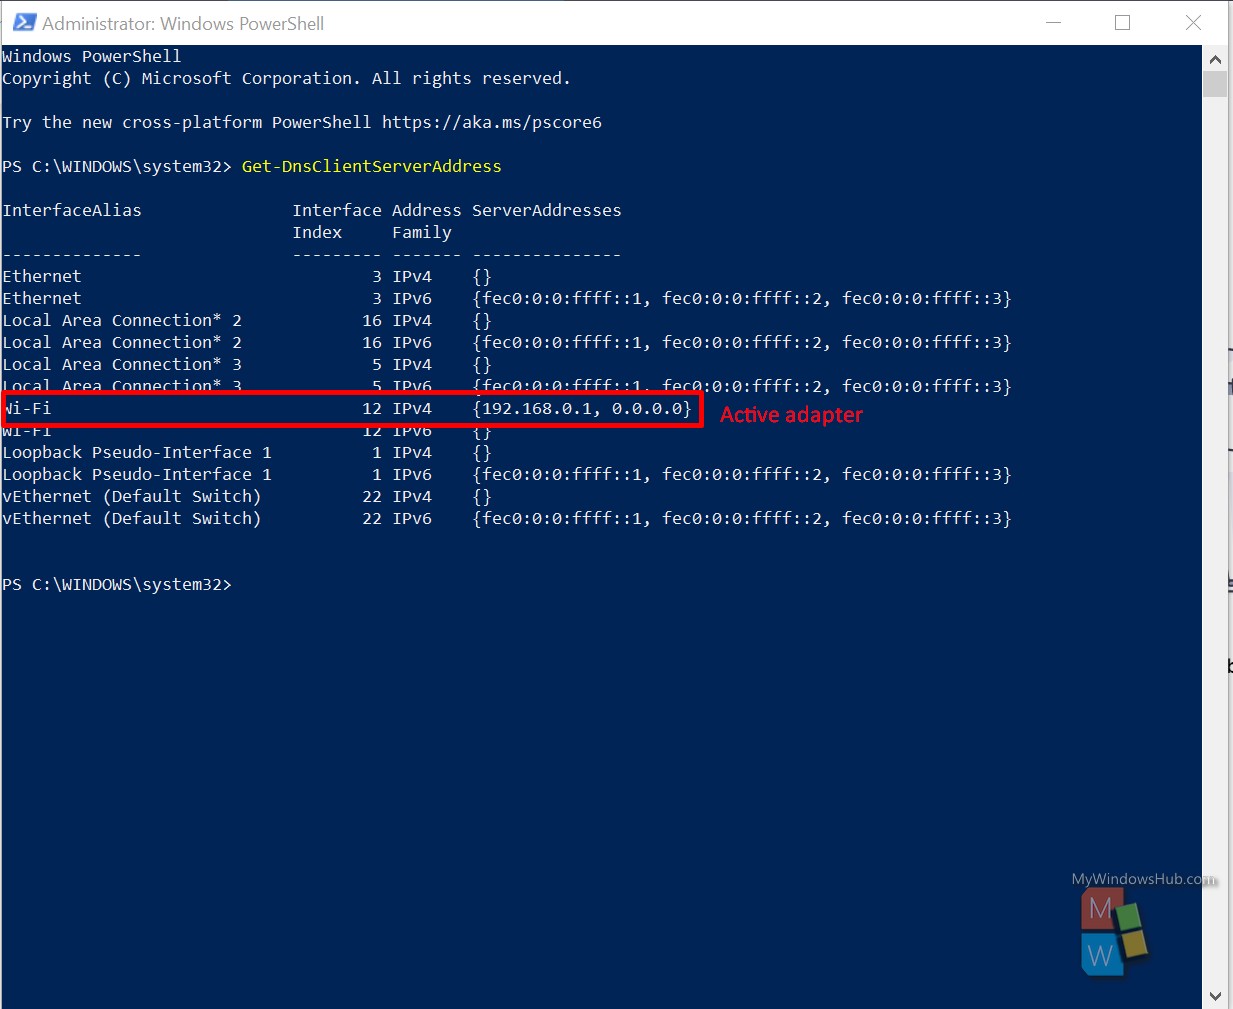
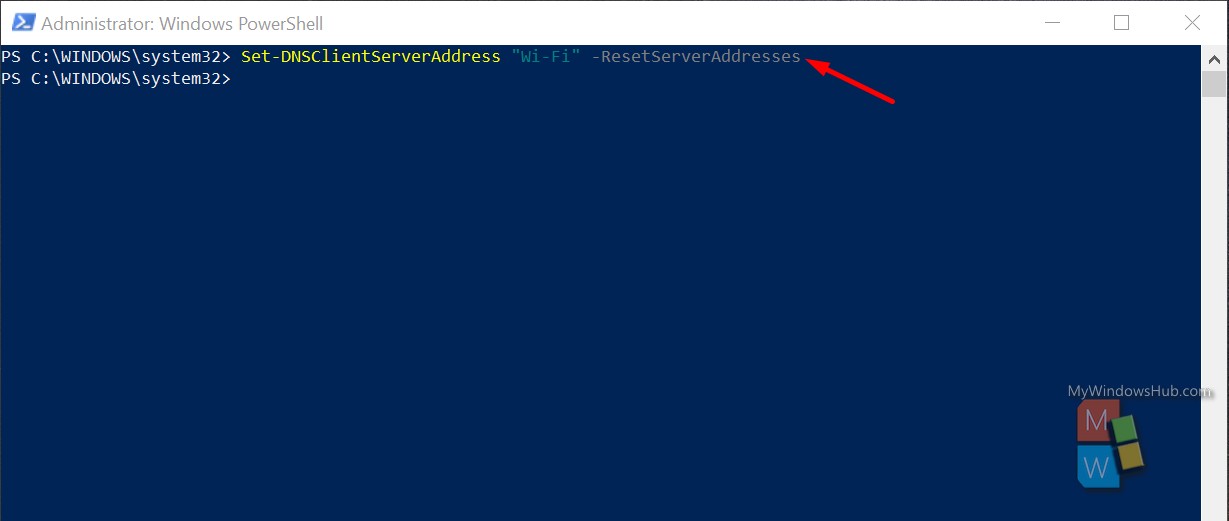
- Paste the below command and make sure to provide the intended “Interface Alias” to resolve the DNS for IPV4 and IPV6 automatically.
Set-DNSClientServerAddress "Interface Alias" -ResetServerAddresses
Set-DNSClientServerAddress "Wi-Fi" -ResetServerAddresses
- Paste the below command and make sure to provide the intended Interface Alias, preferred and alternative DNS address to manually update the DNS for IPV4 and IPV6.
Example – Switch to Google DNS:
Set-DNSClientServerAddress "Interface Alias" –ServerAddresses ("Preferred DNS address", "Alternate DNS address")
Set-DNSClientServerAddress "Ethernet" –ServerAddresses ("8.8.8.8", "8.8.4.4")
Set-DNSClientServerAddress "Ethernet" –ServerAddresses ("2001:4860:4860:0:0:0:0:8888", "2001:4860:4860:0:0:0:0:8844")- The next step would be to flush the DNS resolver cache to ensure that the updated DNS server is applied.
- Now you can close the PowerShell window.
To Change IPv4 and IPv6 DNS Server Address in Command Prompt:
Before proceeding further, make sure that you are signed in as an admin user account to try out the below-mentioned steps,
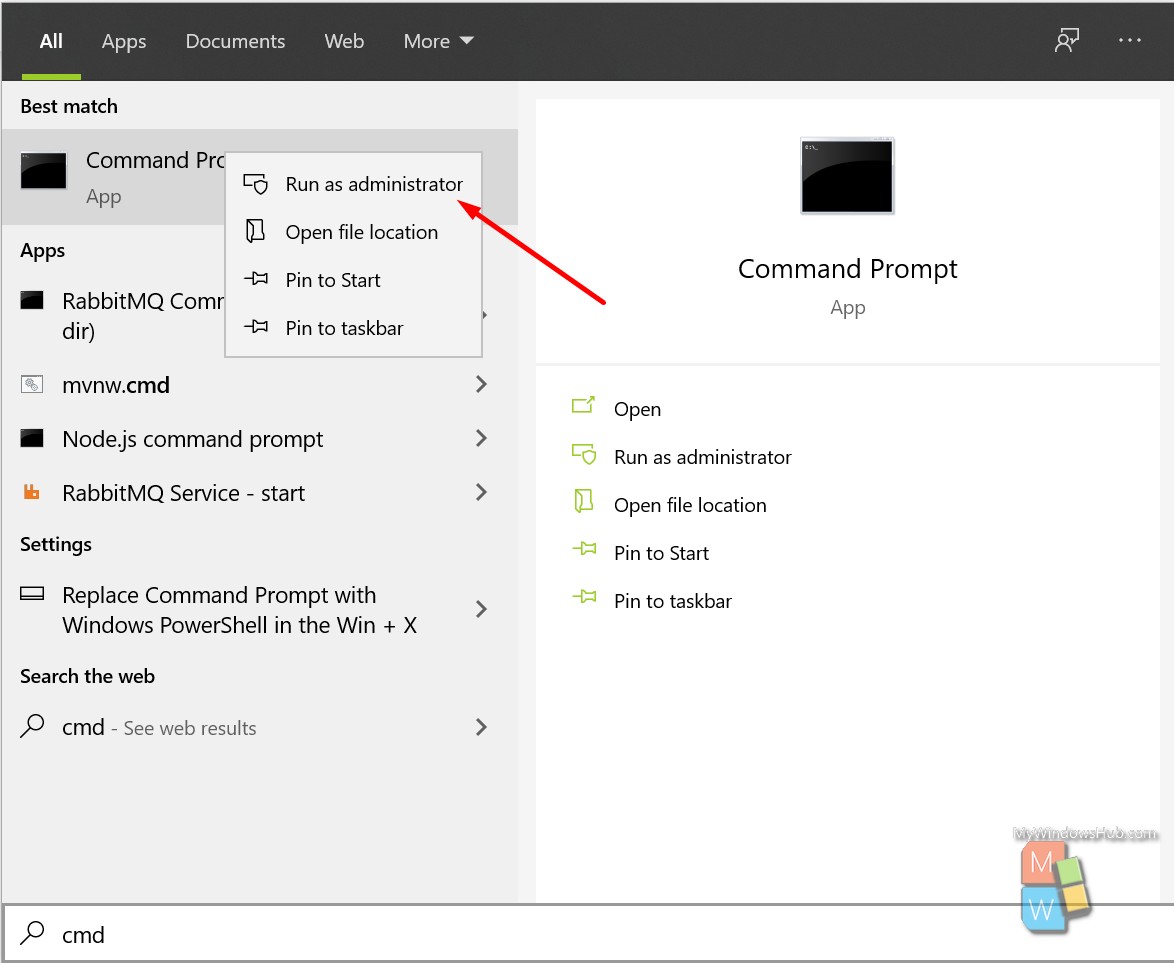
- Search for “cmd” and right-click on it; tap on the “Run as Administrator” to open the elevated command prompt.
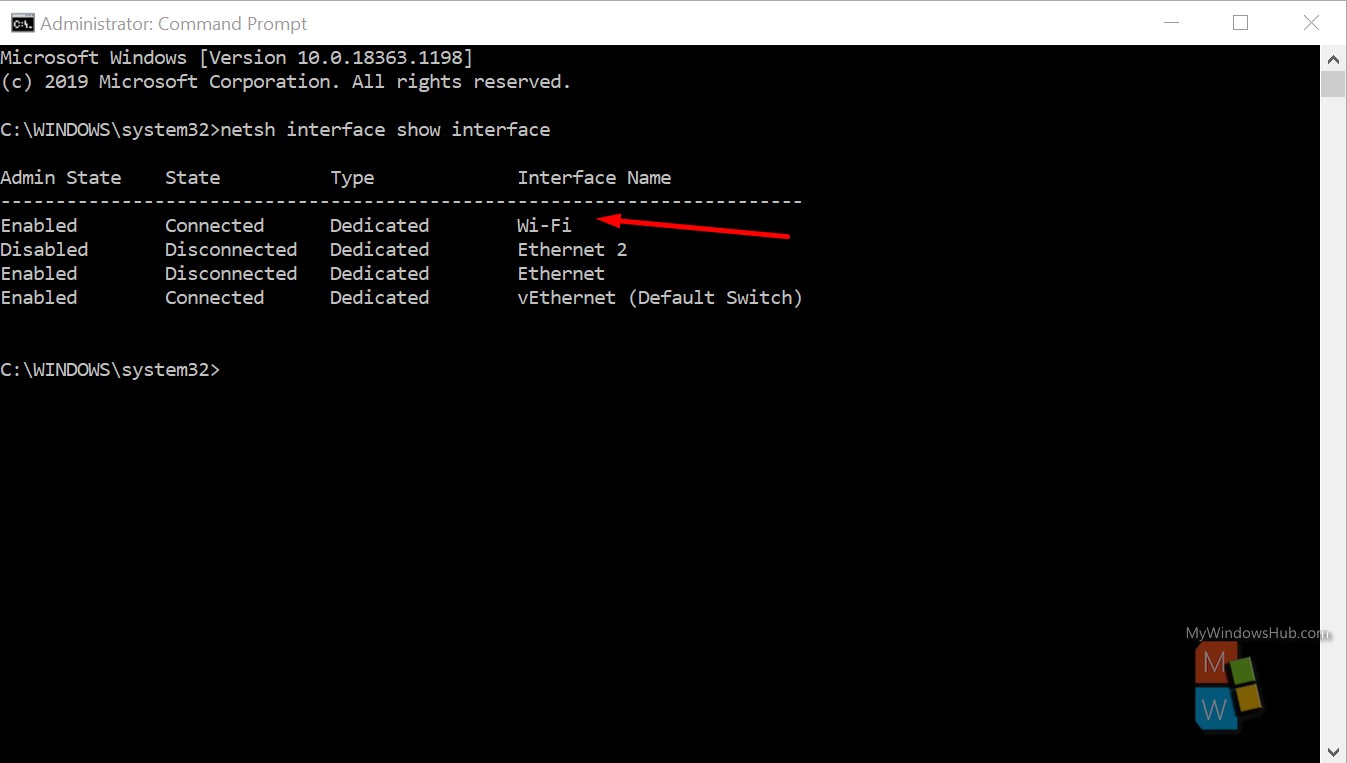
- Paste the below command and hit the enter key to get the detail of all the network adapters. Here you need to get the Interface Name of the adapter for which you want to change the DNS server.
netsh interface show interface
- Paste the below command and make sure to provide the intended “Interface Alias” to resolve the DNS for IPV4 and IPV6 automatically.
netsh interface ipv4 set dnsservers “Interface Alias” dhcp
netsh interface ipv6 set dnsservers “Interface Alias” dhcp

- Paste the below command and make sure to provide the intended Interface Alias, preferred and alternative DNS address to manually update the DNS for IPV4 and IPV6.
Example – Switch to Preferred Google DNS:
netsh interface ipv4 set dnsservers "Interface Name" static Preferred DNS address primary
netsh interface ipv4 set dnsservers "Ethernet" static 8.8.8.8 primary
netsh interface ipv6 set dnsservers "Interface Name" static Preferred DNS address primary
netsh interface ipv6 set dnsservers "Ethernet" static 2001:4860:4860:0:0:0:0:8888 primary
Switch to Alternative Google DNS:
netsh interface ipv4 add dnsservers "Interface Name" Alternate DNS address index=2
netsh interface ipv4 add dnsservers "Ethernet" 8.8.4.4 index=2
netsh interface ipv6 add dnsservers "Interface Name" Alternate DNS address index=2
netsh interface ipv6 add dnsservers "Interface Name" 2001:4860:4860:0:0:0:0:8844 index=2
- The next step would be to flush the DNS resolver cache to ensure that the updated DNS server is applied.
- Now you can close the Command Prompt window.
To Change IPv4 and IPv6 DNS Server Address in Settings:
- Press the “Win+ I” keys on your keyboard to open the Settings app.
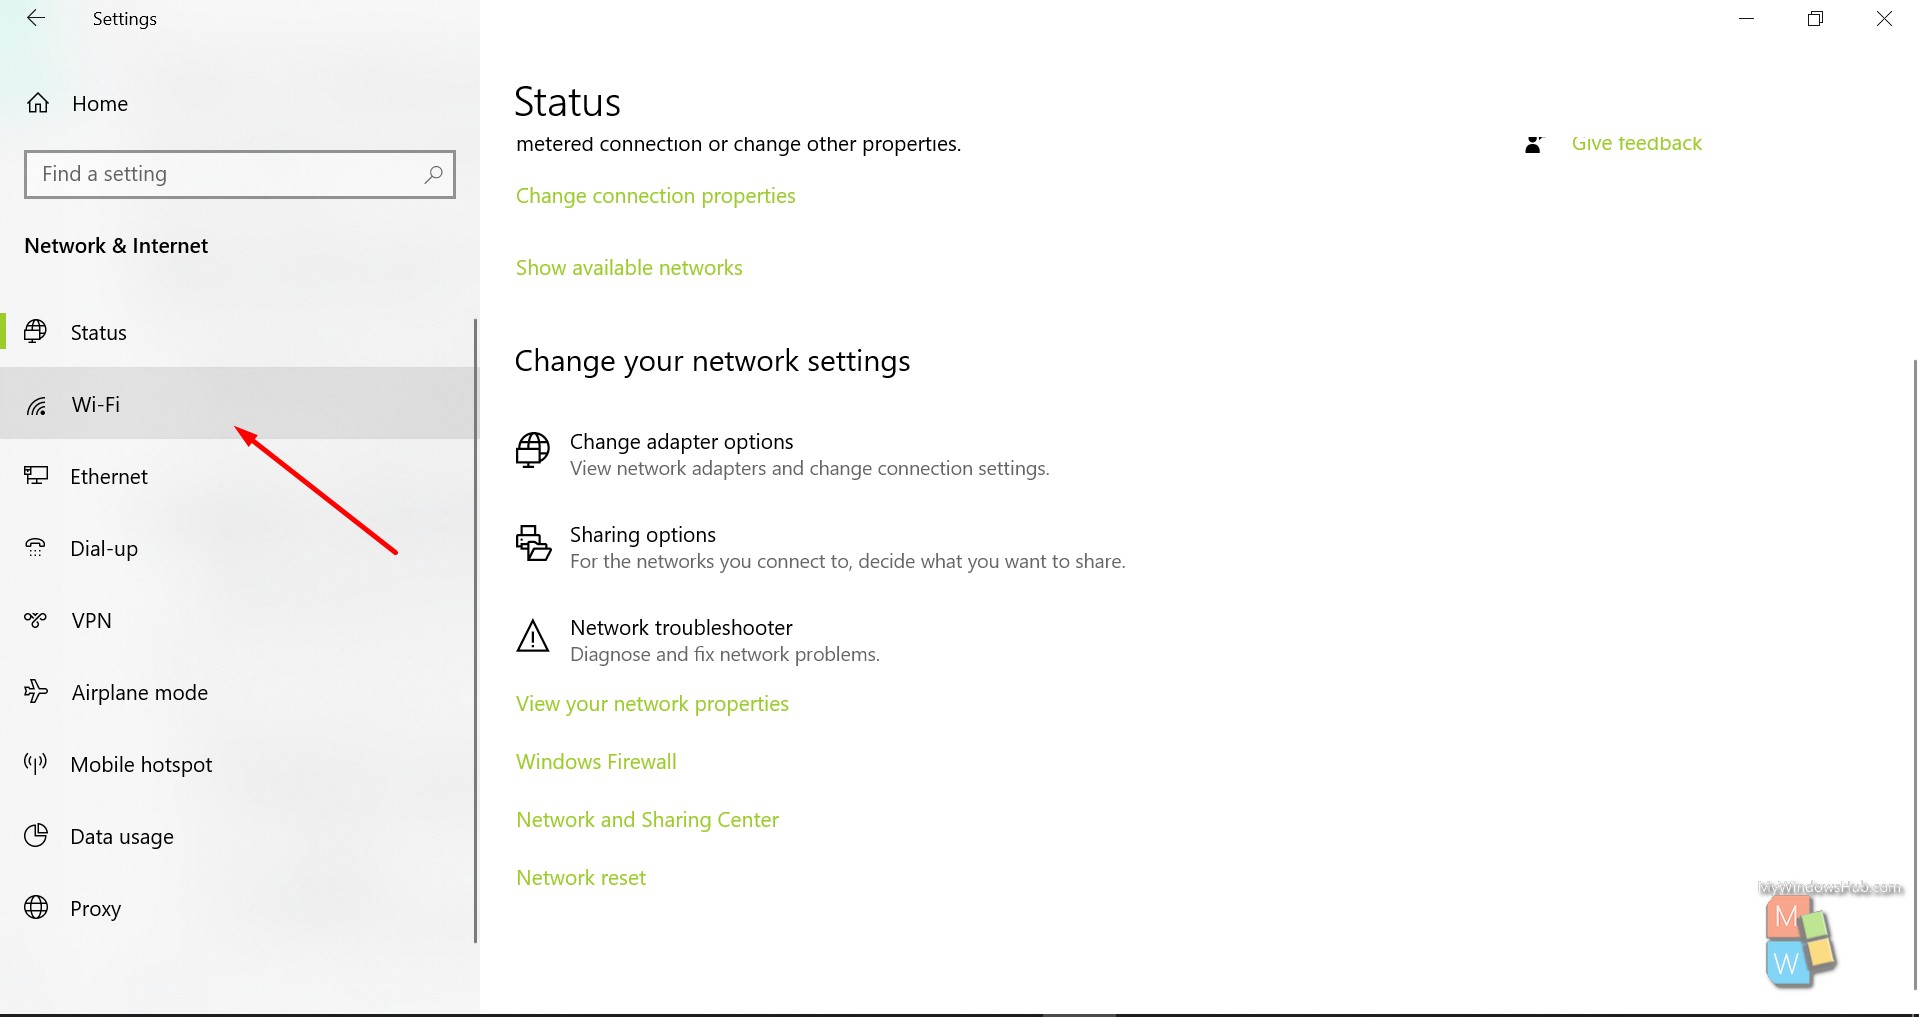
- Click on the “Network & Internet” option.
- Based on the network connection, click on either the “Wi-Fi” or “Ethernet” option on the left-hand navigation pane.
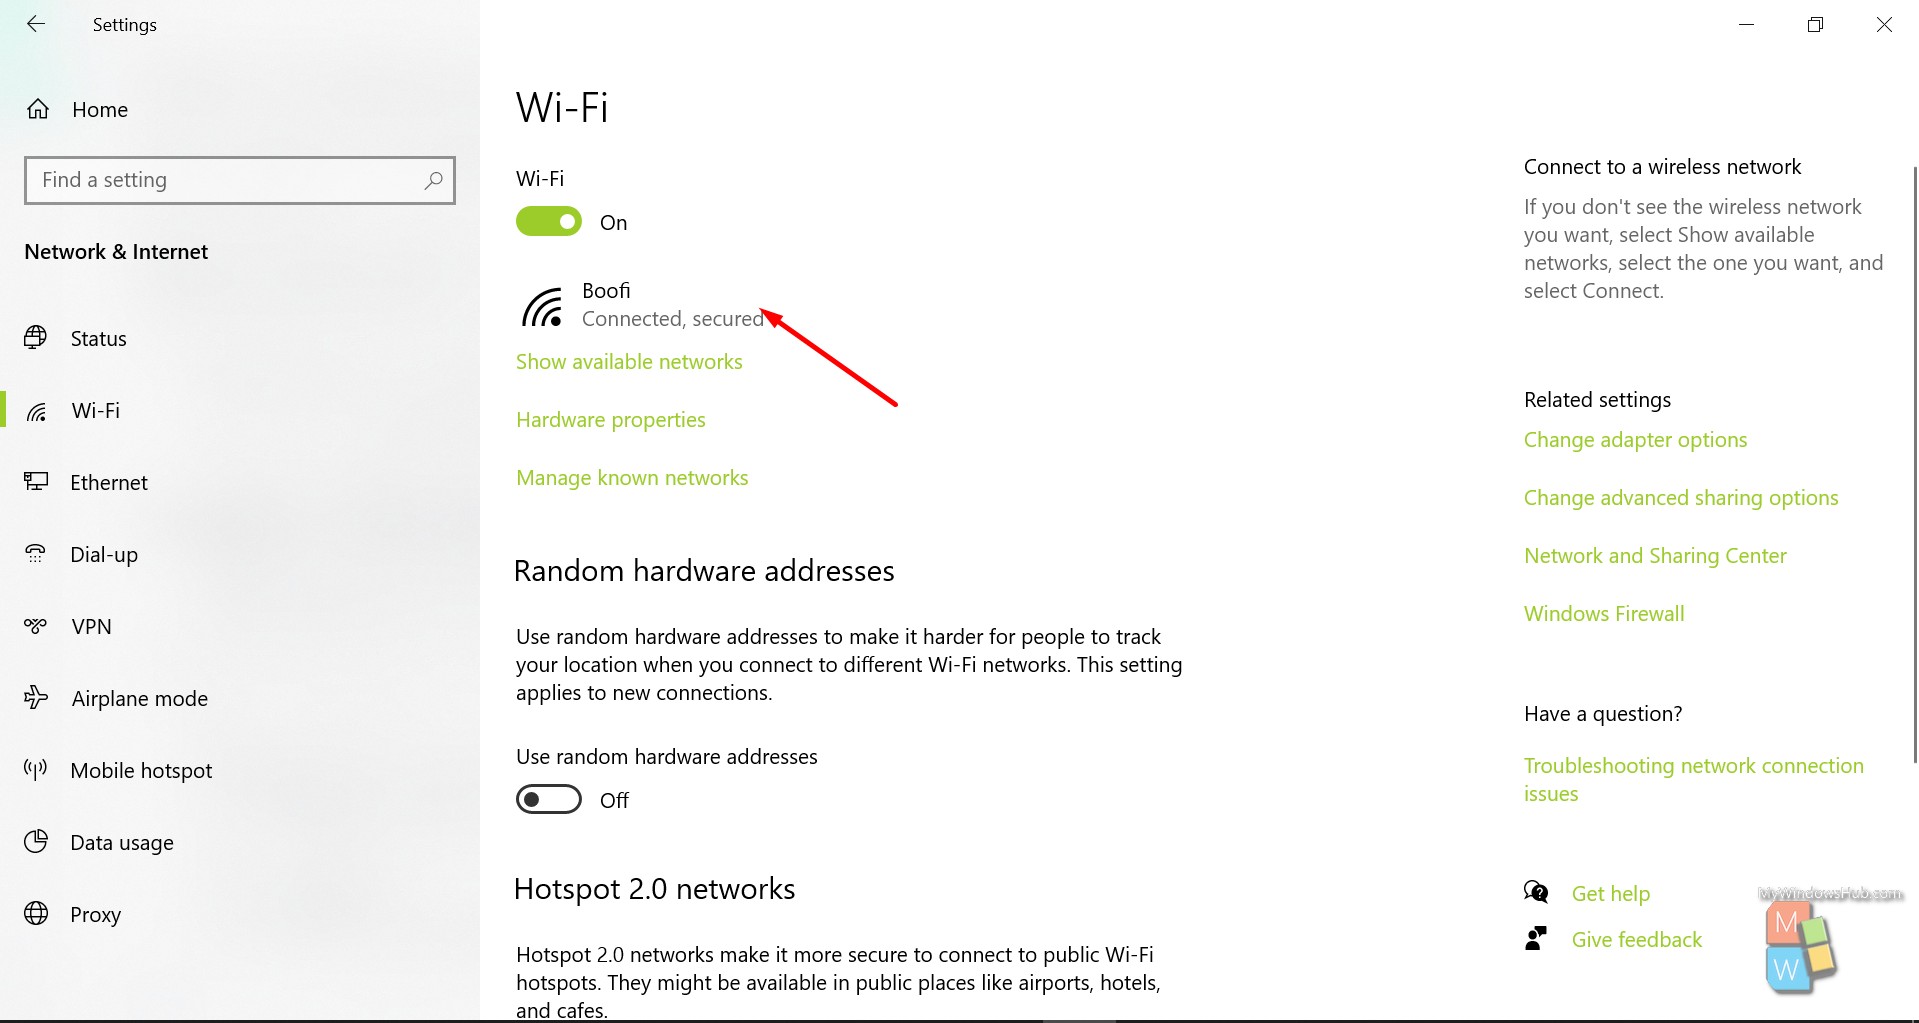
- On the right-hand pane, you shall be able to see the connected network adapter. Tap on the name( here it’s “Boofi”) to open the configuration tab.
- Under IP settings, click on the “Edit” button.
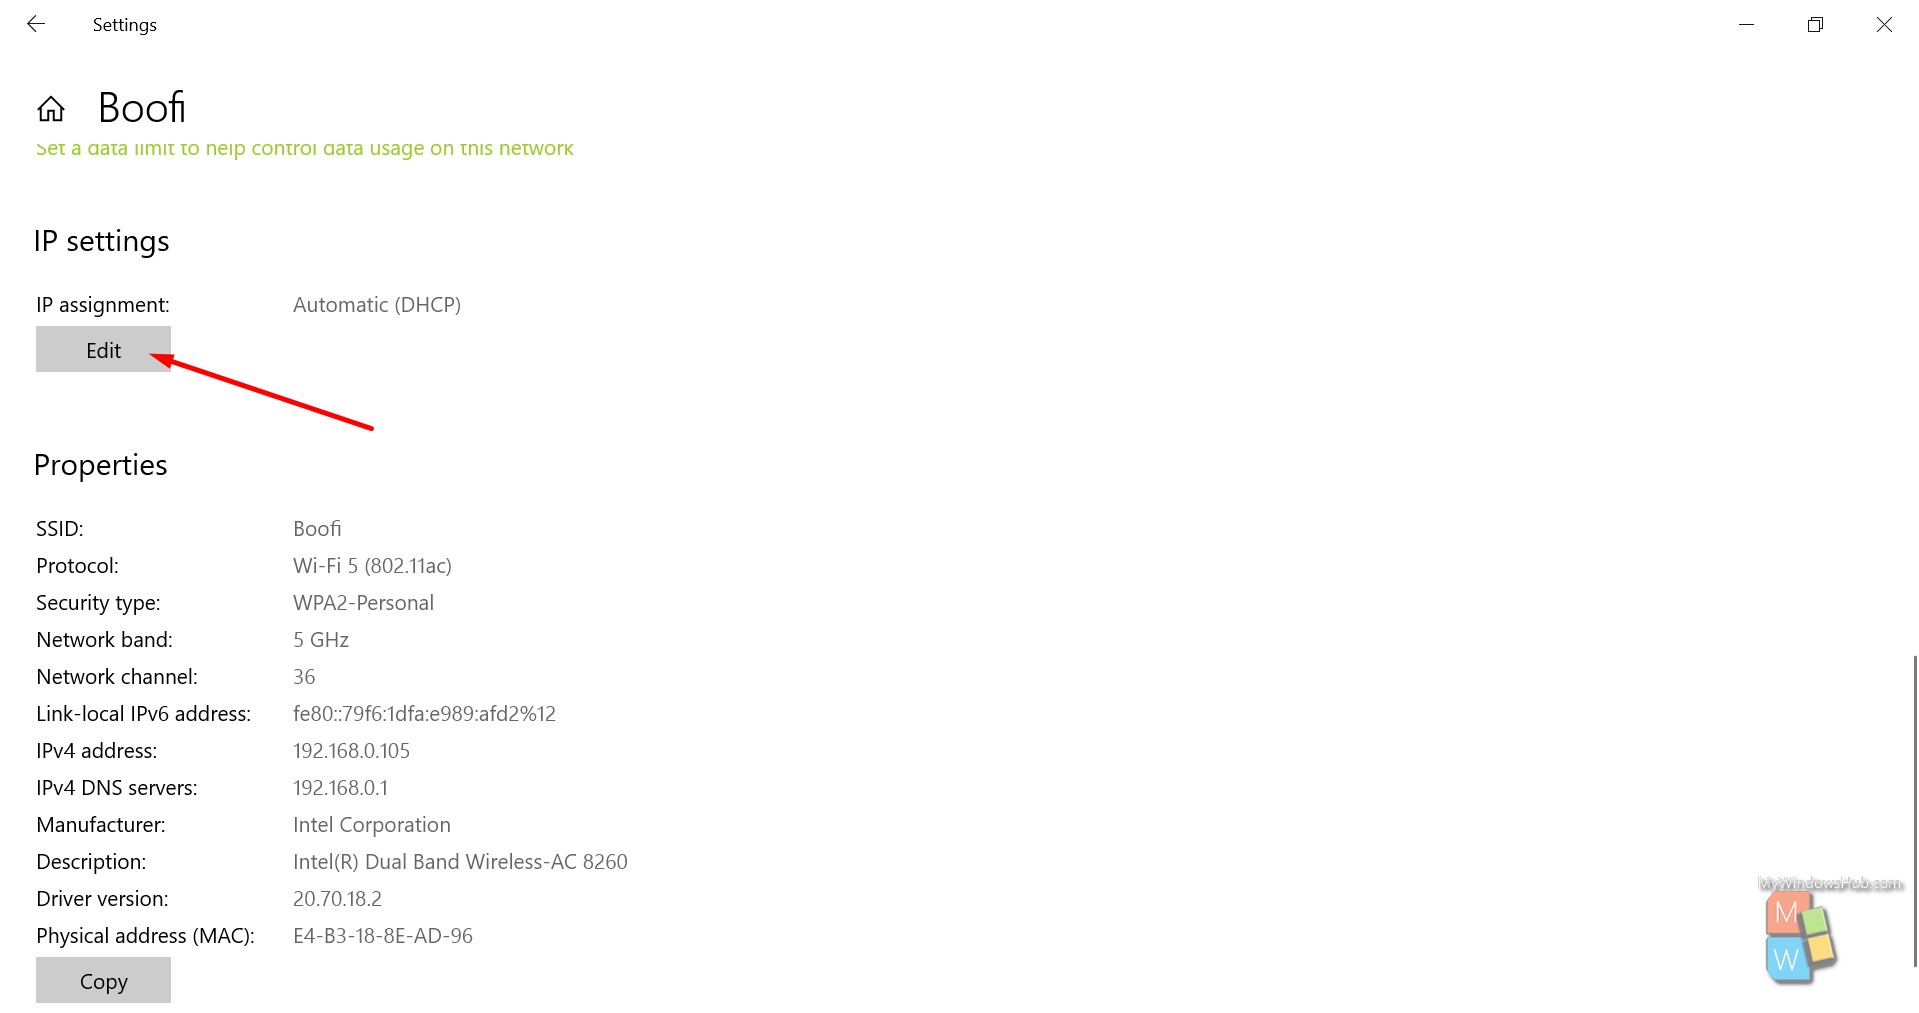
- You shall be able to see a drop-down. If you want to resolve the DNS server settings automatically, select the “Automatic(DHCP)” option.
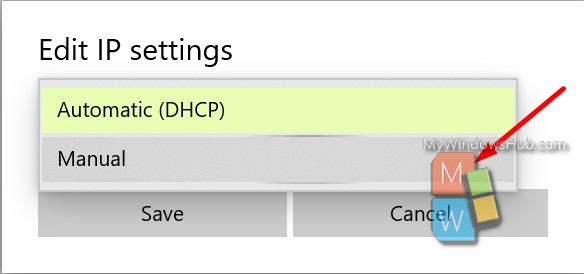
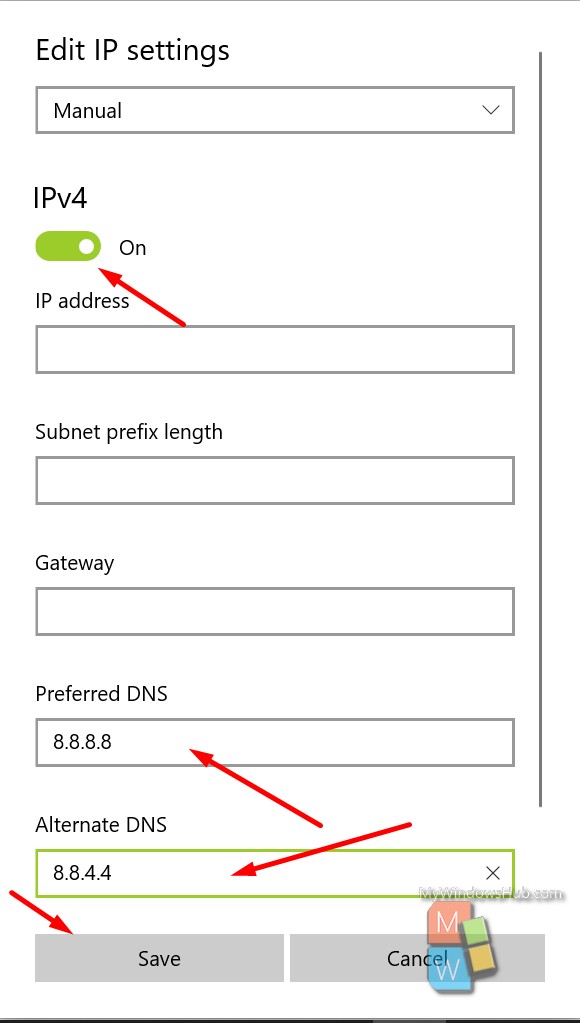
- To manually update the DNS server settings, select the “Manual” option from the Edit Ip settings drop-down. For the time being, you can skip the IP address, Subnet mask and Gateway as these are usually obtained automatically.
- To update the DNS for the IPV4, tap on the IPV4 slider to turn it on. Then provide the preferred and alternate DNS address.
- To update the DNS for the IPV6, tap on the IPV6 slider to turn it on. Then provide the preferred and alternate DNS address.
- Then click on the “Save” button.
- The next step would be to flush the DNS resolver cache to ensure that the updated DNS server is applied.
- Now you can close the Settings app.
By now, you must be having one doubt, how to flush the DNS resolver cache on your Windows 10 device to make sure that the device is using the updated settings.
To Change DNS Server Address on Router:
This is the best method to change the DNS server address directly on your Router so that all the same settings would be affected for all the devices.
- Open the admin page of your Router.
- Navigate the “Local Network” tab.
- There you shall be able to see the static DNS option under the DHCP server settings.
- There you need to provide the preferred and alternate DNS server addresses.
Note: Please go through the user manual for your Router to get info on changing the DNS server address.
Conclusion:
This article has walked you through many methods to update the IPV4 and IPV6 DNS Server addresses in your Windows 10 device. If you find difficulties in executing the steps mentioned above, please leave a comment below.
About Harsit Mohapatra
Harsit Mohapatra is a full-time Software Engineer passionate and hungry for tech updates and knowledge. Besides being a crazy software developer, he is an avid traveller and loves capturing the things that give him a perception through his lenses