Windows Explorer is the heart of Windows OS and explorer.exe process is the user shell for it. Explorer.exe is used by many utility items like File Explorer, Desktop, Start menu, and taskbar. We need to restart explorer.exe process in order to refresh it. There are several processes by which you can restart the explorer process. When the explorer.exe process is stopped the desktop goes blank and then reopens. The explorer.exe file is located in the C:\Windows folder. If you frequently refresh or restart explorer, then you can add it to the Desktop Context Menu. If you do this, then you will find the restart Explorer in the menu when you right click in an empty space on Desktop. The following tutorial will help you to add or remove Restart Explorer to Desktop Context Menu in Windows 10.
Steps to Add ‘Restart Explorer’ to Desktop Context Menu in Windows 10
1. If you want to add “Restart Explorer” to Desktop Context Menu, then download the file given at the bottom of this article.
2. Extract the Zip file and open the How_to_Add_Restart_Explorer_to_Desktop_Context_Menu folder.
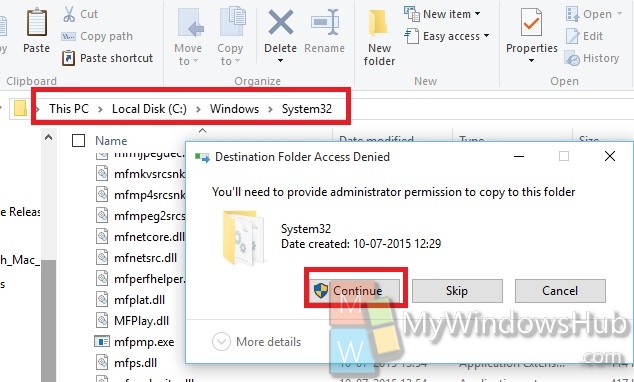
3. Now copy and paste the .bat file to C:\Windows\System32 folder. Click/tap on Continue to approve the process.

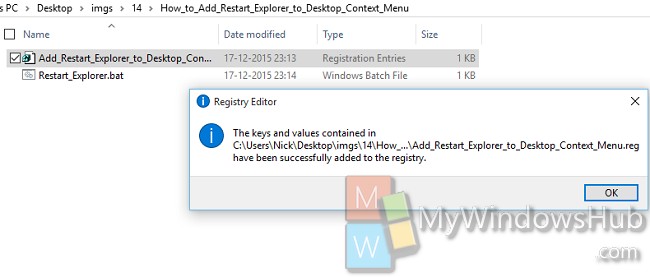
4. Now double click on the .reg file to merge it.

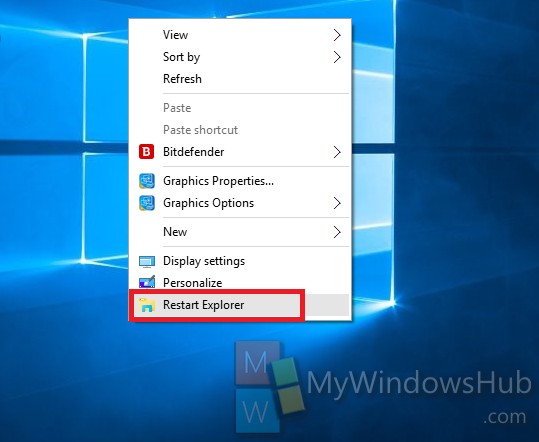
5. The Restart Explorer option has been added.

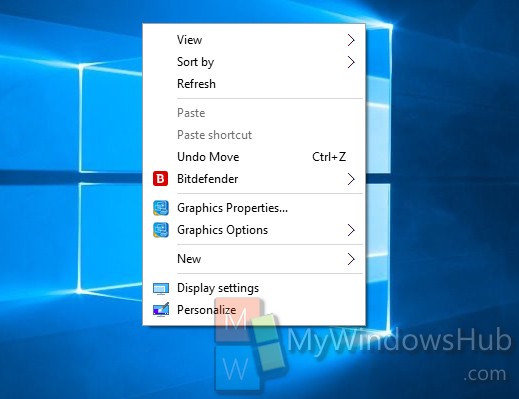
6. If you want to remove “Restart Explorer” from your Desktop Context Menu, download the file given below at the end of the tutorial. Extract the zip file and access the How_to_Remove_Restart_Explorer_from_Desktop_Context_Menu .reg file.
7. Run the .reg file and merge it to remove the the Restart Explorer option from the Desktop Context Menu.

Download Link: How_To_Add_Remove_Restart_Explorer


Why is Restart Explorer needed? What is the benefit?
If explorer acts weird, or in case if you have installed a software that requires restart of explorer to get integrated with it – in that case instead of rebooting your system you may restart the explorer process.