

In Windows 10, the USB core stack supports the modified version is 2.0 of the Universal Serial Bus (USB) specification. It has a special feature called USB selective suspend, For your information, the selective suspend feature is available for Windows XP and all later Windows versions. The function of selective suspend is to enable the hub driver to suspend any USB port, without interrupting the normal functioning of other USB ports. Selective suspension is mainly helpful for portable Windows devices, such as Windows 10 Laptop. If you use biometric scanners, gaming mouse and other such devices, which require power intermittently, turning the USB connection off for time being, can help your Windows device conserve energy.
By default, USB selective suspend settings is present in the Advanced power options of Control panel. So, you do not need to add it. But, if you want to remove it, or cannot find the option, then this article is for you.
Steps To Add/Remove “USB Selective Suspend” Setting To/From Power Options In Windows 10
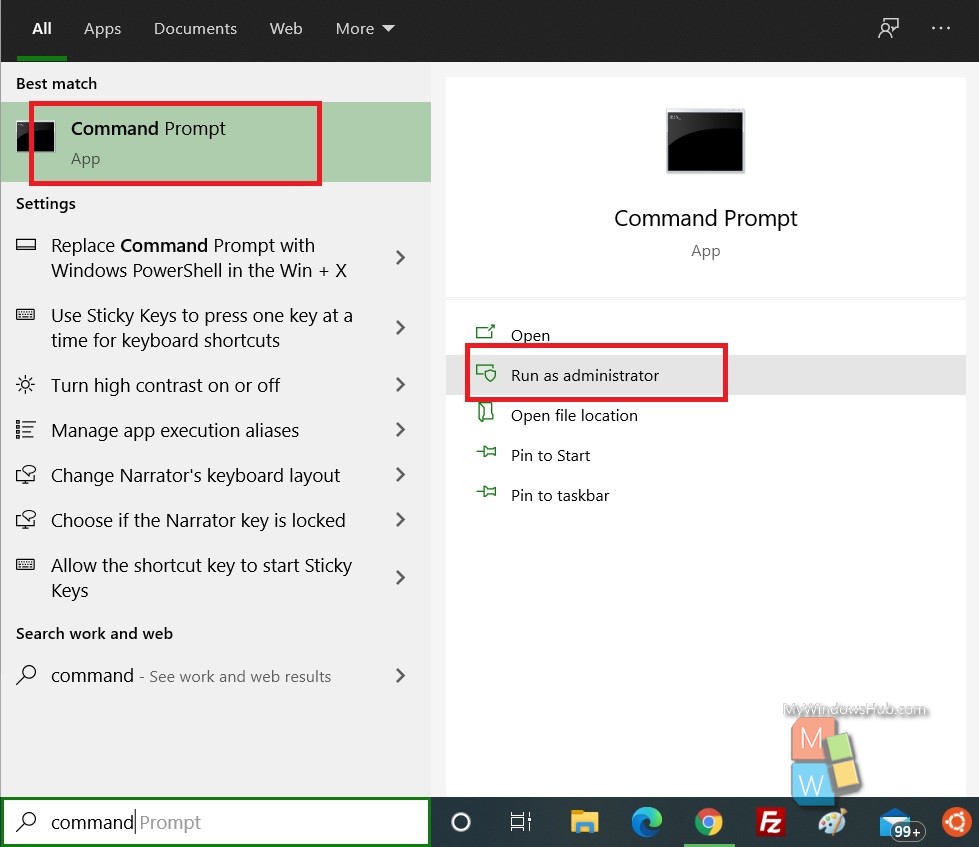
1. Open Windows 10 Search panel, and type Command Prompt. From the search result, right click on Command Prompt and select Run as Administrator. This will launch the Elevated Command Prompt.
2. Now, copy and paste the following command and hit Enter after that. Choose the command based on your requirement.
If You want to ADD “USB Selective Suspend” (Remember: This is the default settings)
powercfg -attributes 2a737441-1930-4402-8d77-b2bebba308a3 48e6b7a6-50f5-4782-a5d4-53bb8f07e226 -ATTRIB_HIDE
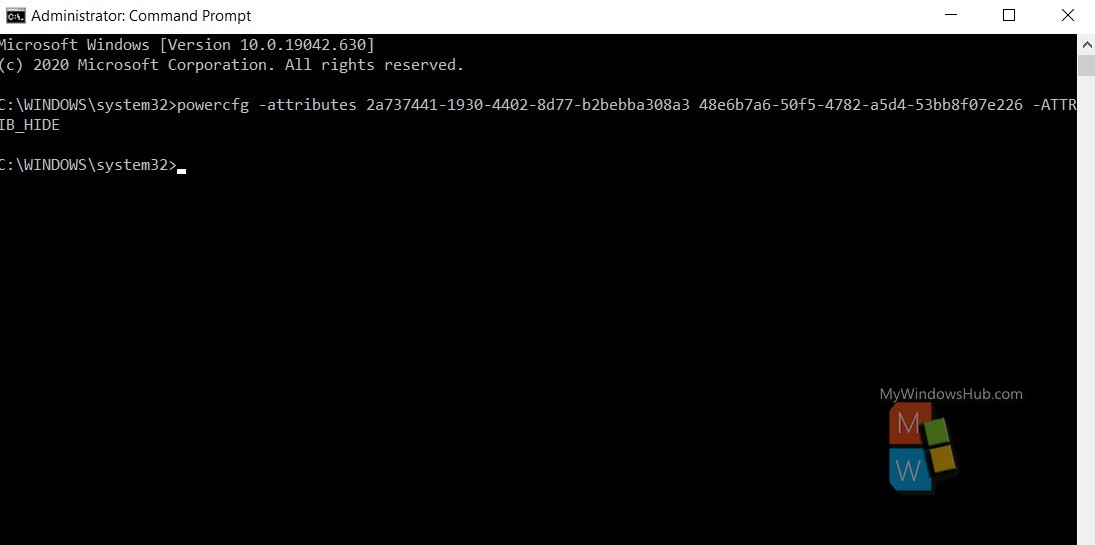
If you want to REMOVE “USB Selective Suspend”
powercfg -attributes 2a737441-1930-4402-8d77-b2bebba308a3 48e6b7a6-50f5-4782-a5d4-53bb8f07e226 +ATTRIB_HIDENext, check how to find out the USB Selective Suspend Settings under the Advanced Power Options.
How To Find USB Selective Suspend Settings In Power Options?
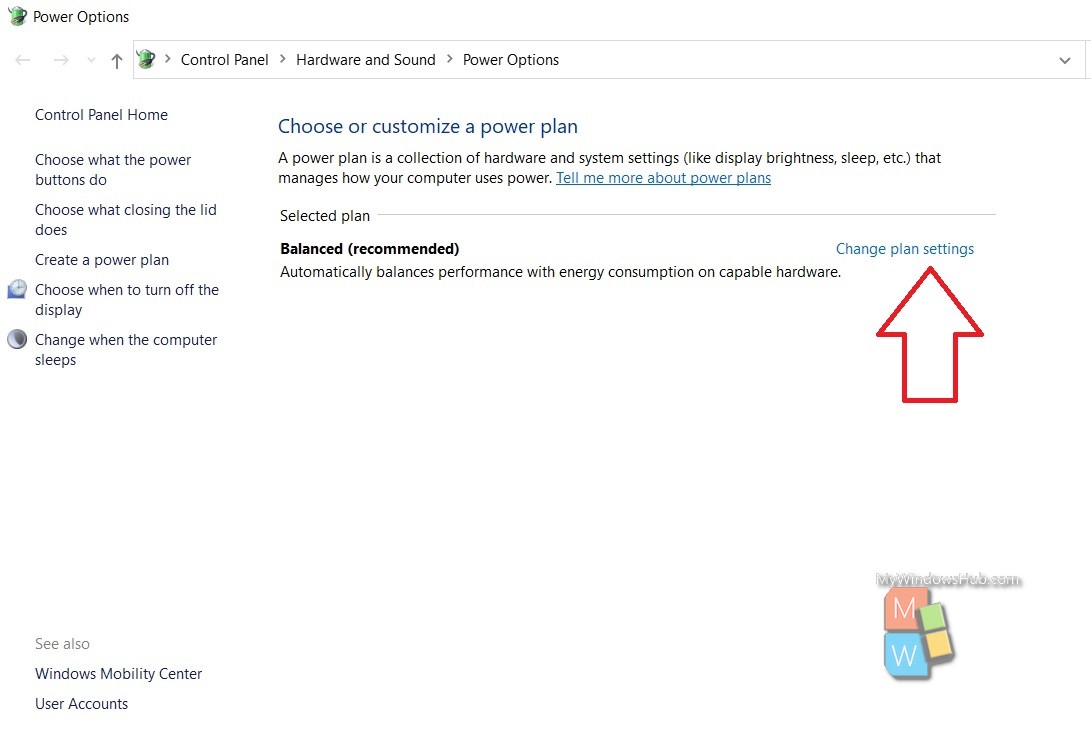
1. Open Windows Search panel, and type Control panel. Select Control Panel and open it. Now, in the location field, copy and paste the following to navigate to the Power Options.
Control Panel\Hardware and Sound\Power Options
2. Next, click on Change plan settings.
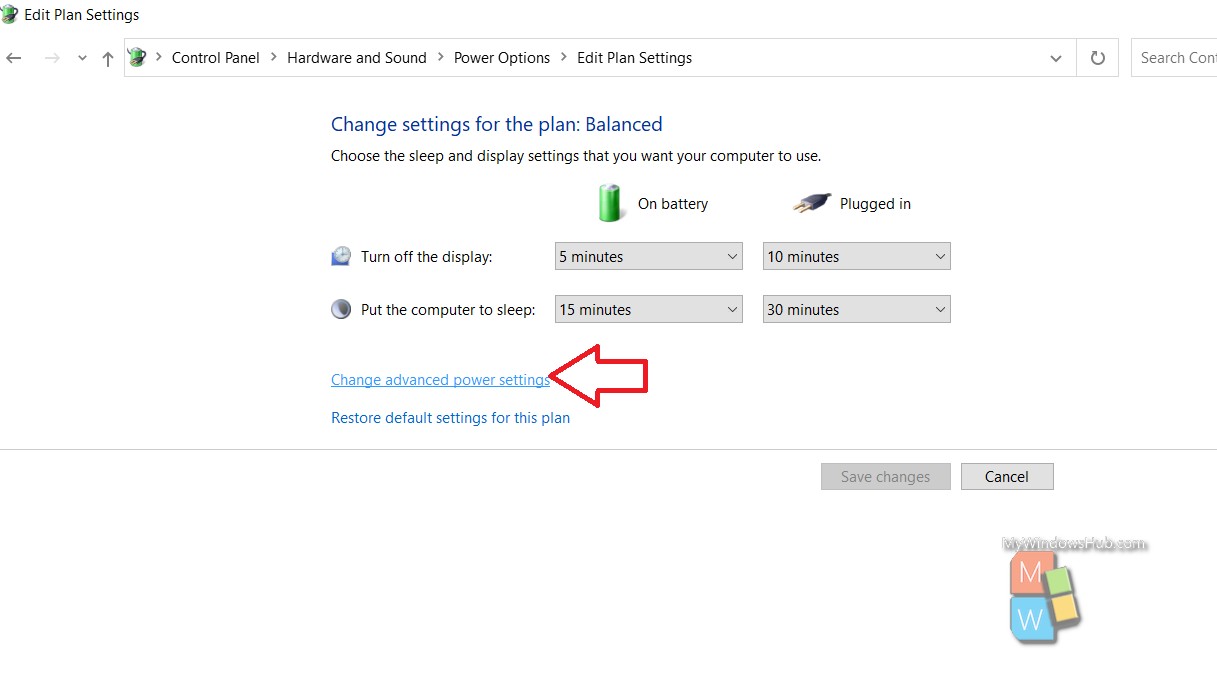
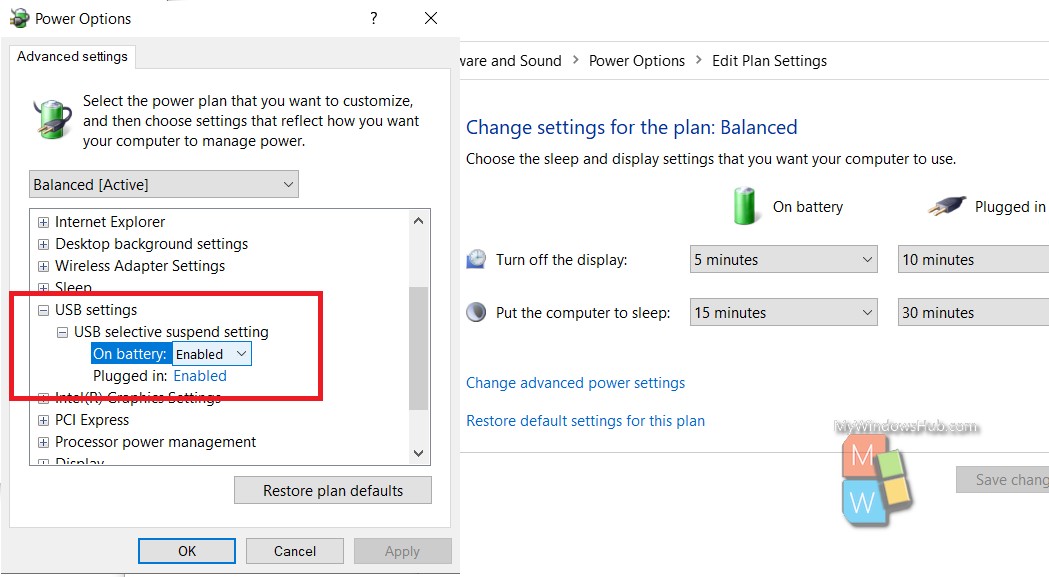
3. As the Edit Plan Settings window opens, click on Change Advanced Power Settings.
4. As the Power Options open, find out USB Settings. Click on the + sign to the left side of USB Settings to open the drop down menu. Under this, you can find USB Selective Suspend. Expand it, to check if it is enabled or not. You can find the status for both battery mode and plugged in mode, as shown below:
When you are done, click on Apply and OK to confirm.
That’s all!