

Windows Search option is used by a Windows user for searching files, settings, drivers, etc. Windows Search indexer is a process that proliferate your searching experience on your Windows PC. Microsoft has added a space for customization, where you can add or remove Windows search index locations. This means, if you want you can remove a particular drive or folder from being searched, when a user searches for something. Or, you can also add only specific locations, that the indexer will traverse during a search action. This setting can be changed very easily.
In this article, I will show you how to add or remove locations in Windows Search Index options in Windows 10.
Steps To Add/Remove Locations In Windows Search Index In Windows 10
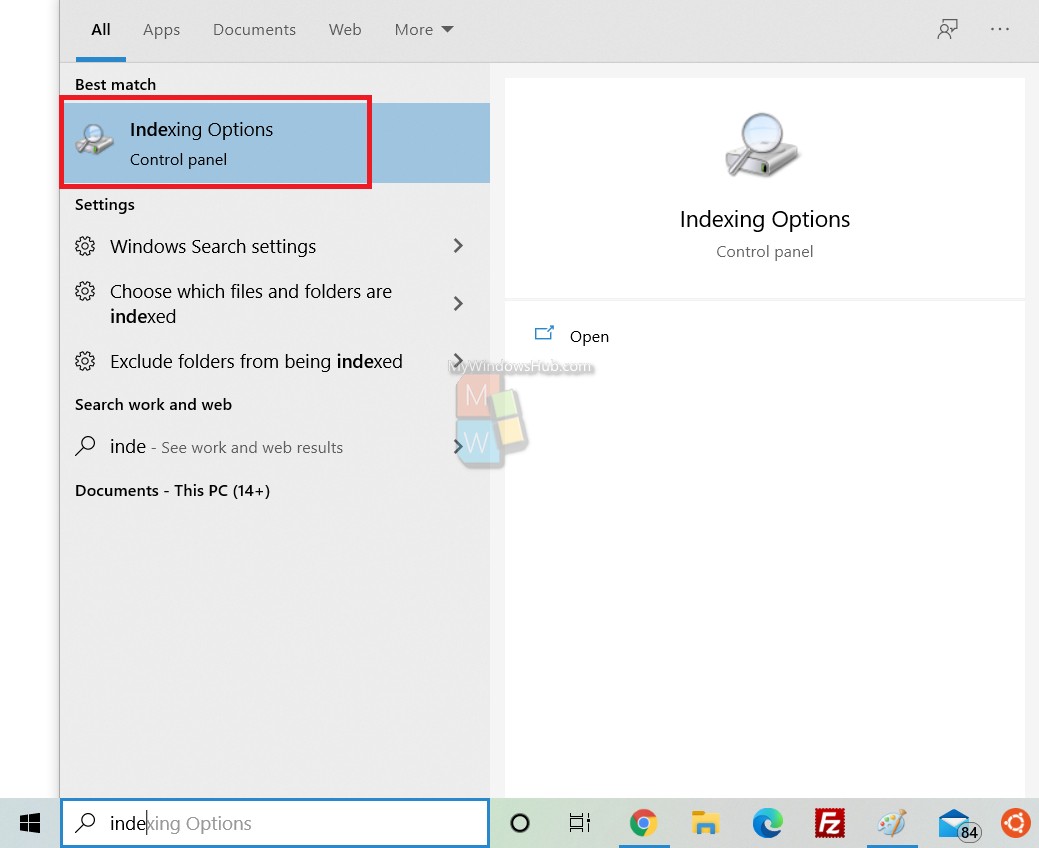
1. Open Windows search panel, type Indexing Options and select Indexing Options from the search result.
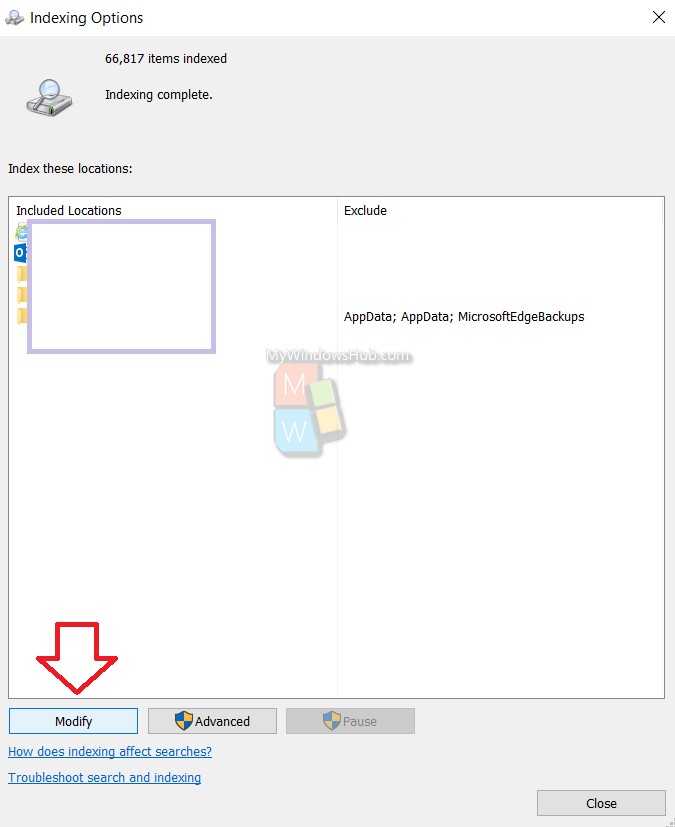
2. As Indexing Options opens, click on Modify.
2. Now, check the boxes beside the locations you want to add. If you want to remove any location, simply uncheck the box beside that location.
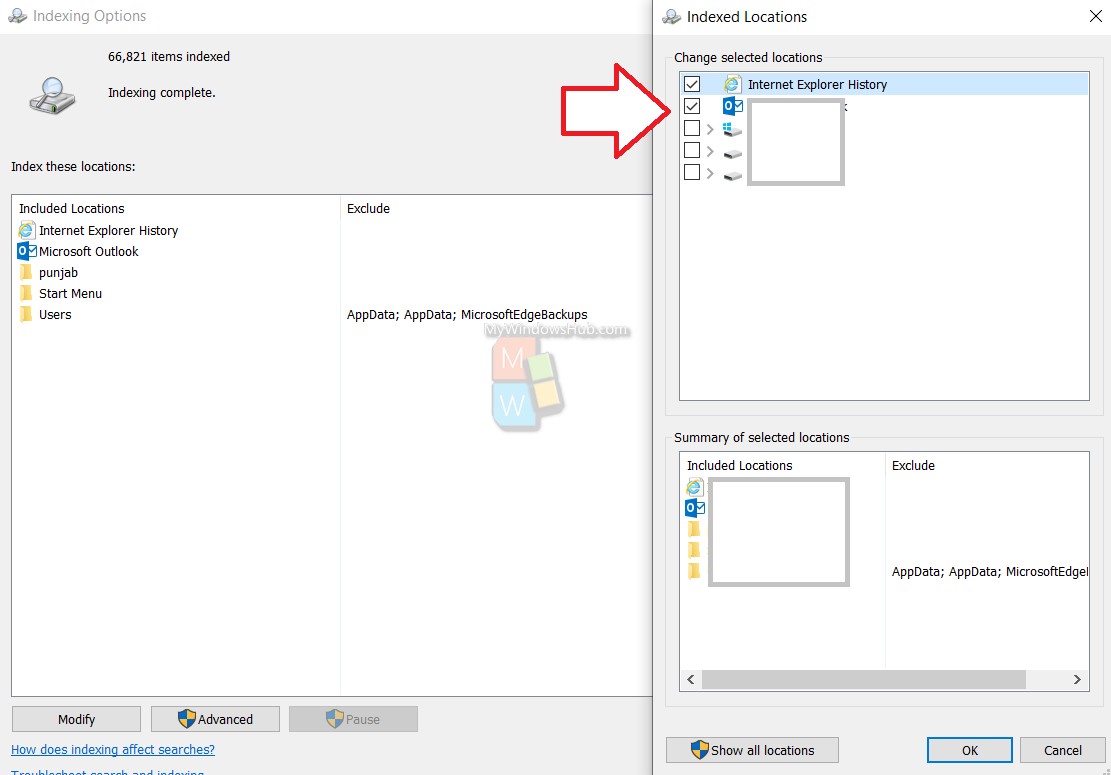
Click OK to save the changes.
That’s all!