

This article will show how to add Disk Cleanup to the Right-Click Menu for a Disk Drive in Windows 8.
By adding some keys and values to your registry you can easily add Disk Cleanup option to the Right-Click Menu for a Disk Drive. The procedure is not complected at all.
Follow the steps below to add Disk Cleanup to the Right-Click Menu for a Disk Drive.
Steps to add Disk Cleanup to the Right-Click Menu for a Drive
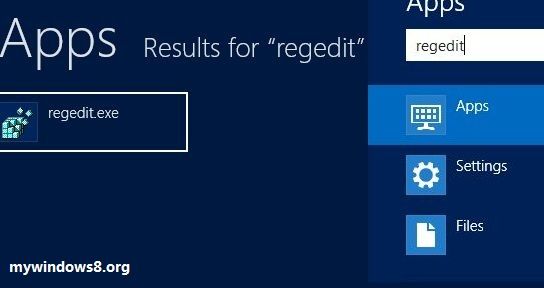
1. Go to Windows App Search by pressing Windows + Q key and search for regedit. Apps Search result will appear in left-pane. Click on regedit.exe. Click Yes if you get UAC (User Account Control) dialog box.
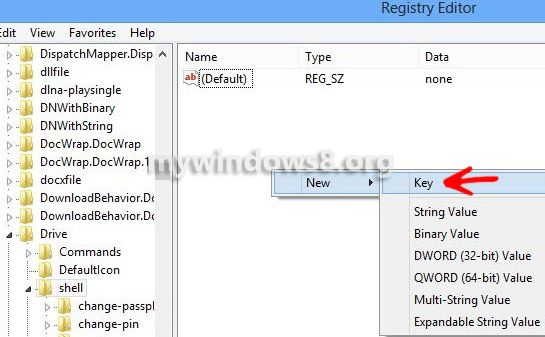
2. Navigate to the following sub key:
HKEY_CLASSES_ROOT\Drive\shell
3. Right-click on right-pane empty space and select New -> Key option and create a new key named itdiskcleanup.
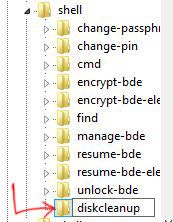
You can see, a new folder is created under Shell
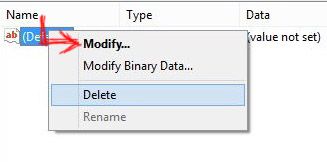
4. Now, click on diskcleanup folder, you will see a (Default) entry in right-pane. Right-click on it and click on Modify option.
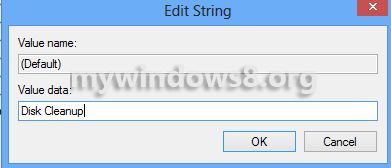
5. In Edit String window assign “Value Data” Disk Cleanup and press “OK”.
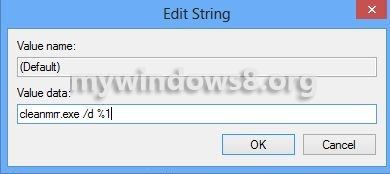
6. Now, under diskcleanup create another new key and names it command. Remember, command folder should be created under diskcleanup folder. Set (Default) value data to
cleanmgr.exe /d %1
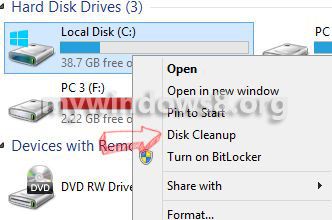
That’s it. Now, right-click on any disk-drive and you can see the Disk Cleanup option is there in context-menu.
About Nick
Nick is a Software Engineer. He has interest in gadgets and technical stuffs. If you are facing any problem with your Windows, feel free to ask him.