It’s been a while since WSL is filling the gaps between the Windows and Linux operating systems. Recently Microsoft has introduced WSL2 with some remarkable improvements and noticeable performance upgradation. You can check out our previous articles discussing the earlier version of WSL by clicking this link. This article shall demonstrate to you the steps to add the desktop version of Ubuntu over WSL2.
How To Add A Desktop Experience To A Windows Subsystem For Linux Distro?
This article will walk you through several important steps as mentioned below,
- Update & Upgrade Ubuntu
- Update Ubuntu to use WSL2
- Install XFCE Desktop Environment in Ubuntu
- Install XRDP Remote Desktop Client in Ubuntu
- Connect to WSL Ubuntu using Windows Remote Desktop Connection
- Install a software in Ubuntu
If you haven’t configured Ubuntu over WSL yet, then check out this link for detailed steps.
Step #1 Update & Upgrade:
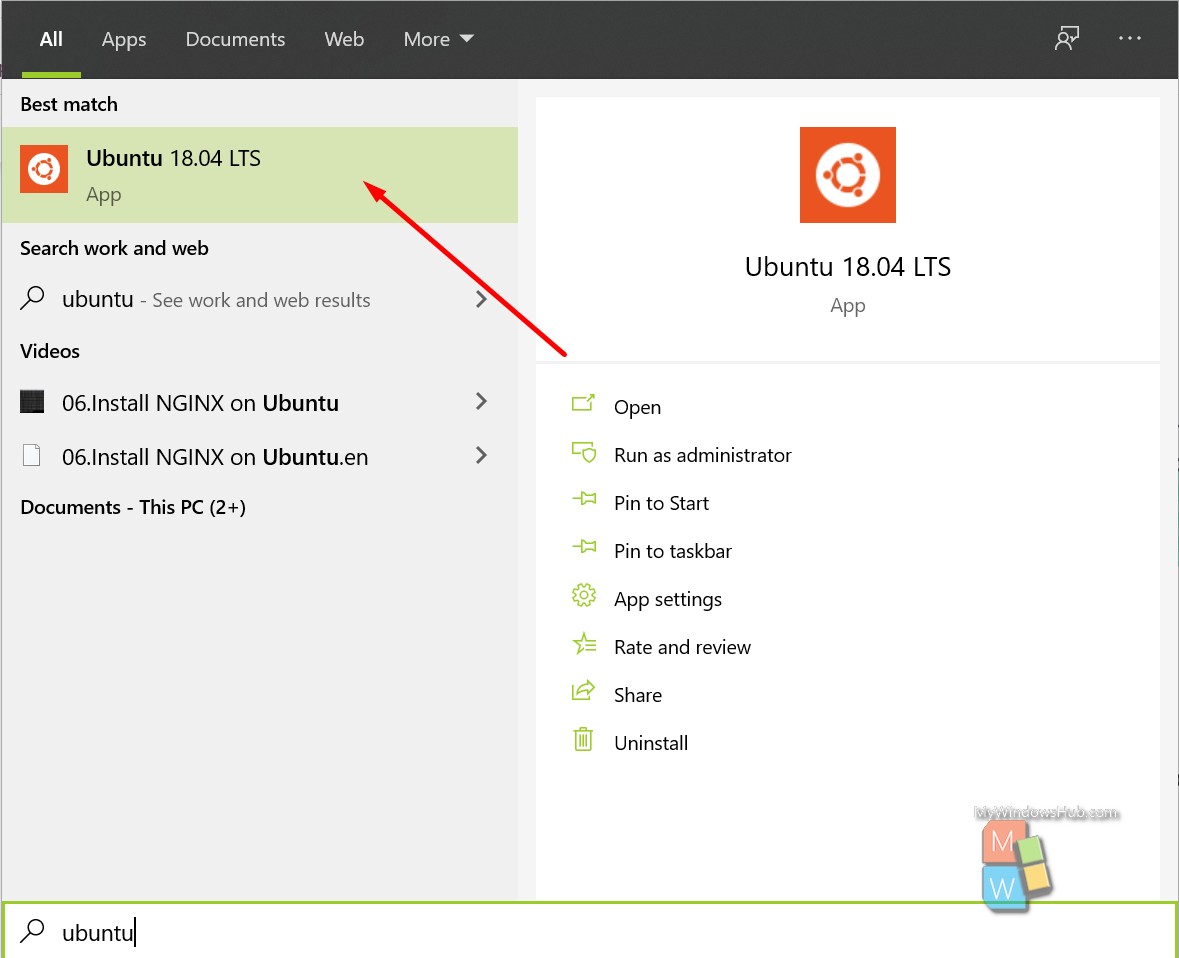
- Once you successfully installed the Ubuntu WSL package on your Windows system, search for the keyword “Ubuntu” on the start menu and click on the “Ubuntu XX.XX” to begin as mentioned below,
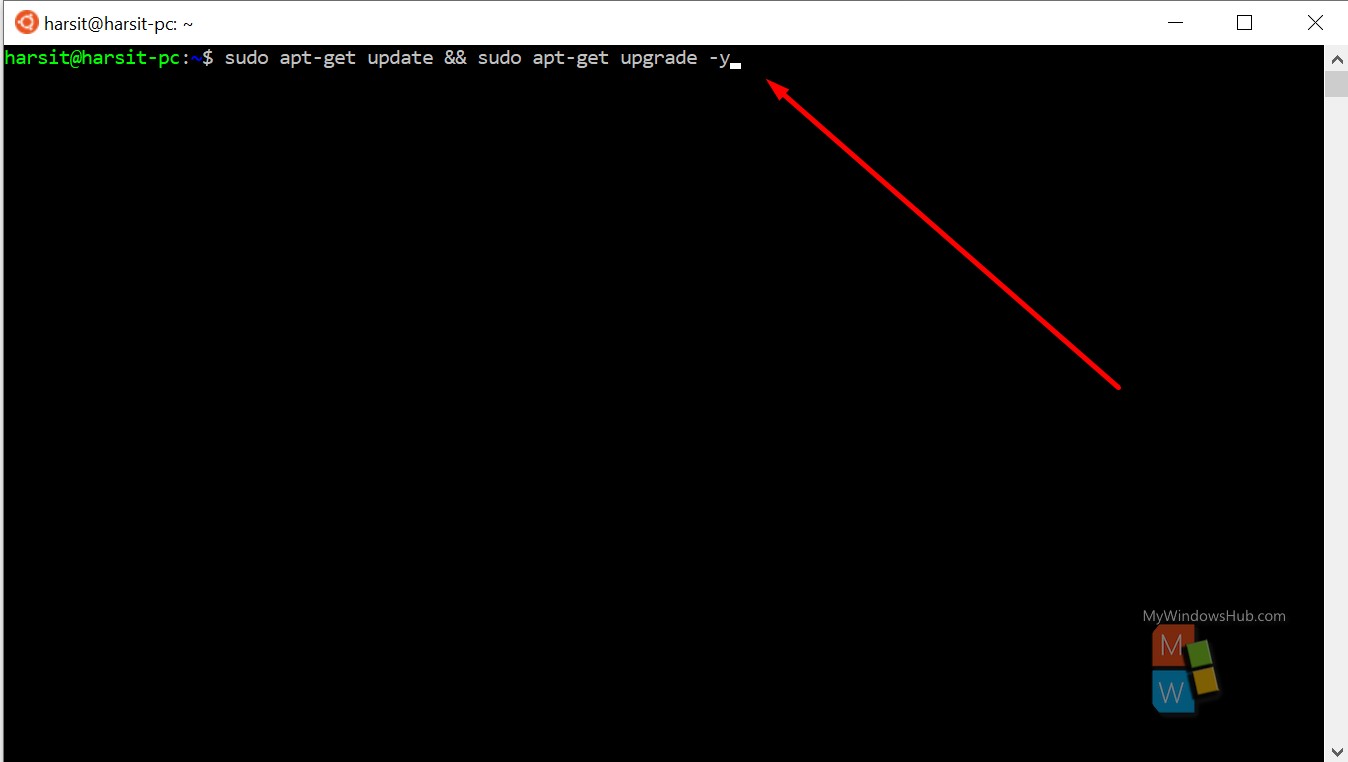
- Once the terminal is up, type the below mentioned command to update/upgrade the Ubuntu sub system. System will prompt you to enter the password to continue,
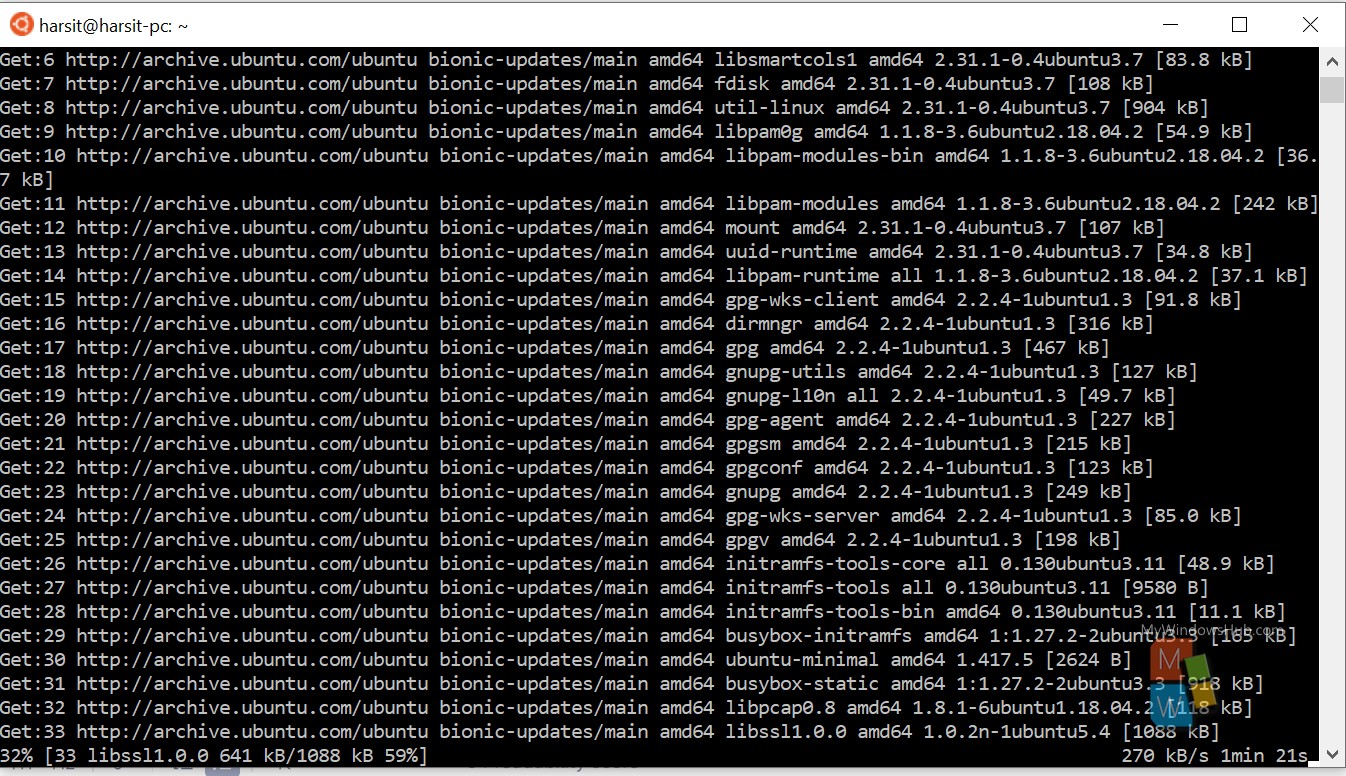
Based on your internet speed and load on processor, this process will take some time. Once this is over, follow the Step #2.
Step #2 Update Ubuntu to use WSL2:
- The first generation of WSL uses a Linux kernel developed by Microsoft, and it has got its limitations. The all-new WSL2 uses a real Linux kernel, and it is available after Windows 10 build 18917.
- This step is crucial because you need to tell the Windows operating system to upgrade and use the latest version of WSL2. To upgrade, execute the below-mentioned commands in your command prompt(outside of Linux terminal),
- Check versions: wsl –list –verbose
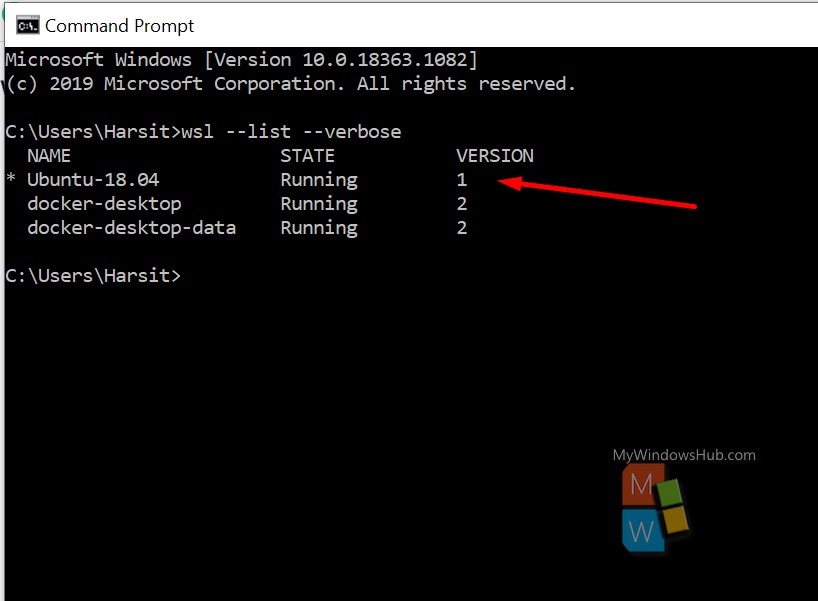
- Update to WSL2: wsl –set-version Ubuntu-18.04 2 (If ‘1’ is displayed under the version column)
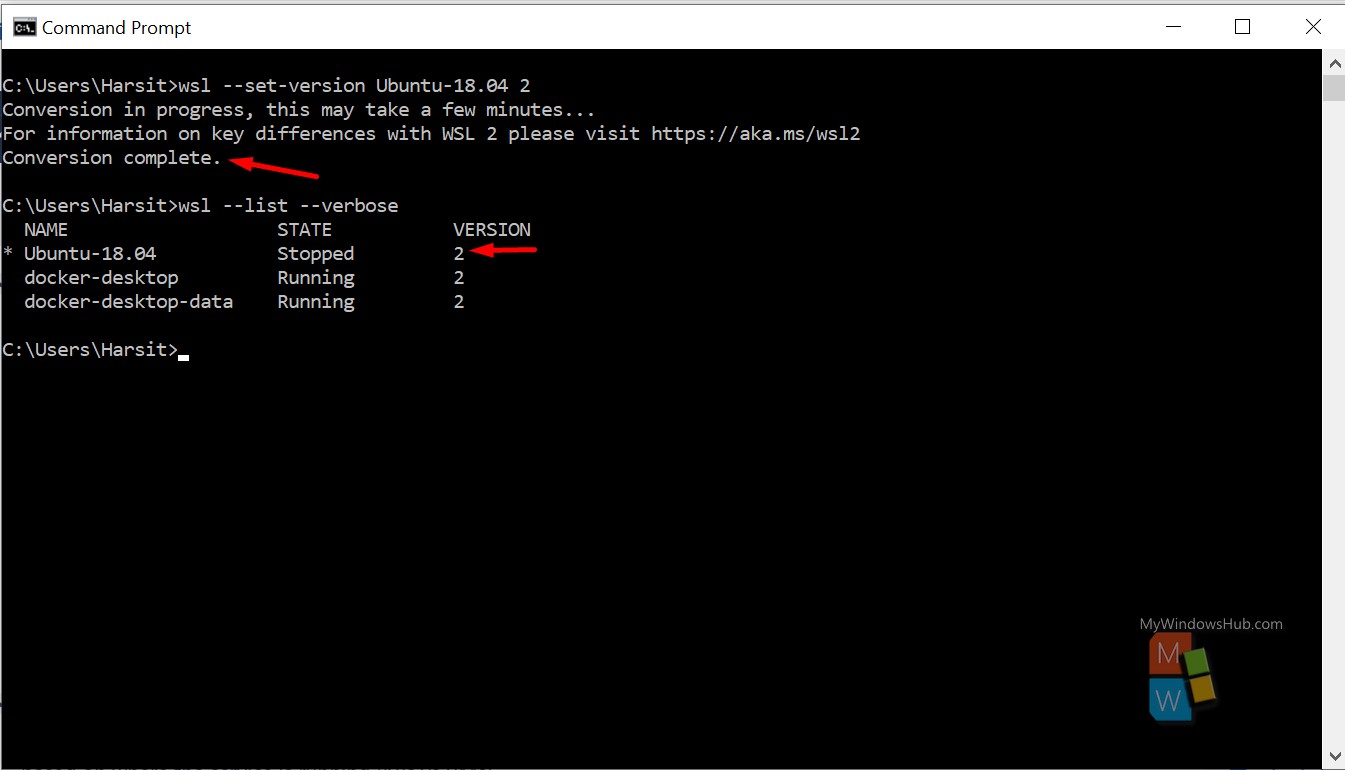
- Please note that the upgrade process takes some time. Verify the version of the WSL by using the verbose command, as shown above.
Step #3 Install XFCE Desktop Environment in Ubuntu:
This step will install all the necessary libraries to access the Ubuntu in desktop mode over WSL2. Please run the below commands inside the Linux terminal to install the required softwares,
- Install XFCE desktop environment: sudo apt-get install xfce4 -y
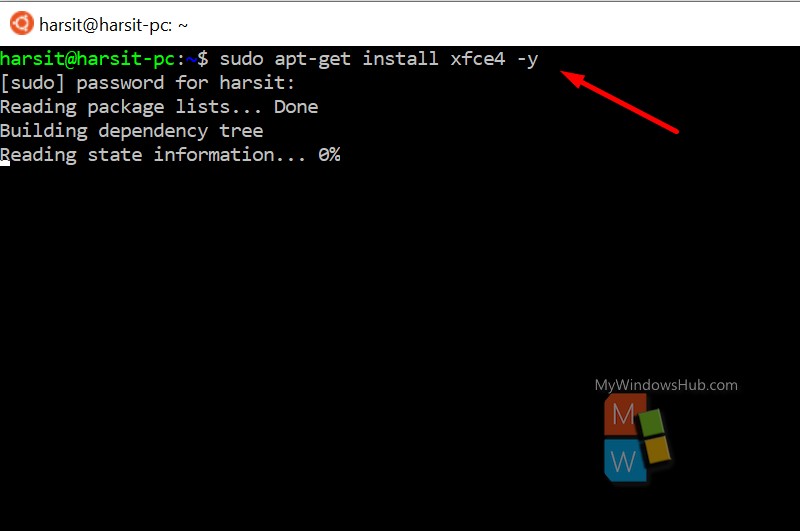
- Install additional softwares: sudo apt-get install xfce4-goodies -y
Once the required desktop environment software is installed on your Ubuntu subsystem, follow the next step to install the RDP client on Ubuntu.
Step #4 Install the XRDP remote desktop client:
- Please execute the below-mentioned command to install the remote desktop client on the Ubuntu subsystem,
sudo apt-get install xrdp -y
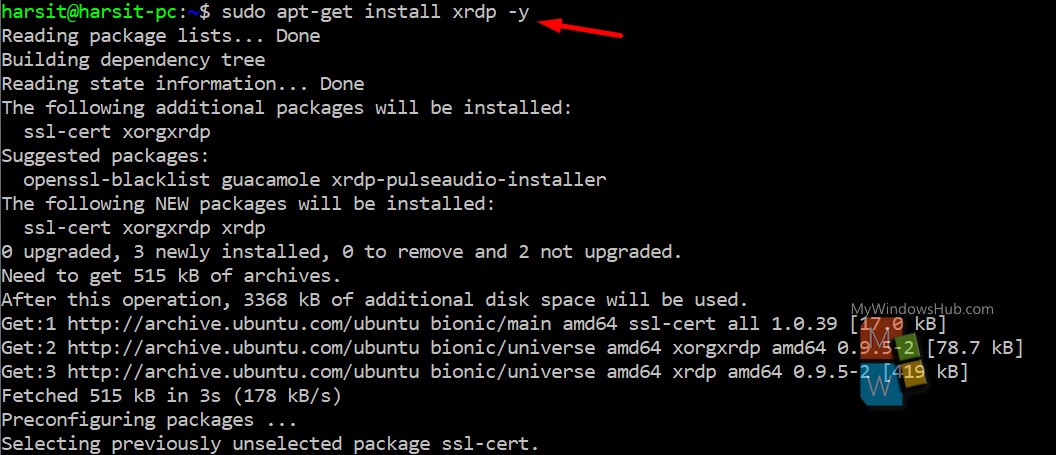
- Please note that Remote Desktop connection uses port number 3389 by default, we need to change the port number for XFCE desktop client by executing below command inside the Linux terminal,
sudo sed -i ‘s/3389/3388/g’ /etc/xrdp/xrdp.ini
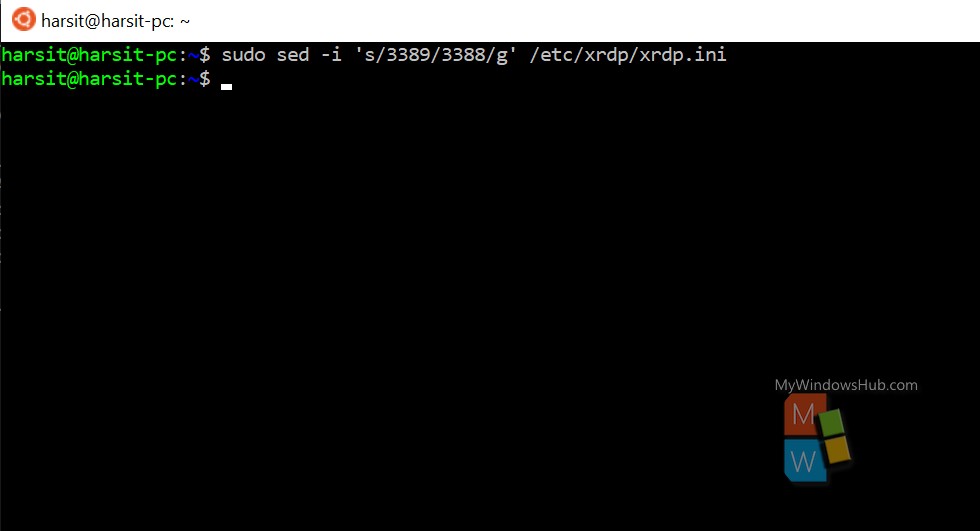
- Now start the XRDP service to allow the Ubuntu’s XFCE desktop by executing the below command,
sudo /etc/init.d/xrdp start

Step #5 Connect to Ubuntu using Remote Desktop Connection
Please keep this in mind, every time you log off or restart your system, you need to execute the previous command to start the XRDP service.
- Type the “RDP” keyword on the Search bar and hit enter to open the Windows “Remote Desktop Connection.”
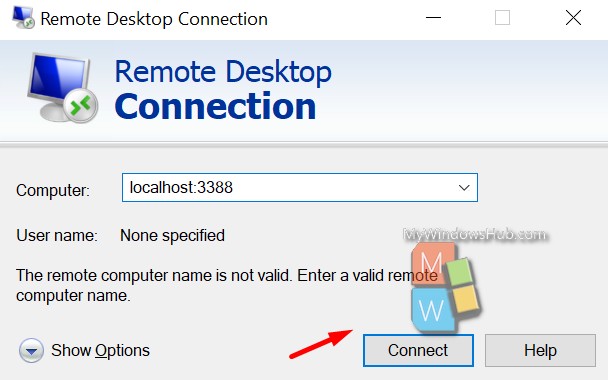
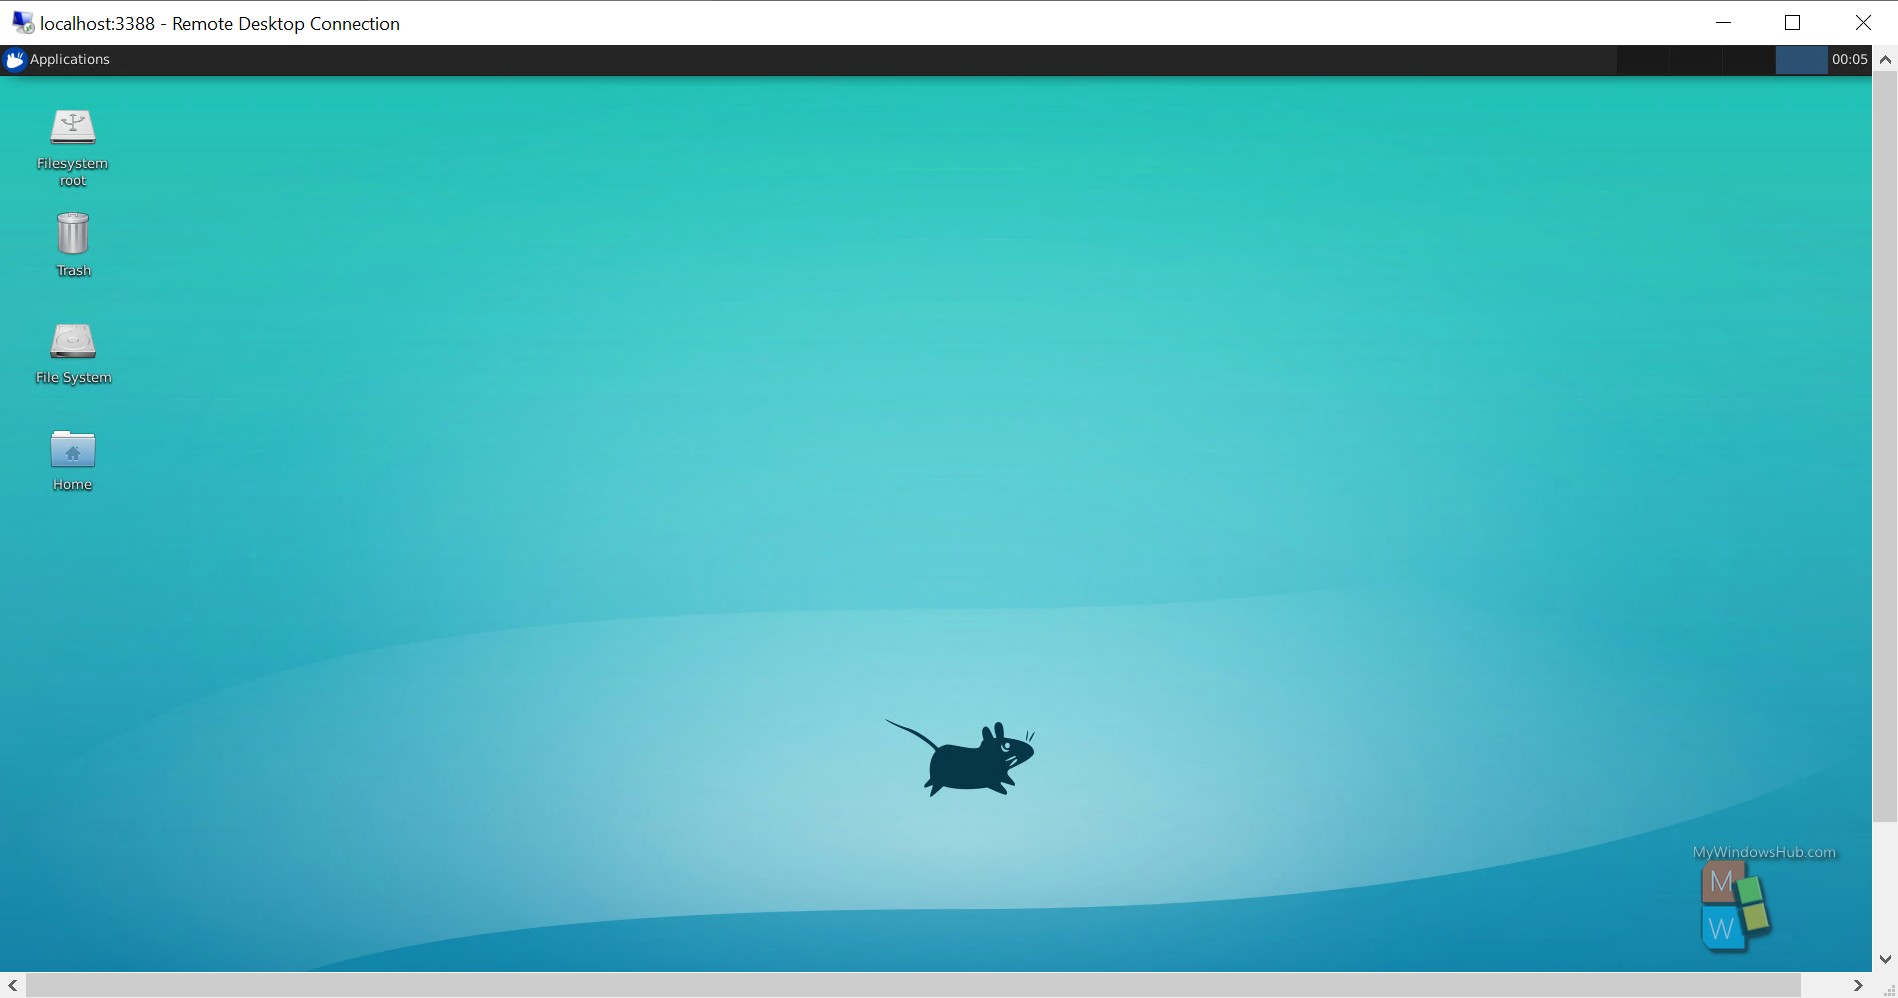
- Type localhost:3388 inside the Computer text box and click on the Connect button to continue. You need to enter the Ubuntu credential to get into the GUI. Make sure to continue with the default settings. Finally, you shall be able to see the below screen,
Step #6 Install software in Ubuntu
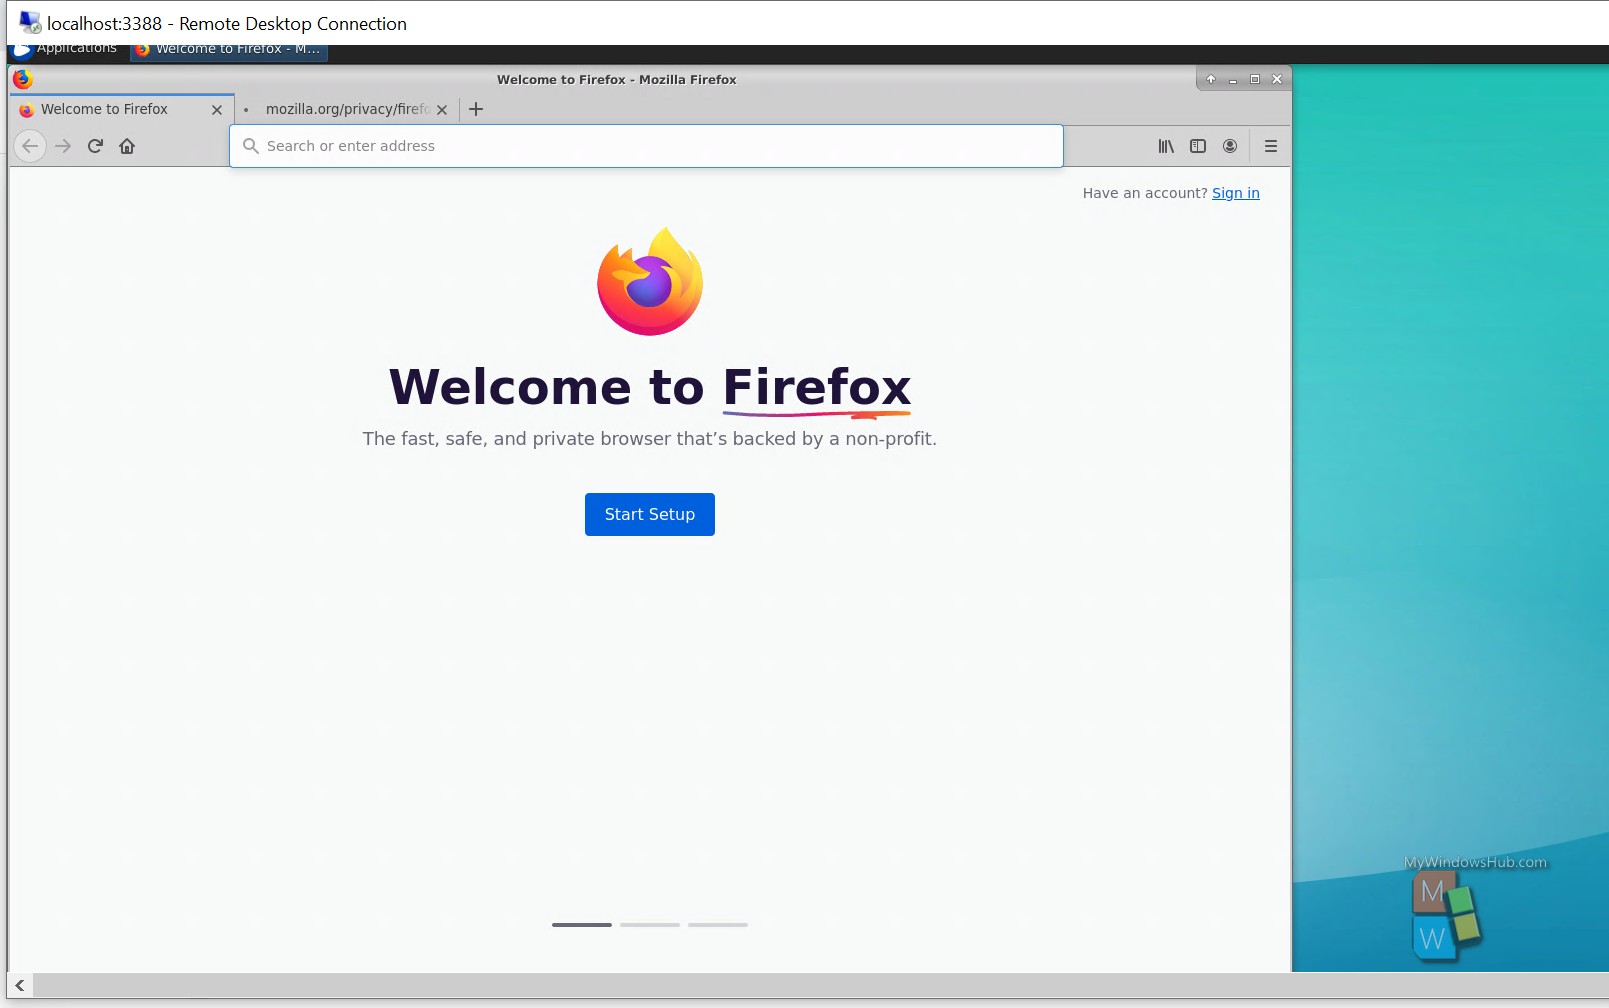
Let us try to access the internet using the default browser inside the RDP. Now you can see an error on the screen as no browser installed on the remote desktop; let us try to install Firefox on your system,
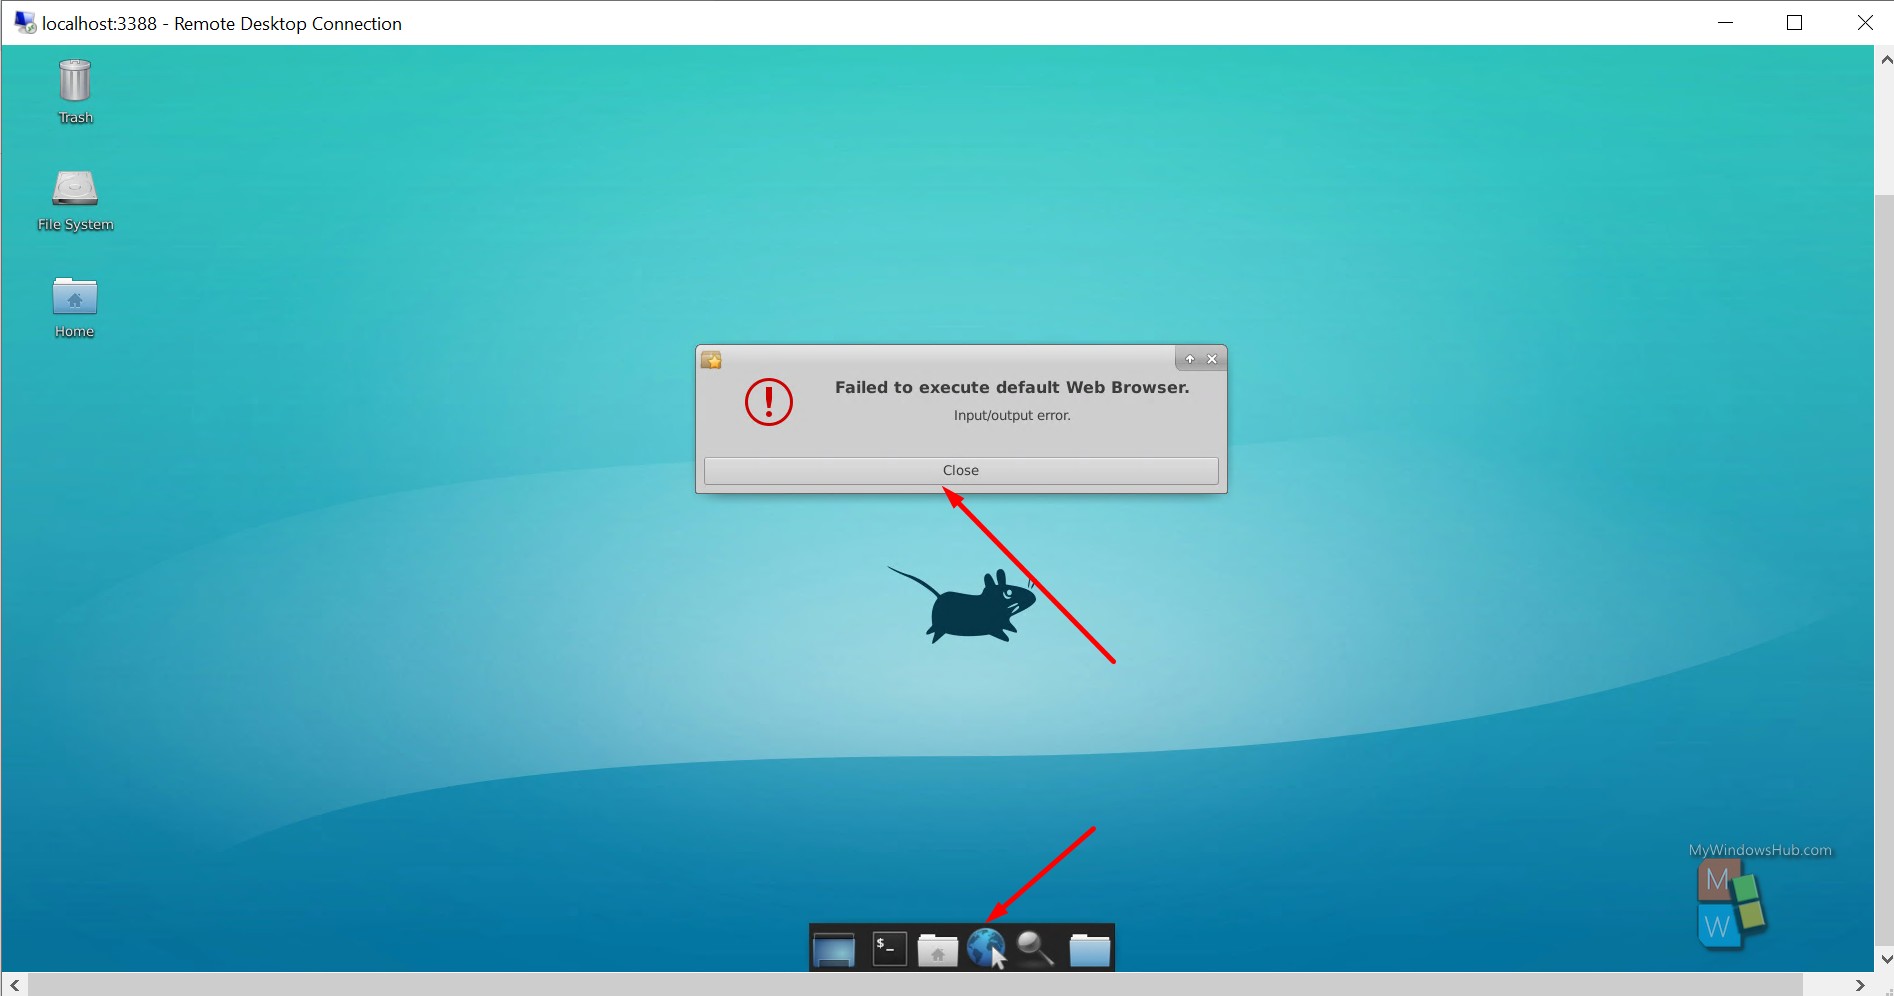
- Open Terminal from the bottom dock and execute the below-mentioned command to install Firefox,
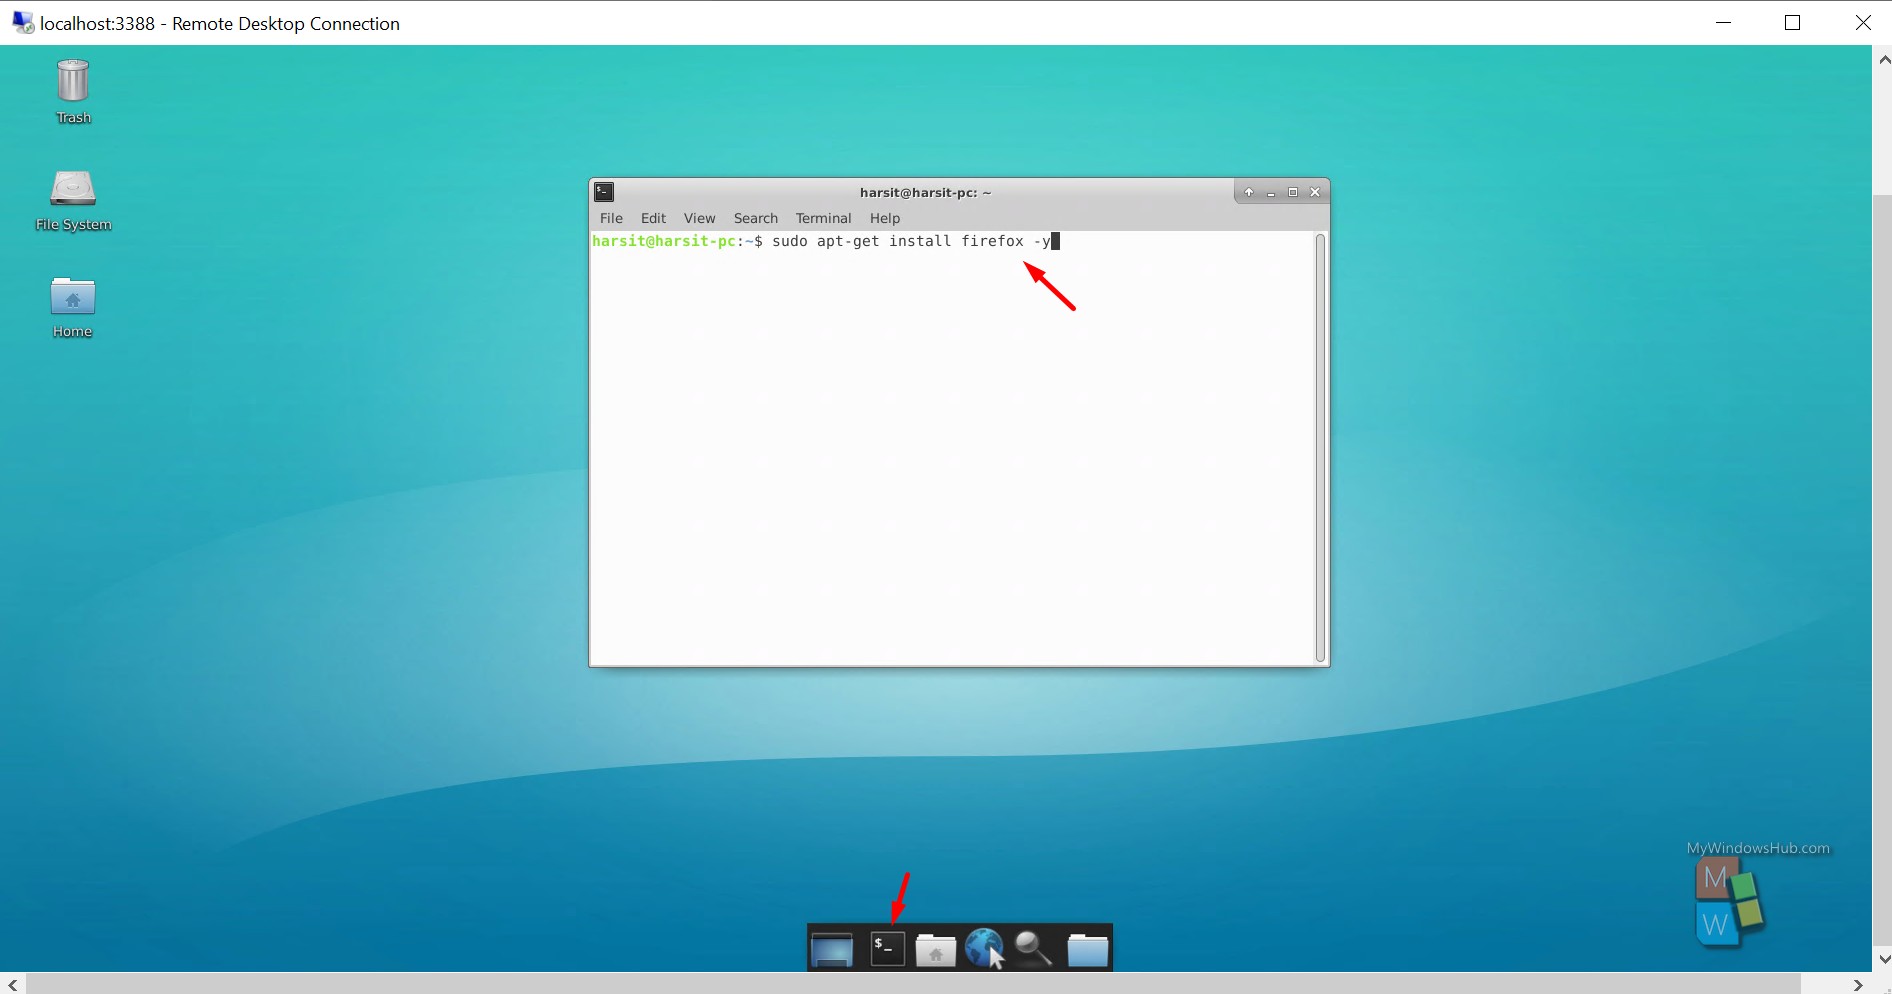
sudo apt-get install firefox -y
- Once the installation is over, click the browser icon from the dock, and you shall be able to see the below welcome screen,
Conclusion:
In this article, we had walked you through the steps to install a GUI based Ubuntu operating system over WSL2. Please note that you might need to change a few of the above commands based on your installed Ubuntu version.

