

The following tutorial will help you delete or customize “Delete Confirmation” dialog box in Windows 10. When you try to delete a file or a folder, you are generally prompted to confirm before deleting. If you don;t want this feature, you can disable it from Settings, or delete the Registry File from Registry Editor. You can also customize the Delete Confirmation Dialog information if you want.
Steps to Customize Delete Confirmation Dialog Prompt Details in Windows 10
1. Check out the full details using the prop: values and order below:
System.PropGroup.FileSystem
System.ItemNameDisplay
System.ItemTypeText
System.ItemFolderPathDisplay
System.Size
System.DateCreated
System.DateModified
System.FileAttributes
System.OfflineAvailability
System.OfflineStatus
System.SharedWith
System.FileOwner
System.ComputerName
2. Press Win+R to open Run Window. Type regedit and hit Enter to open Registry Editor.
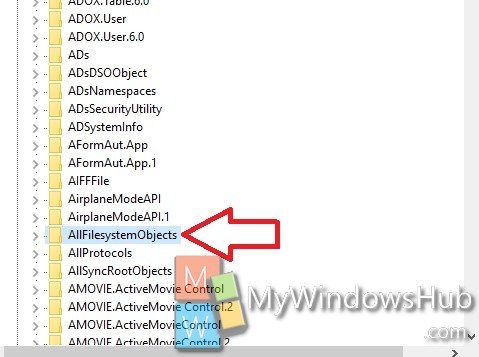
3. Navigate to the following location
HKEY_CLASSES_ROOT\AllFilesystemObjects
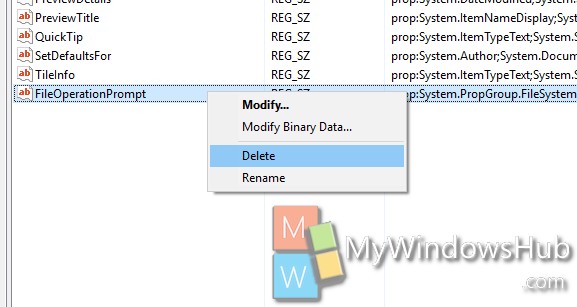
4. If you want to show default details in Delete Confirmation Dialog Prompt, then in the right pane of the AllFilesystemObjects key, find out the string FileOperationPrompt.
5. Right click on it and select Delete.
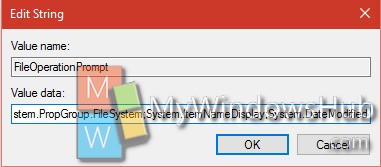
6. If you want to Show Custom details in Delete Confirmation Dialog Prompt, then find out FileOperationPrompt, and double tap to modify it.
7. Now type the values prop:value 1;value 2; etc…. as per the values given above in step 1. Remember each value should be separated by ;.
8. Close Registry Editor.