Additional clock is another feature for personalization in Windows 8. It lets you have maximum 3 clocks displaying different time zones on your taskbar. You may require to interact online with persons residing in a different country and knowing the time of that place becomes necessary then, especially when you are up to some important business or professional deals. Additional clock facilitates to overcome your fear of misleading with time by enabling the feature which displays the set time of the preferred time zones whenever you take your cursor over the time on your taskbar. The following tutorial will help you to add or remove additional clocks in Windows 8.

Steps to Add Additional Clocks in Windows 8
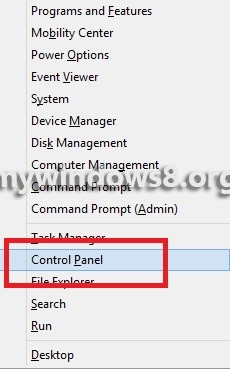
1. Press Windows Key + X and select Control Panel to open it.
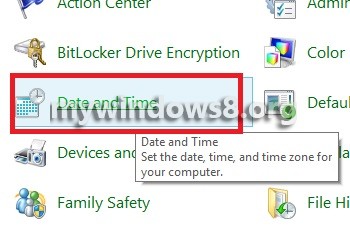
2. Click on Date and Time
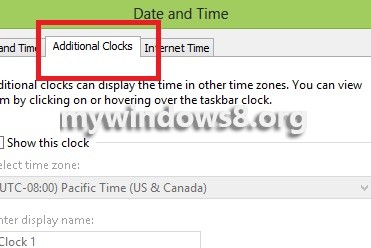
3. Now select the Additional Clocks tab.
4. Now see that the clock 1 and clock 2 are turned grey. To activate the additional clocks check the option Show this clock according to your need.
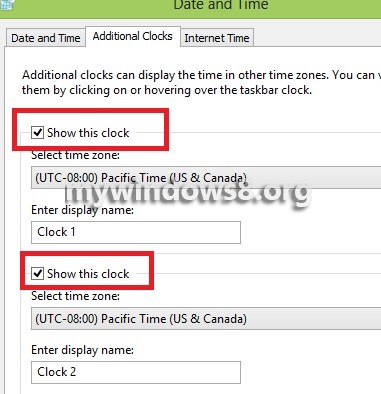
5. Now select a time zone from the drop down list.
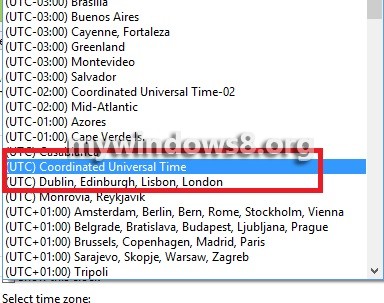
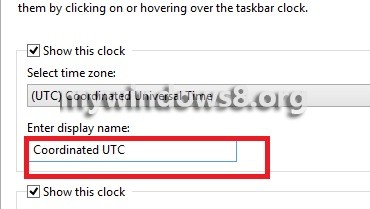
6. Enter a clock name for your convenience. Click Apply and then OK to save changes.
If you want to deactivate the additional clocks, perform steps 1, 2 , 3 and then un-mark the Show the Clock option.

