Storage Sense is an entirely new feature which has been incorporated in Windows 10 technical Preview Build 9879. Any previous build will not have this feature. Even if you find them in the Settings, the options will be grayed out. However the new build 9789 has unfolded many new options. Storage Sense gives you a details of the storage space utilization in your computer. Such an option with a vivid explanation was not available before in any previous version. you can check an overview of the storage space and individually customize settings for reserved storage. Users can also disable and enable certain system and reserved storage if they feel so even though the computer will prompt you not to choose any such settings. The following tutorial will help you know and use Storage Sense in Windows 10.
Steps to to access Storage Sense in Windows 10
1. Open the Start Menu and go to Change PC Settings and go to Storage Sense.
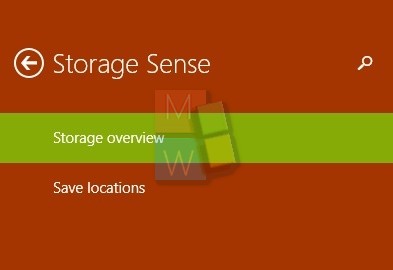
2. The Storage overview will give you an account of your storage for your primary drive as well as all other secondary drives. You can customize Settings for Primary drive by tapping on it.
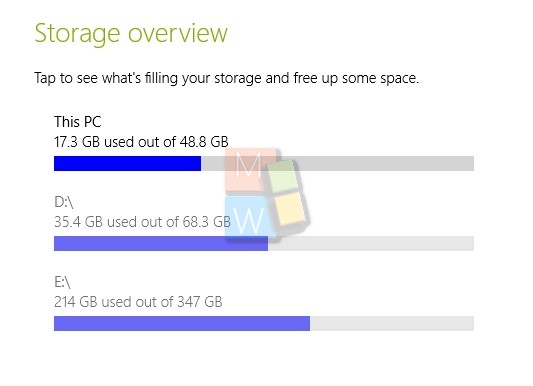
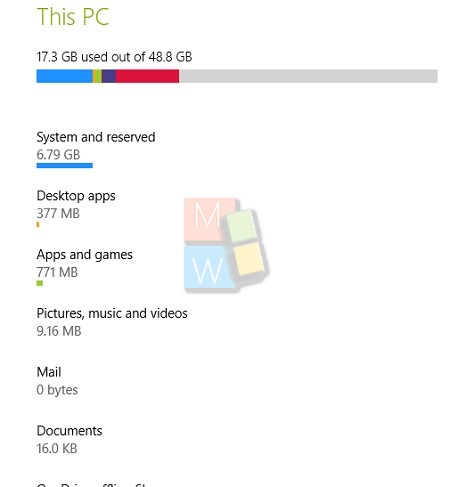
3. If you tap on the Primary storage, you will get the entire list of storage used in PC,
desktop apps, games etc.
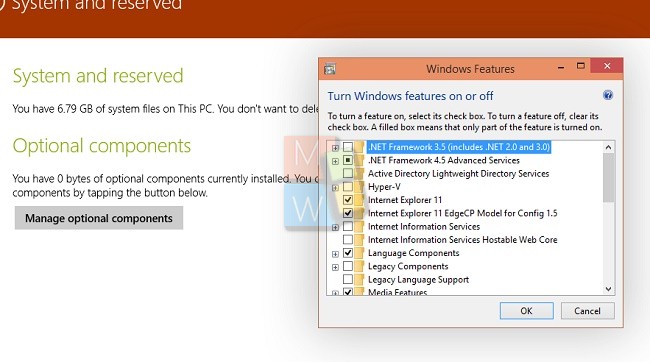
4. You will find an option called System and Reserved where you can manage optional components like disabling certain apps and programs to save space.
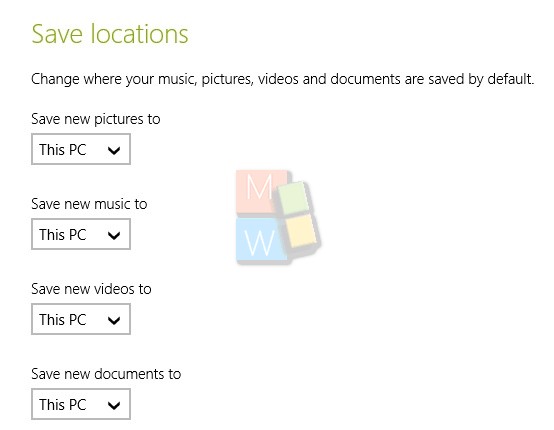
5. Now, the Save Locations option help you choose if you want to save you Pictures, Videos, Music in PC or cloud, individually.


I need to know how to use storage sense to save my media to my other hard drive which is grayed out like your D and E drives in the picture above, any help would be appreciated thanks