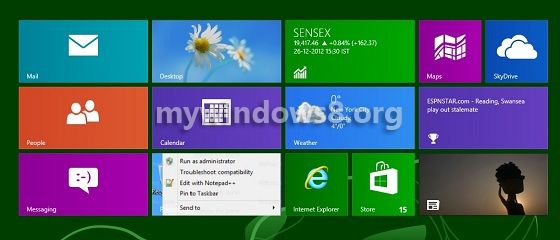
This tutorial will show you how to change number of rows in windows 8 metro desktop or Windows 8 Start Screen
Metro is derived from the classic Swiss graphic design. Windows Phone, Microsoft’s website, Xbox 360 dashboard update, and Windows 8 included the new Metro style. This key feature of Metro is to focus on the content of applications, relying more on typography and less on graphics. Live Tiles were included to integrate interface with the internet. Microsoft’s “Metro” design language, featuring a new Start screen with a grid of dynamically updating tiles to represent applications, a new app platform with an emphasis on touchscreen input. This new Start menu included a customizable array of tiles. The number of rows of this array can be customized too.
Directly from control panel we cannot customize the number of rows but with a few registry tweaks we can customize it.
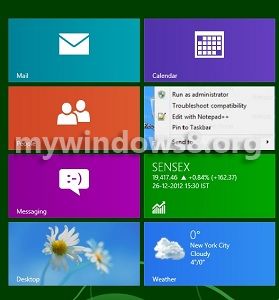
Follow a few simple steps to change number of rows in Windows 8 metro desktop or Windows 8 Start Sceen. (The term “Metro” is officialy droped by the Microsoft even before the official launch of Windows 8 Pro. Still I am using the term here for better understanding.)
Steps to change the number of rows of tiles in Windows 8
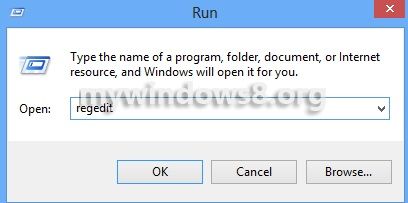
1. Open the Run Dialog Box by pressing Windows along with R button. Type regedit and press Enter.
2. Navigate to
HKEY_CURRENT_USER\Software\Microsoft\Windows\CurrentVersion\ImmersiveShell\Grid
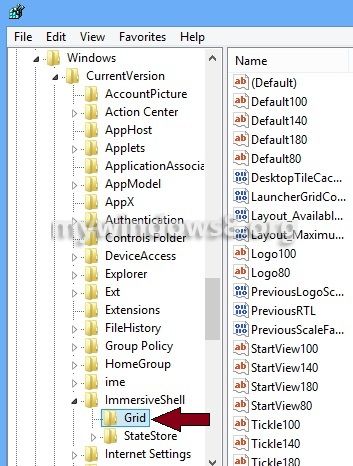
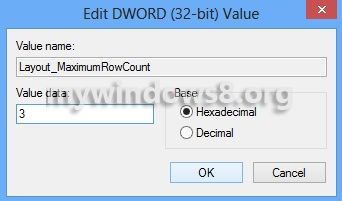
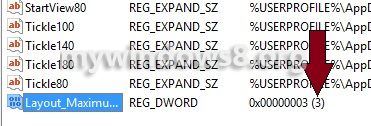
3. Now, right-click in the empty space, Goto New, then create a new registry key by clicking on DWORD(32-bit) value name it Layout_MaximumRowCount.

4. Now right click on the new registry key and select modify. Set a value as per your need.
5. After closing the registry editor Sign Out from your user account and then when you sign in you will see the desired changes.

