4K resolution, also called 4K, refers to a horizontal screen display resolution in the order of 4,000 pixels. There are several different 4K resolutions in the fields of digital television and digital cinematography. In television and consumer media, 4K UHD or UHD-1 is the dominant 4K standard. In the movie projection industry, Digital Cinema Initiatives (DCI 4K) is the dominant 4K standard. [Wikipedia]
4K or Ultra HD displays are the latest love for tech lovers. Gamers, movie editors, even movie lovers love to have 4K monitors in their possessions.
In this tutorial, you will learn to set up a 4K monitor on Windows 10.
Connecting The Cable
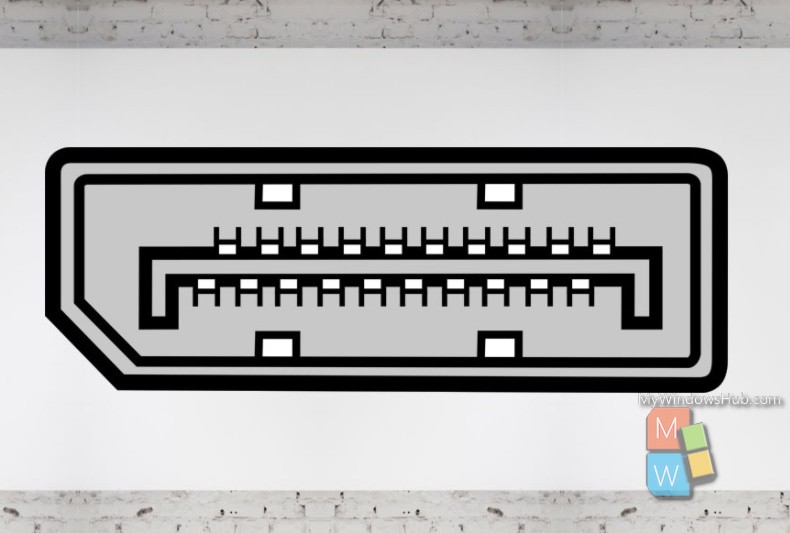
For your 4K resolution display it is always recommended that you use a certified DisplayPort cable. As a second option, you may use an HDMI cable with your 4K monitor as a second option. But never go for cheap quality goods.
Set Resolution and Scaling
1. Open Windows Start menu and click on Settings.
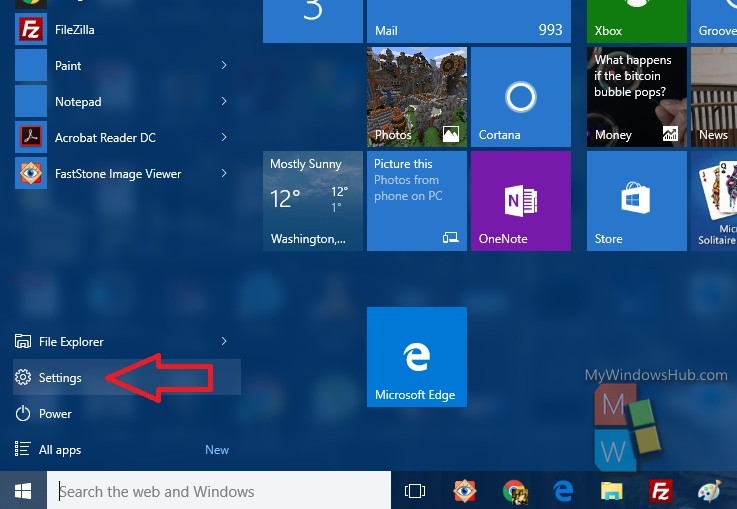
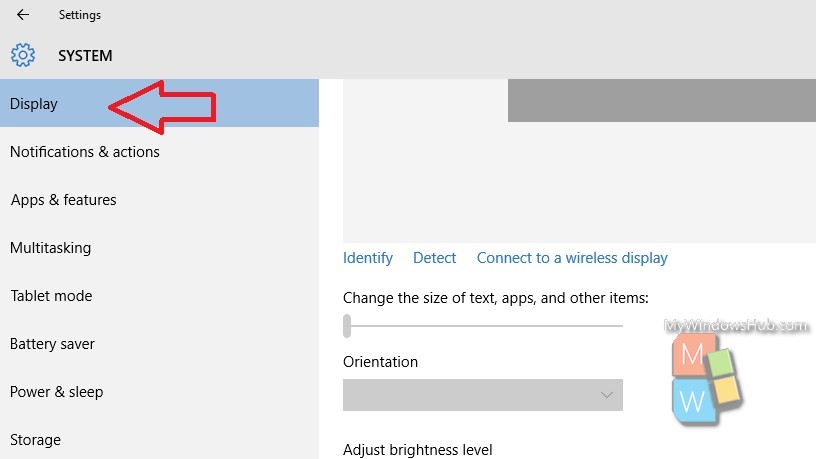
2. Now click on System set of settings to open Display.
3. Now click on Display in the left panel. In the right panel your display will pop up.
4. In the right panel, you can find multiple displays in case your 4K monitor is an additional monitor other than your existing monitor. Click on Detect to detect any new monitor. Select the one that has 4K resolution.
5. In case you do not have multiple monitors then you will see something like this:
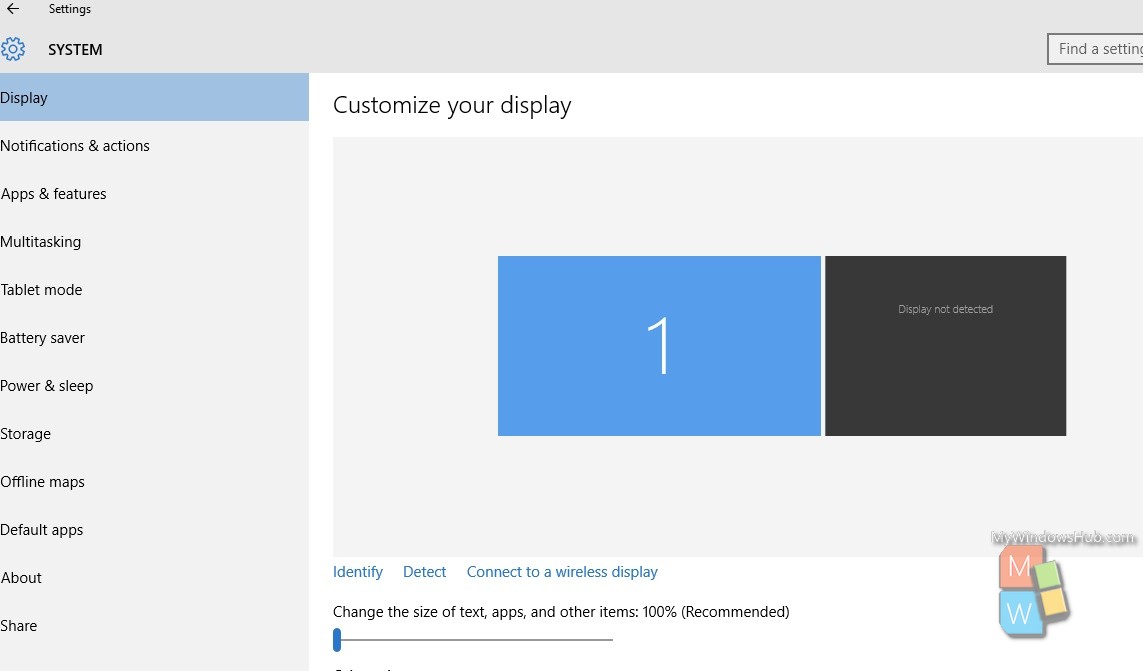
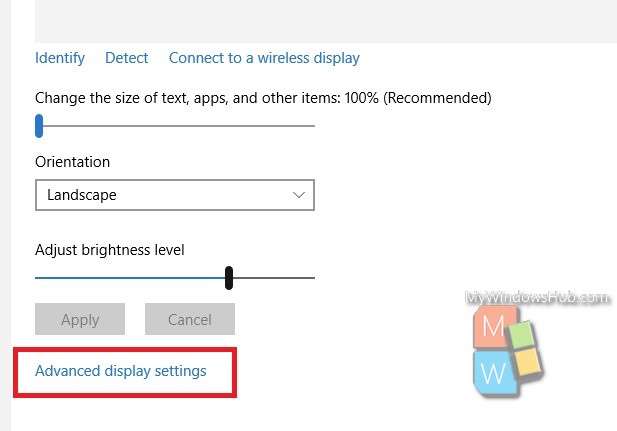
6. Now scroll down and go to Advanced display Settings.
7. Now open the resolution dropdown. Select the 3840 × 2160 resolution.
That’s all!

