

This tutorial will help you to replace system files in your Windows 8 computer.
What is a System file?
A system file is a file having the system attributes set. Thus in no other way it differs from other files. But because of this special feature, this file is different from other files in its mode of operation. It is recommended that the system files should be protected from unauthorized access, and thus it’s better to hide normally. You will heard the names of the system files like explorer.exe, system32.dll etc.
What is Ownership?
Ownership defines the owner of the file. The owner/creator of the file has all the accesses (read, write and execute) for that file. Other user may not have sufficient permission to perform a specific operation. Thus before replacing a system file, taking ownership is a must have part because of its special nature.
For some reasons, you may want to replace any system file in your computer or it may be corrupted. In that case, here is a hand on guide to replace any system file in your computer.
Creating Backup
Whenever you are working on system files, it’s recommended that you have created
1. A System restore point and
2. Bootable recovery media.
Because, your newly created system file may create system crash. In that case this will help you to restore your computer into your previous state.
Taking ownership and replacing the file
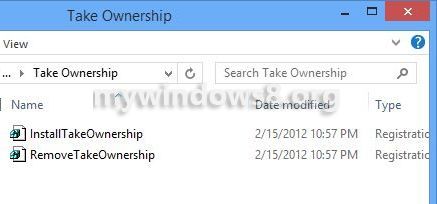
Step 1. Download the .rar file from here. It contains two registry editor file, one for adding the “Take ownership” option to the context menu and another for removing that.
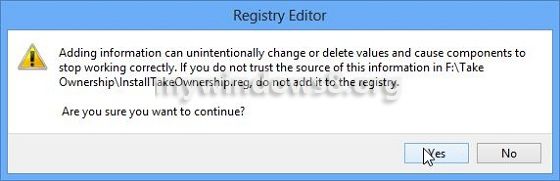
Step 2.Now install the Install Take Ownership file to add the option. It will ask you for several permissions. Allow (click yes) them all in order to install.
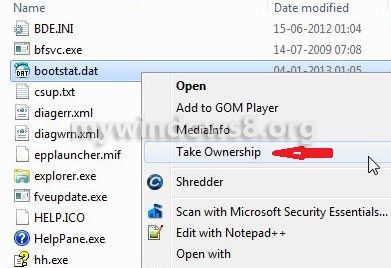
Step 3. Now head towards the location of the system file you want to replace. Right click on that file and select Take Ownership.
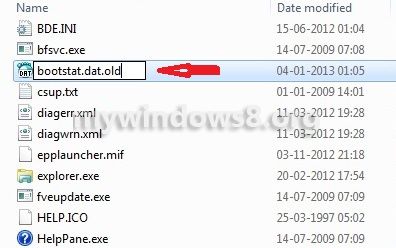
Step 4. Now change the name of the file. Here I have done it by adding a “.old” extension to it. Put your new system file in this folder and name your custom system file to the actual name (e.g. bootstat.dat).
You are done with it. You have successfully replaced the system file. Save the machine state and restart to see the effect. If there is any problem, then restore the machine, using Start Up Repair. Your created system image will help you in this purpose.