Serial ATA (Advanced Technology Attachment) also known as SATA, is a computer bus interface that links HBA’s to external storage devices for example hard drives and optical drives. Serial ATA supersedes the former AT Attachment measure also known as ATA or PATA, providing numerous rewards over the former interface: diminished cable length, size and cost (seven conductors in place of 40), hot swapping, quicker data transference via elevated signalling speeds, and more effective transfer.
Windows device drivers that are tagged as SATA are often-times executing in IDE emulation mode unless they obviously declare that they are AHCI mode, in RAID mode, or in a mode offered by a patented driver and command set that granted entree to SATA’s advanced characteristic before AHCI became democratic. The SATA controller will either be engrafted onto the motherboard or the SATA add-on card. Windows 7 and Vista will generally make out a SATA motherboard controller. SATA add-on cards will more than probably ask for a driver. In either of the cases, if the drive is not discovered by the OS Setup software, then you are required to provide a controller device driver.
The SATA controller driver can generally be obtained from the CD or website of the system, motherboard or SATA controller card producer.
This tutorial show you how to load the SATA drivers in System Image Recovery when Windows 8 can’t discover your backup hard drive due to absence of loaded drivers.
Steps to Load SATA Drivers in Windows 8 System
1. Copy your SATA driver to a disk. (Floppy, CD, USB) .
2. Click Cancel.
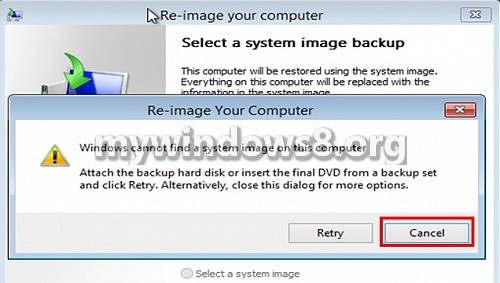
3. Click on Next.

4. Click on Advanced.

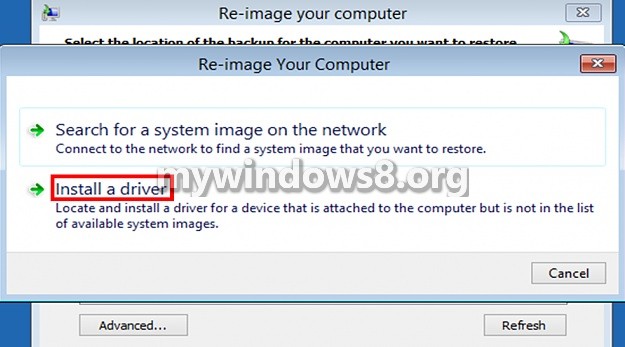
5. Click on Install a Driver.
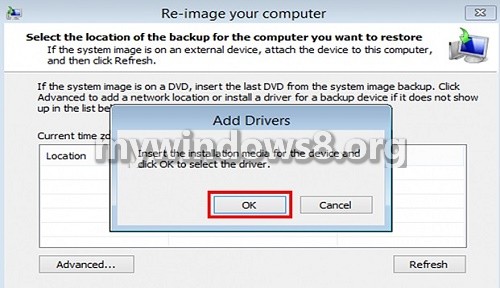
6. Click OK.
7. Open Computer and choose your SATA controller.
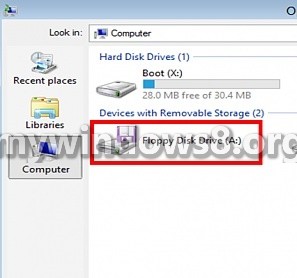
8. Choose your SATA controller and click on Add Driver.
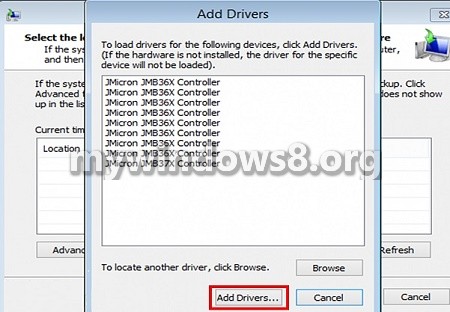
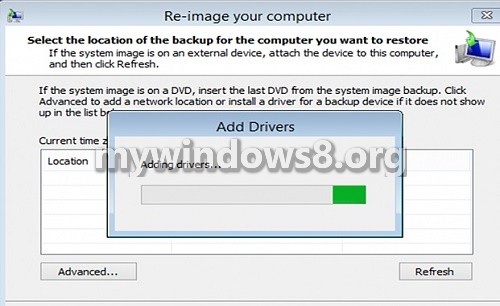
9. Click Next & go forward with re-imaging.

In this way you have successfully included the SATA controller driver in the Windows 8 recovery image so that your system can load the drivers at the time of recovery.

