The following tutorial will help you to start an Application in Administrator Mode permanently on Windows 10. There are two modes of running an application or a utility – Administrator mode and Non-administrator mode. Windows 10 by default selects the administrator mode. In this mode the application is given a very low priority. This is completely fair in the prospect as an operating system. Windows 8 defends the system from viruses. But, many applications do require Administrator privileges. Basically the older applications which were developed for older version of Windows need Administrator privileges to run successfully.
Even this version has provided very simple and prominent method for running an application using Administrator privileges, you have to just right click on the application, then you would find a Run as administrator option. Similarly, in the start menu when you right click on an application icon you get a pull-up menu bar in which you have a Run as administrator option. But you have to follow these steps again and again every time you run the application. So here I am discussing few steps by which you can give any application privilege to run in administrator mode each time it is opened.
Steps to start Application in Administrator Mode mode permanently in Windows 10
1. Select the application you want to permanently run in administrator mode, then right click on it and go to properties.

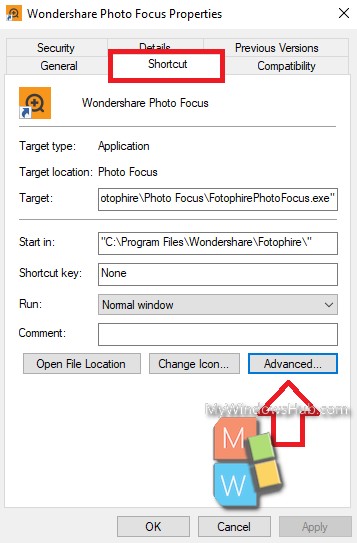
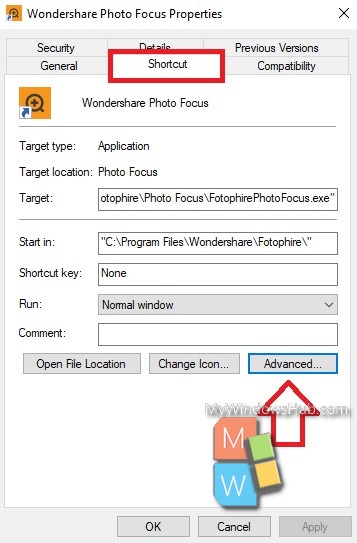
2. Next you have to select the shortcut tab. Under the Shortcut tab, there is an Advanced option. Click it.

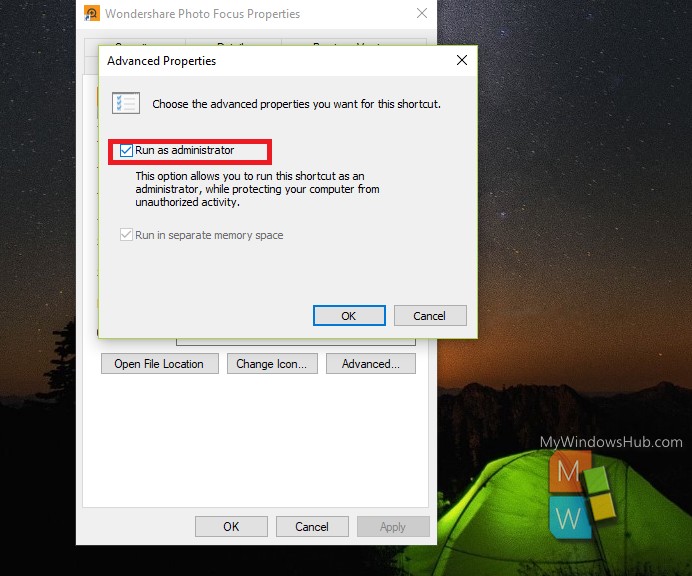
3. There you will find a checkbox saying Run as Administrator.Check it.

If you have completed the steps successfully then you are done.
That’s all!

