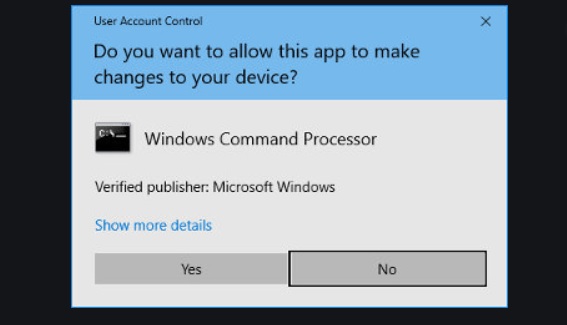
User Account Control or UAC is a primary component of Microsoft’s security package and also mitigates the impact of malware attacks. For every app that requires the administrator access token, mandatorily prompts for consent with the only exception being the parent and child processes’ relationship which however should have the same integrity level.
You must have come across situations where you have had to pause for the User Access Control (UAC) prompt. It is a usual case to see attempts like installing an app, opening the command prompt with admin rights or editing the registry failing due to the User Access Control (UAC) prompt. You can easily get past this if you are aware of the admin credentials. The shortcoming of this is user prompt window is at a much higher level window than other windows and others, that you are forbidden from recording it or taking a screenshot of it.
Steps to Screenshot UAC Prompt
You know, “When there is a will, there is a way”, so the same applies to take screenshots of User Access Control (UAC) prompt. The change that you need to bring to screenshot the User Access Control (UAC) prompt is changing the level that is assigned to the window. This way, you are able to reduce the degree of protection provided by the User Access Control (UAC) prompt. But there is an important thing to note. After you take the screenshot, you should make it a point to reset the changes you had made in order to take the screenshot.
Follow the mentioned steps to work it out:
- You can open the command prompt with admin rights and the UAC prompt will appear.
- Next, on the UAC prompt, go ahead to view more details.
- After getting into the details, choose ‘Change when these notifications appear’ option to go ahead.
- On the other hand, you can go to File Explorer and paste the path mentioned below and press enter followed by clicking on ‘Change user account control settings’. Control Panel\User Accounts\User Accounts\
- Following these steps, a control panel window will open where you work on the slider. Moving the slider down to the second notch will help.
- After following these steps, when you see a UAC prompt next, you will have the permission to screenshot by using any tool, including the shortcut, Win+PrntScrn, and just PrntScrn to screenshot it. You will also have permission to record it using screencast.
- Now, after your work of recording and taking screenshots is done, you have to responsibly return the settings back to the original settings.
UAC Prompt Overlay
According to the default settings of UAC, it applies an overlay to the Windows10 screen whenever it appears which makes it difficult for user interaction. The user first has to attend to the prompt and then only the user can proceed to anything else. There might be exceptions where the UAC prompts might work in the background, but anyway in most cases it will be a shadow over the work you have been doing and prompt you to attend to it first. Well, this overlay is an advantage. It helps in preventing any kind of malicious apps that tries to interact with the apps on the windows that is behind the UAC. Like for example if a script is there to get past the UAC prompt, the overlay will block it from making a choice and going ahead. And this is exactly why resetting the changes to original is important.
Basically, screenshots apps or tools aren’t any kind of threat in the context of malicious apps and it is not very obvious of it to get your screenshots or recording leaked. But UAC’s default way to add an overlay restricts everything. This is just a side-effect of how the UAC prompt works. However, working on the settings while also being responsible to change back the settings can help you go through.

