

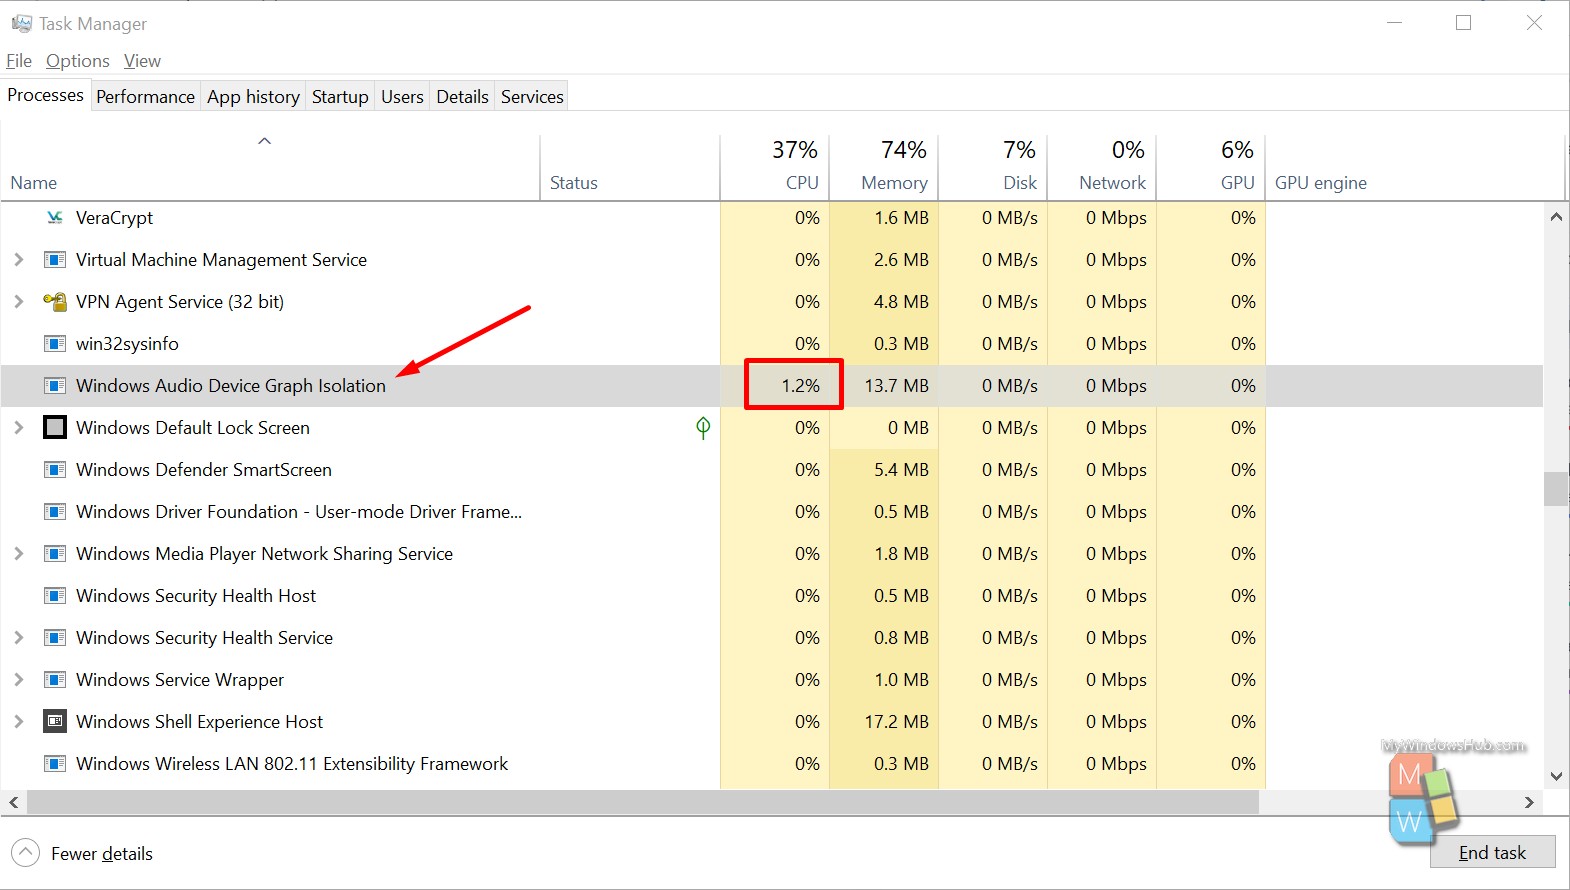
Audiodg.exe is a Windows process represented as Windows Audio Device Graph Isolation. Windows Audio Device Graph Isolation is an executable file that helps you get better sound quality and different audio effects. Audiodg.exe is located at C:\Windows\System32 folder. This audio engine is a default process available in Windows Vista and all the later versions of windows. Some users think it is malware, so they try to delete this file. It would not help you because it is not malware; it is an integrated Windows file. We highly recommend you not touch this file, as removing this file would result in problems related to Audio renderer error. We have noticed, the audiodg.exe file utilizes high CPU to get the job done. In this article, we shall be discussing different ways to fix the high CPU usage caused by the Windows default audio engine.
Before going for the solution to this issue, you need to know why this issue occurred.
- The sound driver may not be updated.
- The drivers needed for gaming devices might not be up to date, including a headset.
- If your System is infected with malware.
- If the audio driver is corrupted or got damaged.
You can try the below steps to resolve this problem.
- Disable audio effects
- Disable volume adjustment
- Update the sound card driver
- Update the driver and software of gaming devices
- Change the audio sample rate
1. Disable audio effects:
Audio effects are here to make your Sound perfect. If you are using third party software to improve your sound quality, it can cause problems with audiodg.exe.
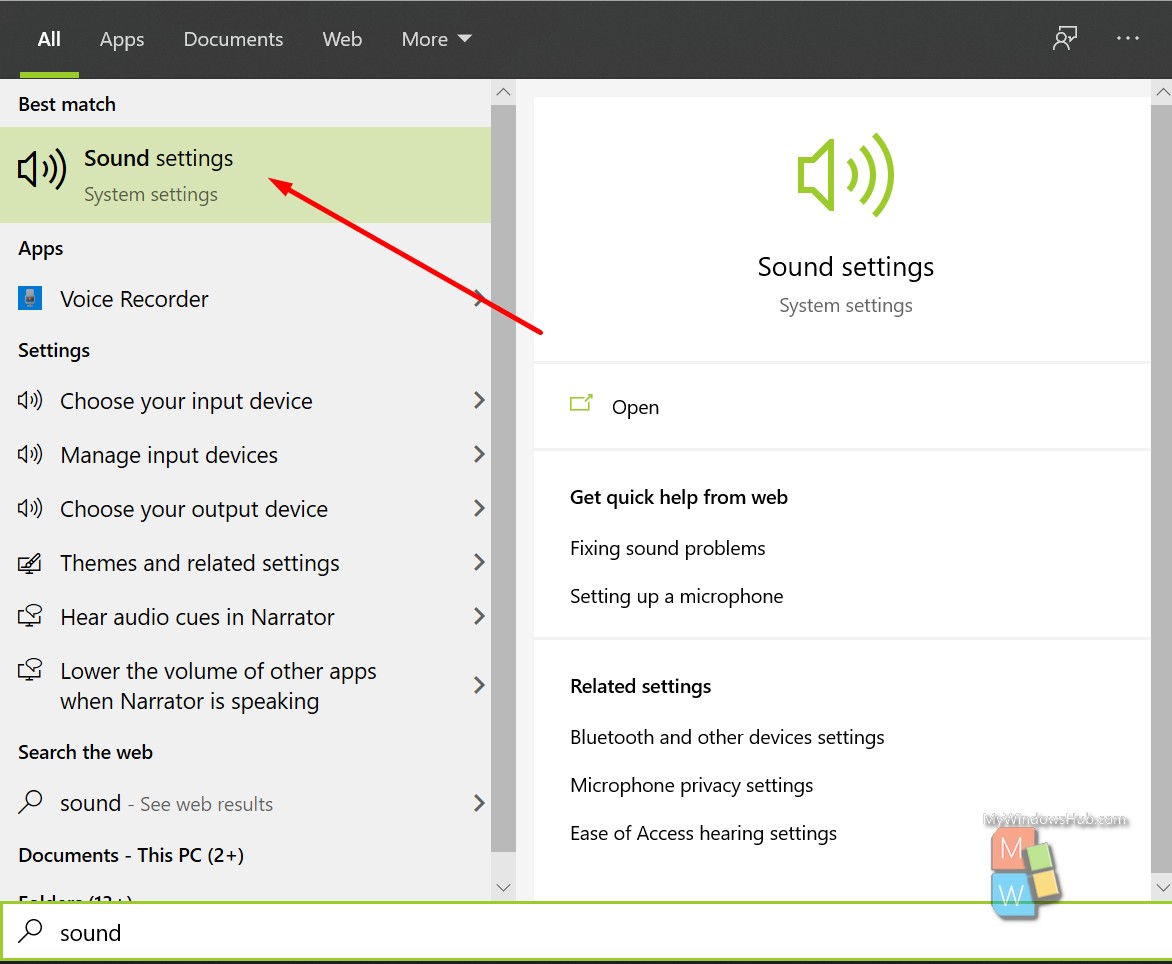
- Search for the keyword “Sound” on the search bar and select the first option, as mentioned in the below screenshot.
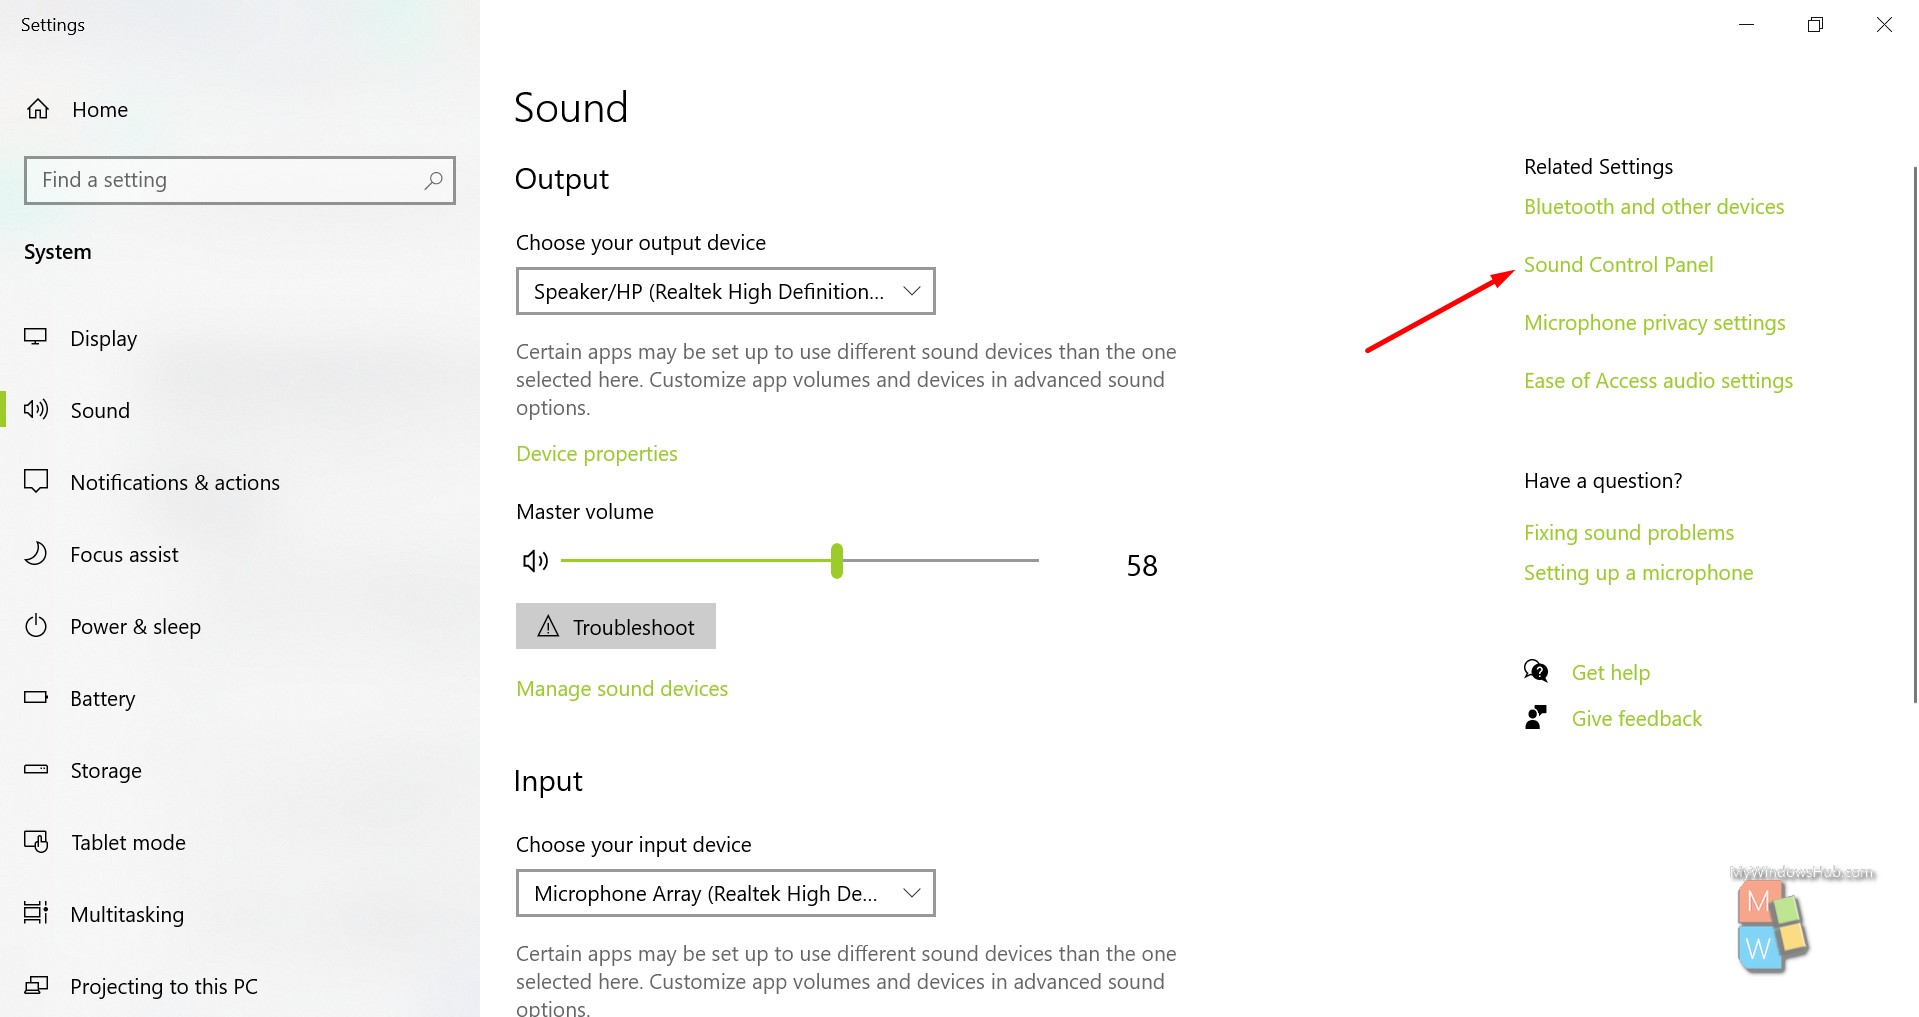
- Open the Sound Control Panel by clicking the link as mentioned in the below screenshot.
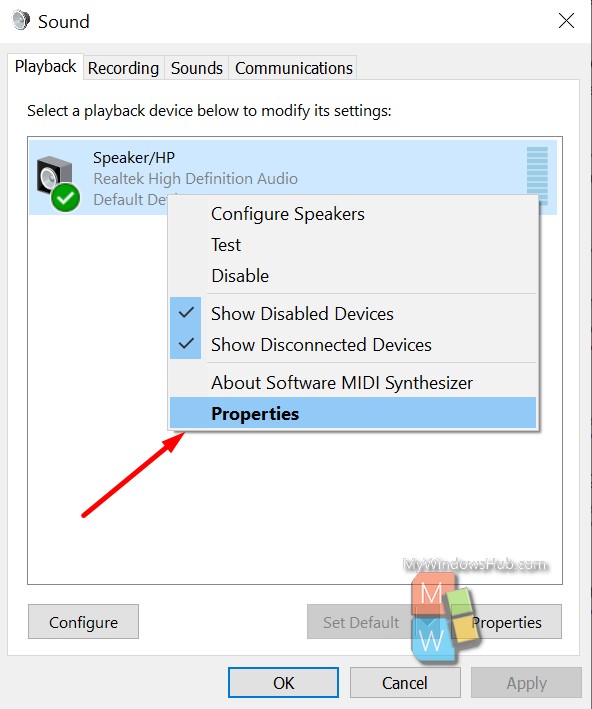
- Select the audio device from the Playback tab, right click on it and then click the Properties option.
- In the Enhancement tab select Disable all sound effects.
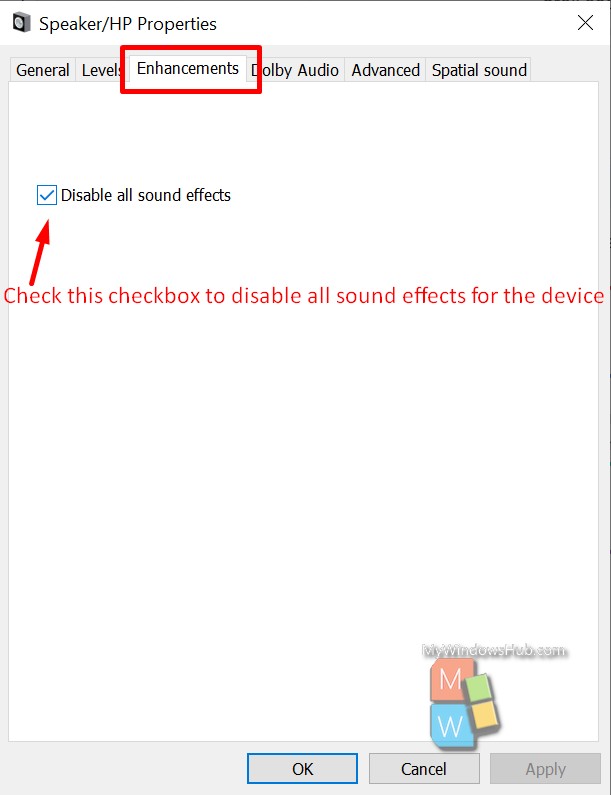
- Then click on Apply and OK to save the changes.
Open Task Manager and check the Windows Audio Device Graph Isolation process; if this step doesn’t work for you, please follow the methods mentioned below.
2. Disable Volume Adjustments:
This problem occurs when you are using the new Operating System, including Windows 8, Windows 8.1, Windows 10. To overcome this issue, you need to reconfigure the communication setting in the same Sound Setting, as showing below.
- Search for the keyword “Sound” on the search bar and then select the first option, as mentioned in the below screenshot.
- Open the Sound Control Panel by clicking the link as mentioned in the below screenshot.
- On the Sound dialog, click on the Communications tab.
- Then select Do nothing as shown below.
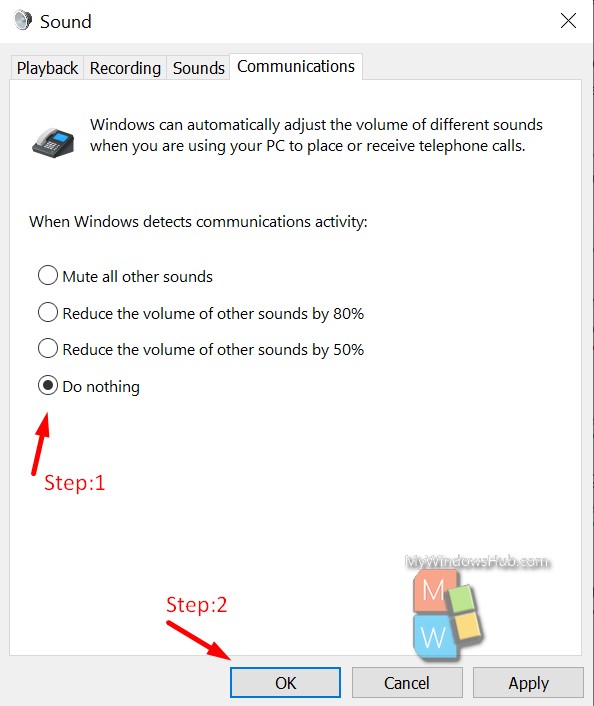
- Click on the Apply button and then OK to change the setting.
Then open Task Manager and check the Windows Audio Device Graph Isolation process; if this step doesn’t work for you, please follow the methods mentioned below.
3. Update the sound card driver:
If the first two methods didn’t help you solve the issue, the next step would be updating the Sound driver. Here you can see how to update the sound driver in Windows Vista, Windows 7, Windows 8, and Windows 10. You need to download the updated Sound driver based on your Operating System (32-bit, 64-bit) in this procedure.
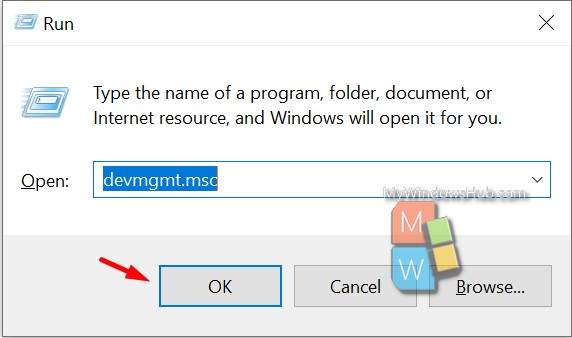
- Go ro Run dialog box by pressing Win+R.
- On the Run dialog, type devmgmt.msc and then press OK.
- On the Device manager window, expand Sound, video and game controllers.
- And then right click on Sound card and select Update driver.
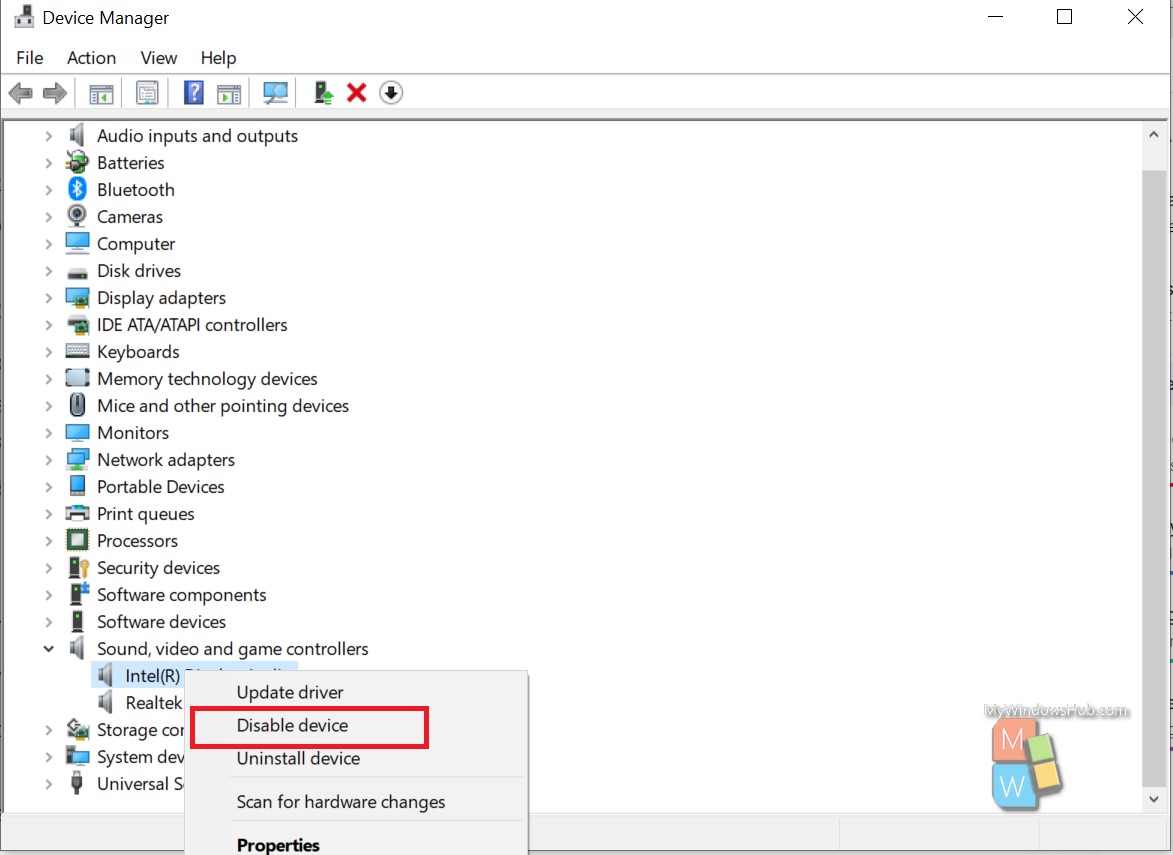
- You might also need to uninstall the driver by right clicking on sound card and select Uninstall driver as shown below.
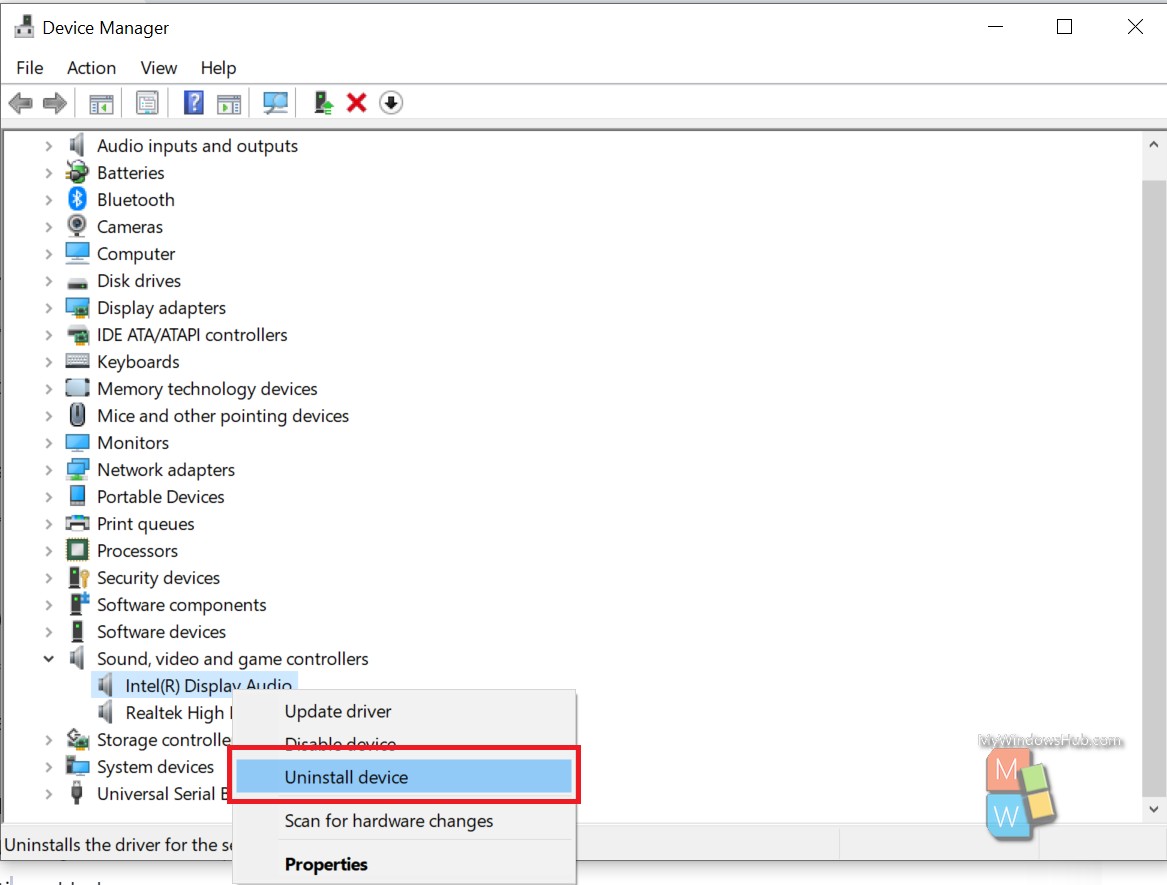
- Click OK to begin the uninstall process.
- Restart your windows.
Then open Task Manager and check the Windows Audio Device Graph Isolation process for the CPU usage. If the issue persists, please follow the next step, as mentioned below.
4. Update driver and software of gaming devices:
You can also solve this problem with audiodg.exe by updating software and driver for the connected gaming devices. If you are using gaming devices, like a headset, you will need to uninstall the current software/driver and reinstall the latest version of the driver for your device.
- Go to Control Panel and click on Programs and Features.
- Find the gaming software you want to uninstall and right-click on it.
- Click on the uninstall\change option and press yes to uninstall the software.
- Then Restart your Window and download the latest version of the software that you uninstalled.
- Install the software and Restart your windows again.
Now open Task Manager and check the Windows Audio Device Graph Isolation process for the CPU usage. If the issue persists, please follow the next step, as mentioned below.
5. Change Audio Sample Rate:
In this case, you need to change the sample rate on your playback devices. The sample rate is the number of samples of audio carried per second. Audio samples can be measured in Hertz or kiloHertz.
The following process can be applicable for Windows Vista, Windows 7, Windows 8/8.1 and Windows 10.
- Search for the keyword “Sound” on the search bar and then select the first option, as mentioned in the below screenshot.
- Open the Sound Control Panel by clicking the link as mentioned in the below screenshot.
- Select the audio device from the Playback tab which has the green tick mark, right click on it and then click the Properties option.
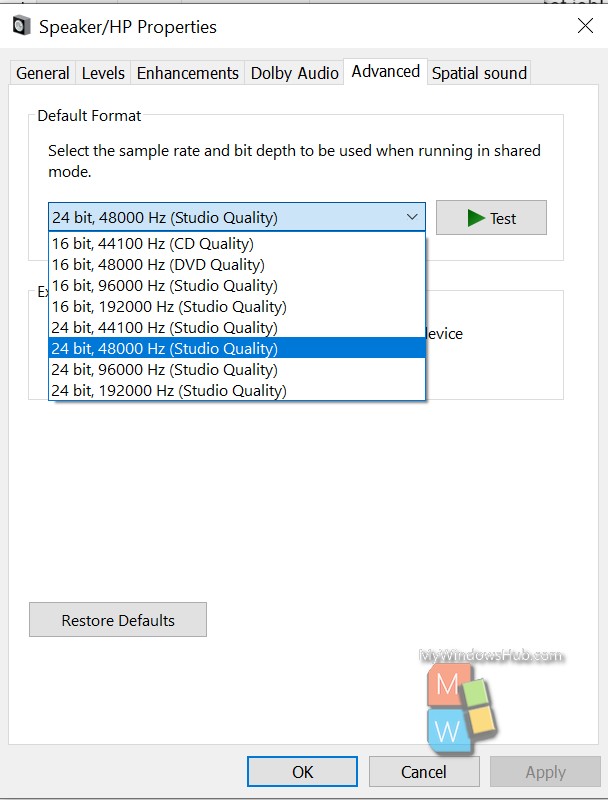
- Next window, open the Advanced tab and change the audio sample rate to a lower or higher frequency.
- Choose which frequency is the best for your speakers and headphones. You can get the value of the best sample rate for your audio devices by going through the official website’s device specification.
- Apply and press OK to save the changes.
- Open Task Manager and click the Windows Audio Device Graph Isolation process for the CPU usage.
Conclusion:
The audiodg.exe is a necessary process that helps Windows render the audio smoothly, as this is neither a virus nor a malware, we should never try to delete this particular file. This article has walked you through different steps to fix the high CPU usage caused by the Windows default audio engine.
About Harsit Mohapatra
Harsit Mohapatra is a full-time Software Engineer passionate and hungry for tech updates and knowledge. Besides being a crazy software developer, he is an avid traveller and loves capturing the things that give him a perception through his lenses