The mouse pointer is the graphical image on your desktop that helps to point different objects on the desktop helping you focus on the objects on the display screen. The cursor or the arrow changes from time to time depending on the function the computer is performing. This tutorial will help you manually change the Mouse pointers in Windows 10.
Steps to Change your Mouse Pointers in Windows 10
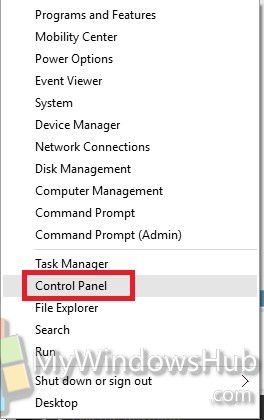
1. Right click on the Start Menu and go to Control Panel.
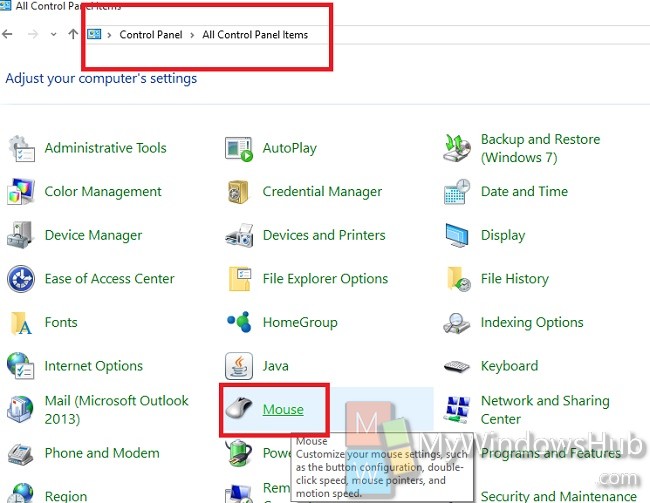
2. Type Control Panel\All Control Panel Items. Go to Mouse.
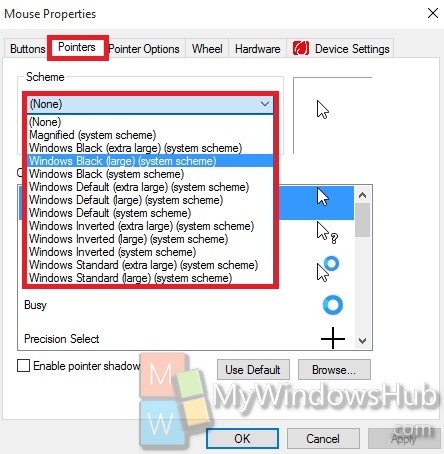
3. Select Pointers tab. Under the Scheme dropdown menu, select a pointer of your choice. Click Apply and then OK.
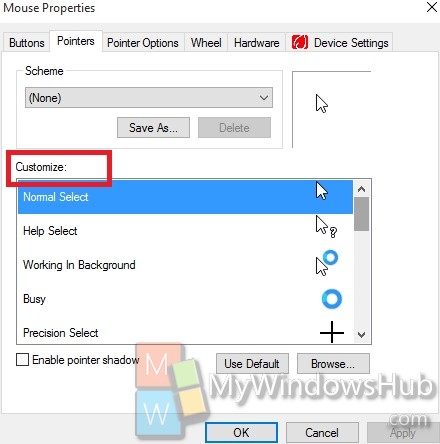
4. You can also Customize the Mouse pointer more specifically.
5. Under Customize option, you can select from a number of available options. Click Apply and OK.
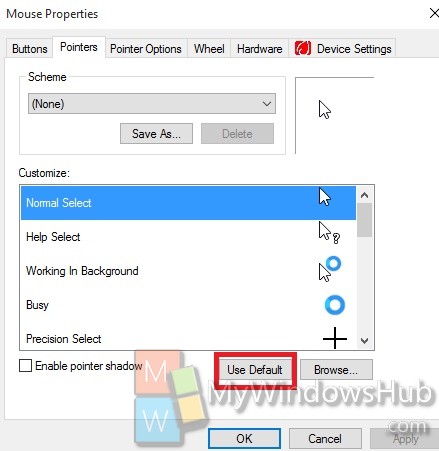
6. If you want to set the default Settings, then click on Use Default.
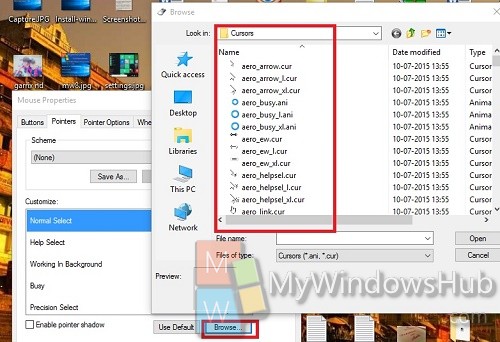
7. Next, you can also Browse your favorite pointer by using an unblocked .ani or .cur file of your choice.
