

Closed captions are a textual version of an audio in a video, movie, or a presentation. They are a time-synchronized text track that can be read while watching visual content. If the video is played in a different language, which we do not understand, then closed captions display the live transcript of the audio track. It is also beneficial for users with defective hearing.
Windows 11 has a feature called Live captions, where captions are automatically generated. This is an accessibility feature which is beneficial for people with impaired or no audibility. When you turn on the live captions, any content with audio generates captions. There are many ways by which you can edit and change style of the closed captions. Captions are generated at the top or bottom floating on the screen. In this article, you will learn how to change live captions style, design, etc.
Steps To Change Closed Caption Style in Windows 11
1. Tap on the Windows button located on the taskbar and go to Settings. Or simply press Windows+I to open the Settings app.
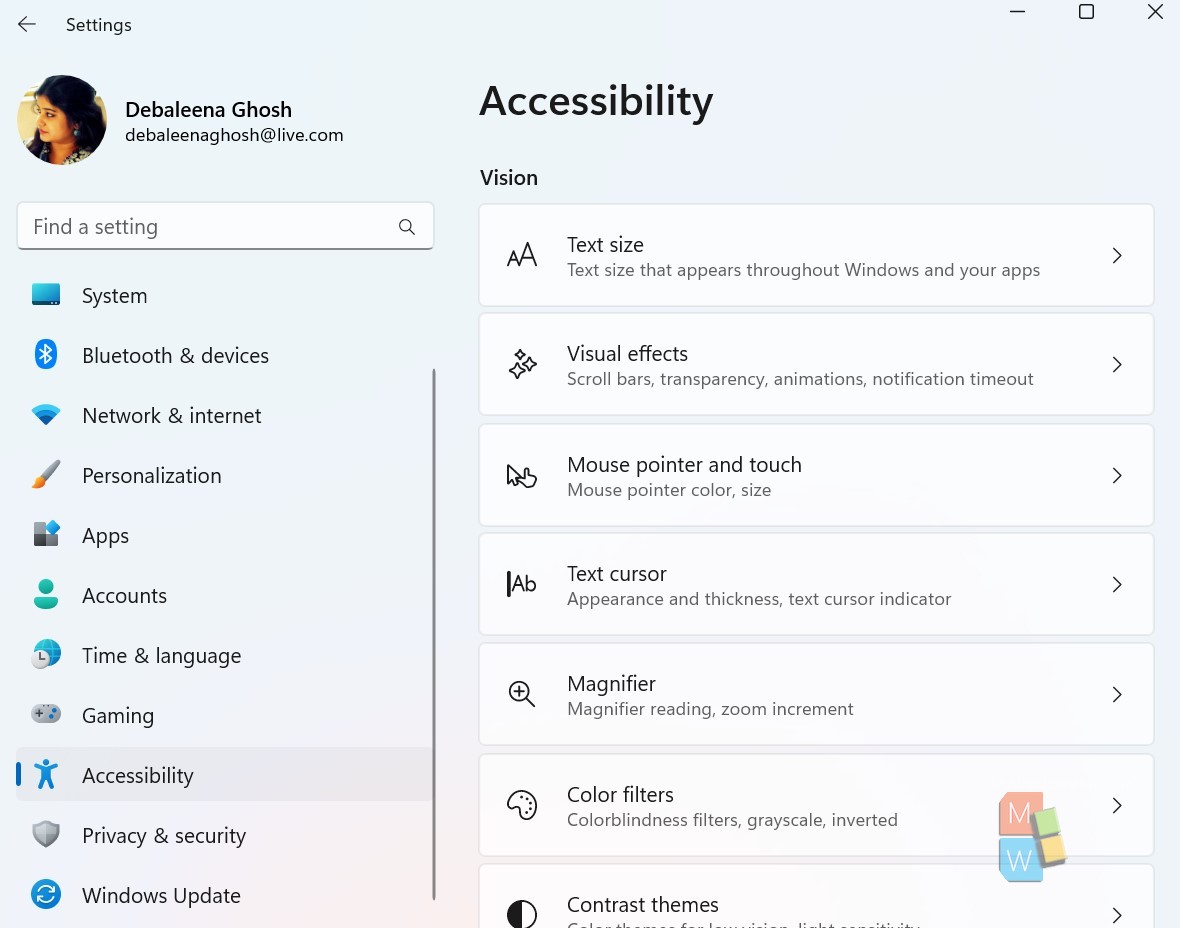
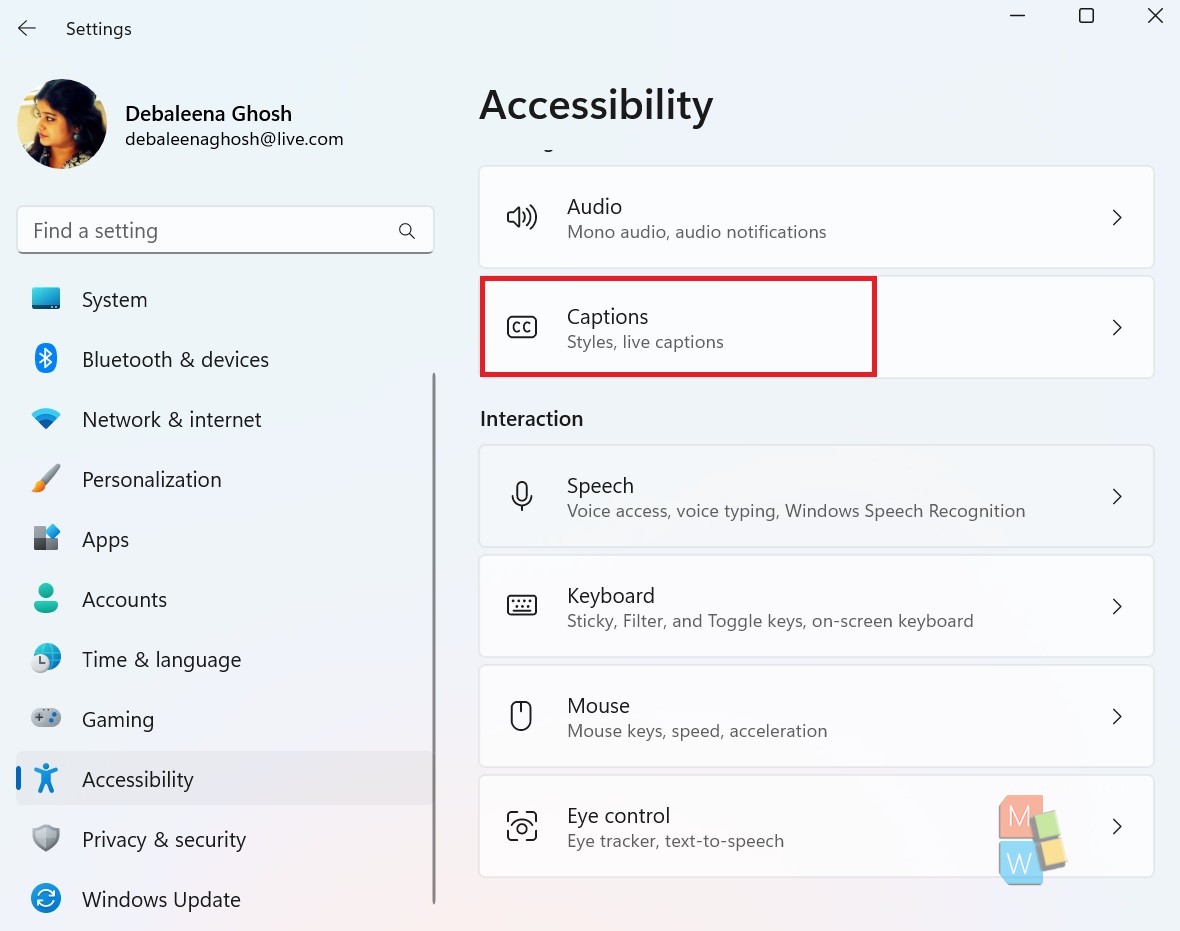
2. In the left panel, search for the Accessibility setting. In the right panel, scroll down and find out Captions. Tap or double click on it.
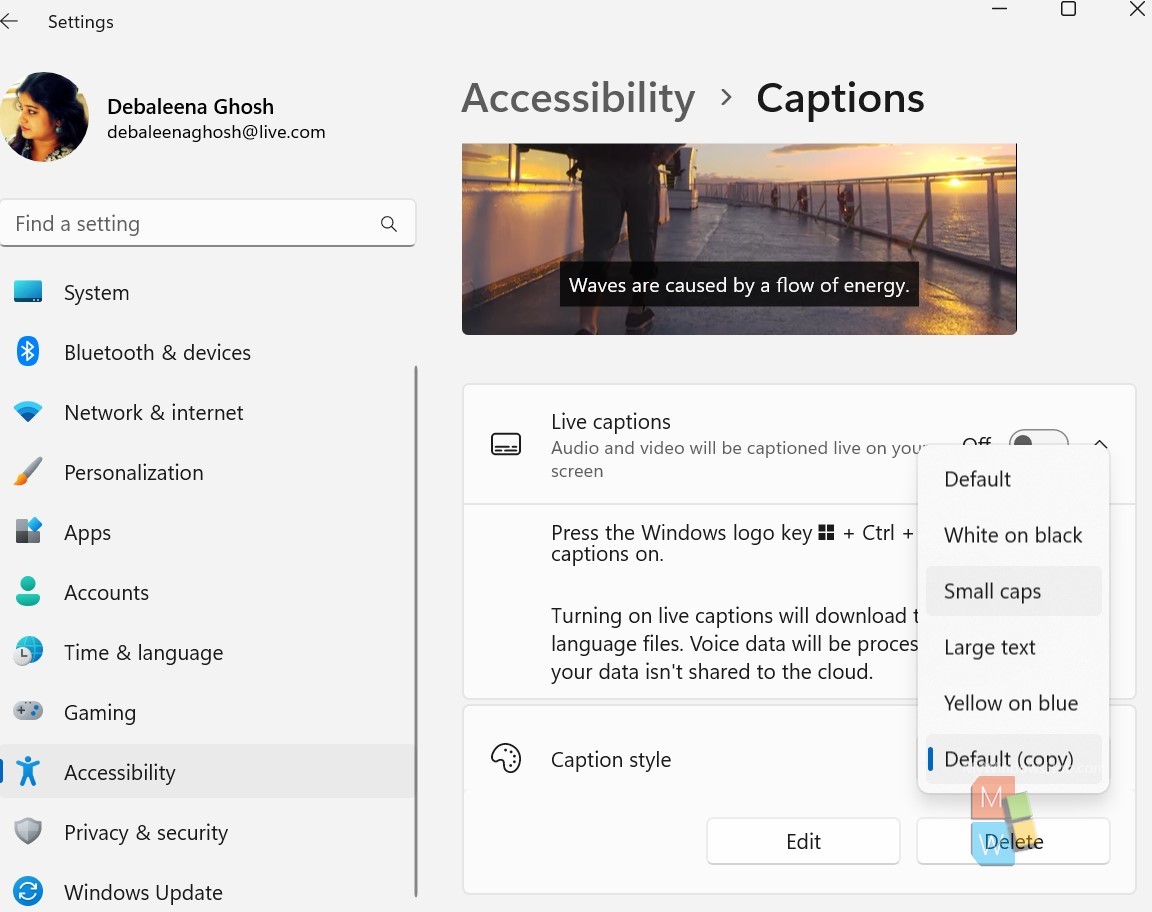
3. Check there is the Live Captions option. By default, it is turned off. Tap on the radio button to turn it on. Press the Windows key+ Ctrl+L to turn on Live captions. As you turn on the Live captions, the operating system will download the language files. Voice data are stored locally and your data will not be shared to the cloud.
4. Just below the Live captions menu, there is Caption Style, which you can edit and change the styles. There are primarily 5 options, the default, white on black, small caps, large texts, yellow on blue. Choose any one of your choice.
That’s all!