

The Chkdsk Autochk is a command that is used to set the disk checking countdown time in Windows 10. If you enable disk checking, then in the next login session, you will have a stipulated timestamp before which you can tap only key to skip disk checking. In this regard, it’s to mention that disk checking is very useful as it periodically checks for bugs and system failures. When you start your computer, you will get by default 8 seconds to skip disk checking. This value of 8 seconds can be changed as and when necessary and any numerical value within the range 1 to 259200. Check out the following tutorial to know how to change Autochk Initiation Countdown at boot in Windows 10.
Steps to Change Chkdsk AutoChk Initiation Countdown Time at Boot in Windows 10
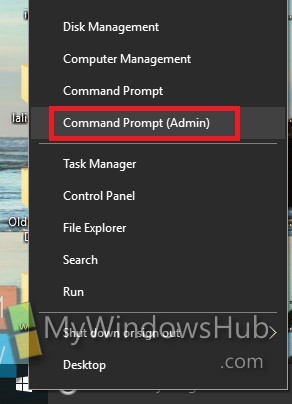
1. Press Windows+X and select Command Prompt (Admin) to open Elevated Command prompt.
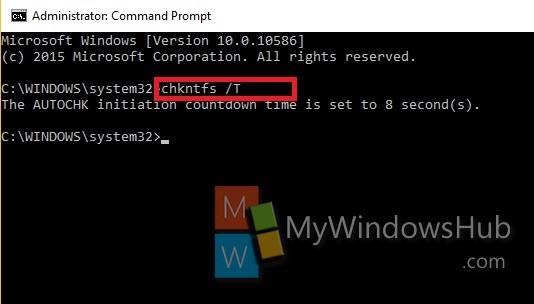
2. To check what the current AutoChkTimeout value is set to, type the following command and hit Enter
chkntfs /T
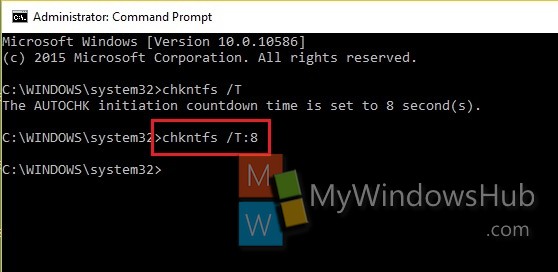
3. Now type the following command and hit Enter.
chkntfs /T:seconds
Replace “seconds” by the value of the number of seconds that has been displayed in the result of the first command.
for example, chkntfs /T:8
4. That’s all!
About Nick
Nick is a Software Engineer. He has interest in gadgets and technical stuffs. If you are facing any problem with your Windows, feel free to ask him.