Control Panel is the one stop for all System Settings of your Windows PC. Unlike Windows 7, the Control Panel is not present in the Start Menu in Windows 10. You can either right click on the Start Button to find Control Panel or use Cortana. In this tutorial, I’ll show you how to add or remove it from “This PC” area in Windows 10. To achieve these steps, you must have Administrator Permissions and Full Control Access. Otherwise, the tutorial won’t work. In case you face any issue, let us know in the comments below.
Steps to Add or Remove Control Panel from This PC in Windows 10
Adding Control Panel from This PC in Windows 10
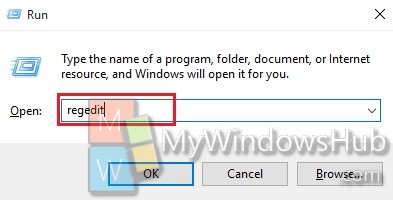
1. Press Windows+R to open the Run Window. Type regedit and press Enter.

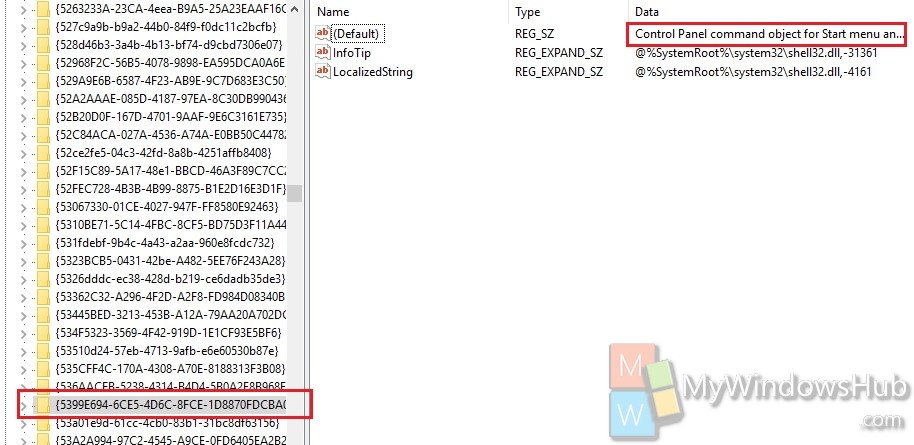
2. Now Navigate to the following location
HKEY_CLASSES_ROOT\CLSID\{5399E694-6CE5-4D6C-8FCE-1D8870FDCBA0}

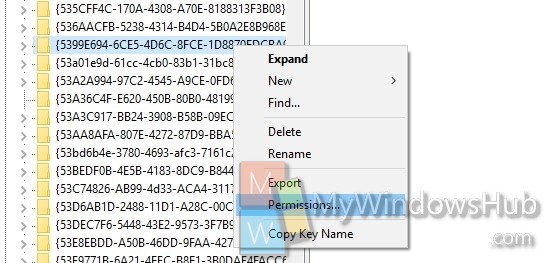
3. You need to change the owner of the Key to Administrator in case you have not done it. For that, right click and go to Permissions.

4. Now select Administrator as the user. Check the Allow checkbox beside Full Control and select Apple and then OK.
5. If you are using 64-bit Windows 10, then go to following location and repeat steps 3 and 4 if needed.
Now, download any of the following registry File based on whether you are using 32-bit or 64-bit Windows 10 and run it.
Download the file given below:
Add-Remove-controlpanel-to-this-pc
The above file is a RAR file which contains the three registry files given as follows:
Add-32-bit_Control_Panel_to_This_PC (Add Control Panel from This PC in 32 bit Windows 10)
Add_64-bit_Control_Panel_to_This_PC (Add Control Panel from This PC in 64 bit Windows 10)
Remove_Control_Panel_from_This_PC (Remove Control Panel from This PC in Windows 10)
Download the file and extract the reg files. Run the file which is suitable for you.

