Windows operating system can detect all those WiFi networks that are active in your vicinity. The Wi-Fi networks will be visible but your computer will be connected to only the network, whose password is known and with which it has the strongest connection. If you don’t want to see your neighbor’s Wi-Fi networks or simply don’t want to see you Wi-Fi list cluttered with unnecessary stuffs, you can hide all those nearby Wi-Fi networks. Again, if you want to get back the networks you can do it. All these can be done by some Command prompt commands. But first you must be logged in to your Live account as administrator. Or open the Elevated command prompt.
Read Here: 5 Tips To Boost Your Home Wi-Fi Signal

Steps To Hide A Nearby WiFi Network In Windows 10
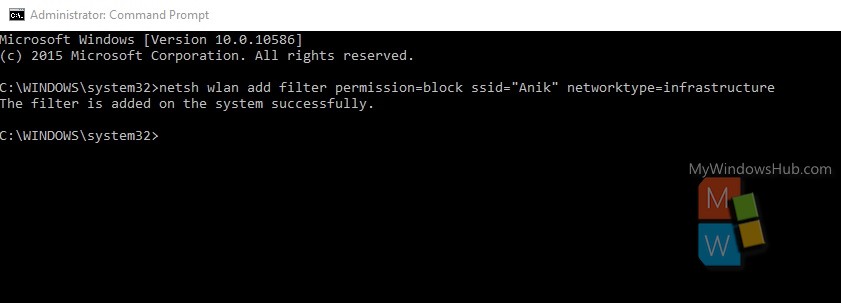
1. Right click on the Windows Start Button, go to Command Prompt (Admin) and open the Elevated Command Prompt. As you know the name of the Wi-Fi network, copy and paste the following command, and replace “WiFi network to be removed” with the name of the Wi-Fi network you want to remove from the list.
netsh wlan add filter permission=block ssid="WiFi network to be removed" networktype=infrastructure

2. If you want to show the Wi-Fi network in the list again, copy and paste the following command and replace “WiFi network to be showed” with the name of the required network.
netsh wlan delete filter permission=block ssid="WiFi network you want to show" networktype=infrastructureRead Here: Your Best Outdoor Security Options

