

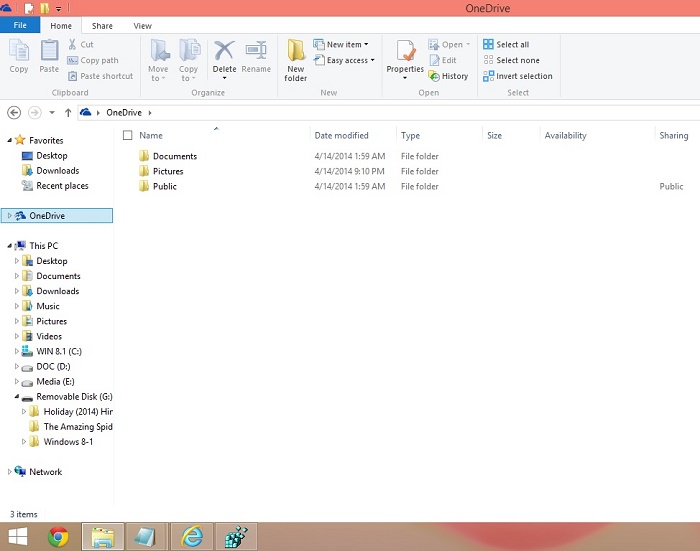
OneDrive is Microsoft’s cloud-based file hosting storage service where in you can upload, view and share the files, you saved online via OneDrive.com. In addition to the personal storage provided, OneDrive also provides business storage as OneDrive for Business. You can store almost any kind of file on OneDrive and it would be made available to access or share from any device which includes a vast range such as Android, BlackBerry, Windows Phone or even iOS. In Windows 8.1 and RT 8.1, the OneDrive is integrated in a rather good way for easier file access management. Your OneDrive files would be easily available from the File Explorer menu in the left hand pane for enhanced management of files in Windows 8.1.
Follow the steps below to remove or add OneDrive in your Windows 8 / Windows 8.1 PC.
Add or Remove the OneDrive folder in your PC
Option 1
This option adds in a central OneDrive folder to all the accounts present in the system and every user would be able to see only their OneDrive files and folders. In other words, this would not be a local account OneDrive.
1. If you do not have Admin Rights, you need to have this Administrators permission first, then assign permissions to allow “Administrators” group complete control over the registry key in regedit.exe as specified below.
{8E74D236-7F35-4720-B138-1FED0B85EA75}
The locations might vary based on the bit of the system as specified below.
a. For 32-bit and 64-bit Windows
Location: HKEY_CLASSES_ROOT\CLSID\{8E74D236-7F35-4720-B138-1FED0B85EA75}
b. For ONLY 64-bit Windows
Location: HKEY_CLASSES_ROOT\Wow6432Node\CLSID\{8E74D236-7F35-4720-B138-1FED0B85EA75}

2. To Remove OneDrive from your PC, click on the below download button to download the below file.
Remove_SkyDrive_from_This_PC.rar
3. To Add “OneDrive” to your PC in 32-bit Windows 8.1, download the below file.
32-bit_Add_SkyDrive_to_This_PC.rar
4. To Add “OneDrive” to your PC in 64-bit Windows 8.1, download the below file.
64-bit_Add_SkyDrive_to_This_PC.rar
5. Save the registry file on your desktop,
6. Double click on it and press OK that follows to merge the registry entry to your existing registry.
7. Close the registry editor and reopen File Explorer to see the changes.
Option 2
This option would include the OneDrive individual stuffs like OneDrive Music, Pictures, Videos and other such folders to all separate accounts present in the system. These folders would be available in the local accounts but won’t be accessible until you sign in with a Microsoft account.
1. To Remove “OneDrive folders” from This PC in Windows 8.1, click on the below download link to download the file.
2. To Add “OneDrive folders” to your PC in 32-bit Windows 8.1, click on the below download link to download the file.
3. To Add “OneDrive folders” to your PC in 64-bit Windows 8.1, click on the below download link to download the file.
4. Save the registry file on your desktop.
5. Double click on it and press OK that follows to merge the registry entry to your existing registry.
6. Close the registry editor and reopen File Explorer to see the changes.
About Nick
Nick is a Software Engineer. He has interest in gadgets and technical stuffs. If you are facing any problem with your Windows, feel free to ask him.