In Windows 10, the Settings Option is primarily distributed between the conventional Settings Menu and the Control panel. In Windows 7, the Control Panel used to be the main center for all sorts of settings options. But with the present Windows version, some of the customization features are included in the Start menu Settings while some are under the Control Panel. Then there is the Device Manager which is a separate entity. Now this becomes a problem for novice users. They get perplexed when they are stuck with any issue. They have no clue which setting is in which place. However, Cortana makes the issue a lot easier. You don’t have to manually search each and every destination for the setting. You can simply search for the setting by entering the name of the setting in Cortana. Cortana will provide the search result in a jiffy. You don’t even need to remember any codes for Run window. Now there is another way out. It is called the GodMode. The GodeMode is there for Windows 7 and it is pretty much active and functional in Windows 10 also. The GodMode assembles each and every type of Settings the Windows OS has under one roof.
Steps To Activate GodMode in Windows 10
1. To enable GodMode, first you must login as Administrator using your Microsoft live account.
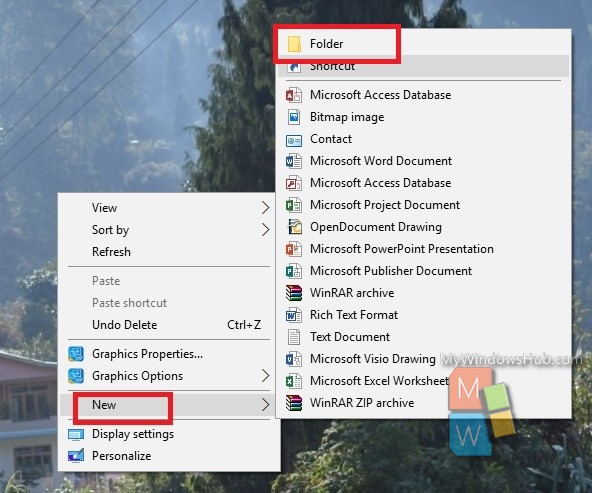
2. Now, right click on an empty space on the Desktop, go to New and click on Folder.

3. Next, copy and paste the following into the folder name:
GodMode.{ED7BA470-8E54-465E-825C-99712043E01C}

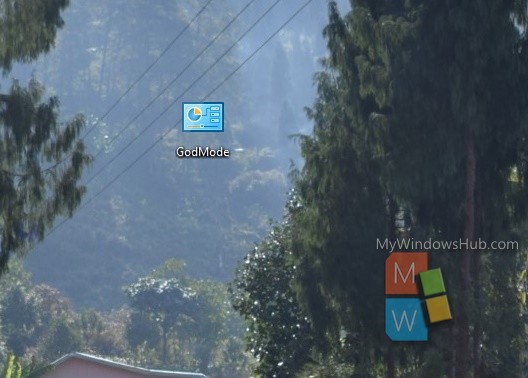
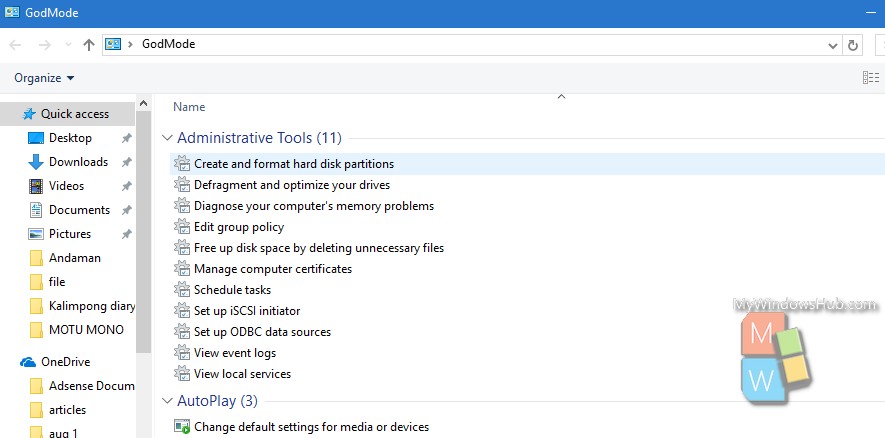
4. The folder icon will convert to a control panel icon. Double-click on the new icon to see your universal settings panel. The settings are organized under various headings, starting from Administrative Tools and ending to Windows Firewall.


