There are numerous audio converters for iTunes available in the market. Here we are reviewing the TunesKit DRM Audio Converter. In a brief, it is a compact and comprehensive iTunes DRM Audio Converter which can efficiently remove DRM Encryption from iTunes’ DRM protected audio files. The audio files cover a wide range of resources like Apple Music tracks, iTunes M4P songs, M4A, M4B audio books, Audible AAX and AA audio books. With this software, you can flawlessly convert the protected files to compatible formats.
Now let’s have a look at the software, the installing and use.
What is DRM? Digital Rights Management or DRM is a set of access controls that restricts the use of proprietary hardware and copyrighted software and media files. iTunes has a tightly knitted security which refrains you from transferring purchased media from iTunes to any other platform. DRM protects these purchased media files. But DRM is not universally accepted across the world. Hence, DRM removal software is legal and can be used without any hassle. From a security perspective, DRM is a great savior for your purchased files, but if you want to transfer them to a different platform, then DRM stands as a barrier.
Steps to Install and Use TunesKit iTunes DRM Audio Converter for Windows
1. First of all, download the Tuneskit DRM Audio Converter for Windows. Run the .exe file. You will be prompted by UAC. Click Yes to confirm. Now the app opens and asks whether you accept the terms and conditions. Check the Accept radio button and click on Next.
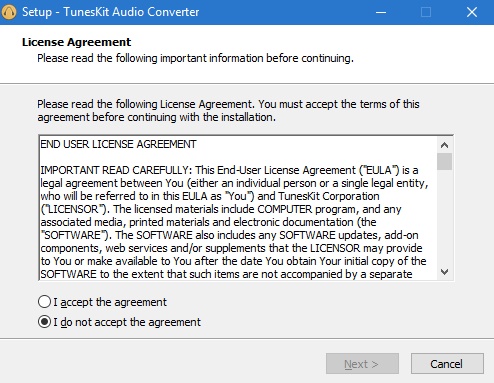
2. Next, you will get the installation location of the software. You can browse and change his location if you want. Click Next to continue.
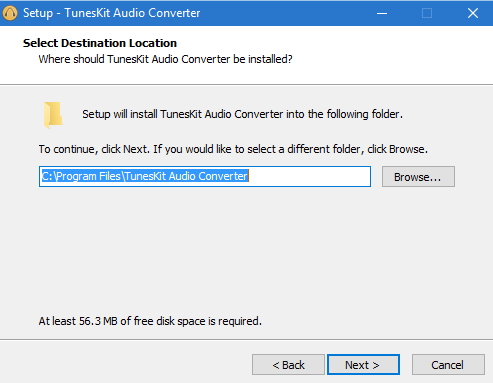
3. Follow the instructions as they come. Now click on Install.
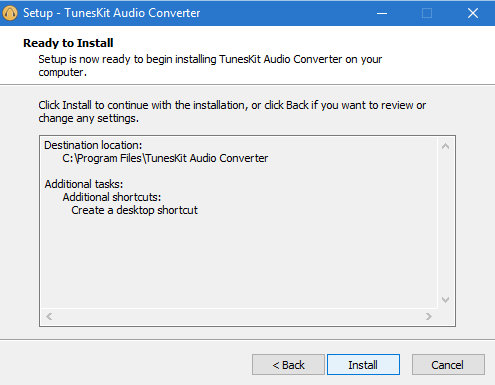
4. Click on Finish.
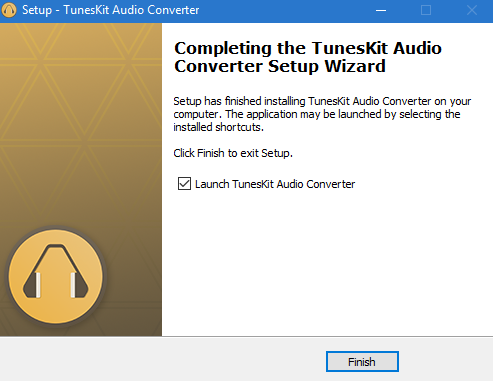
5. The application opens. You can see the user interface.
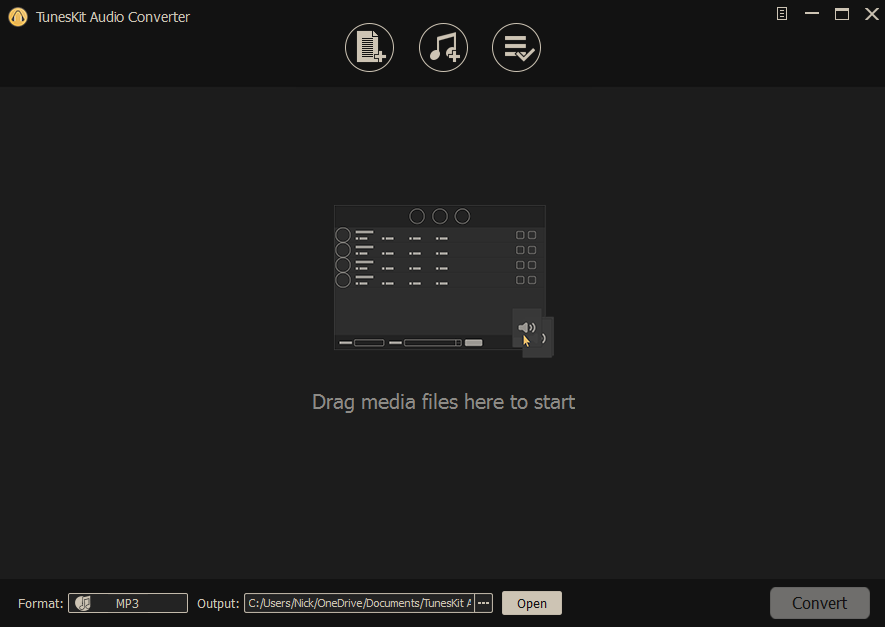
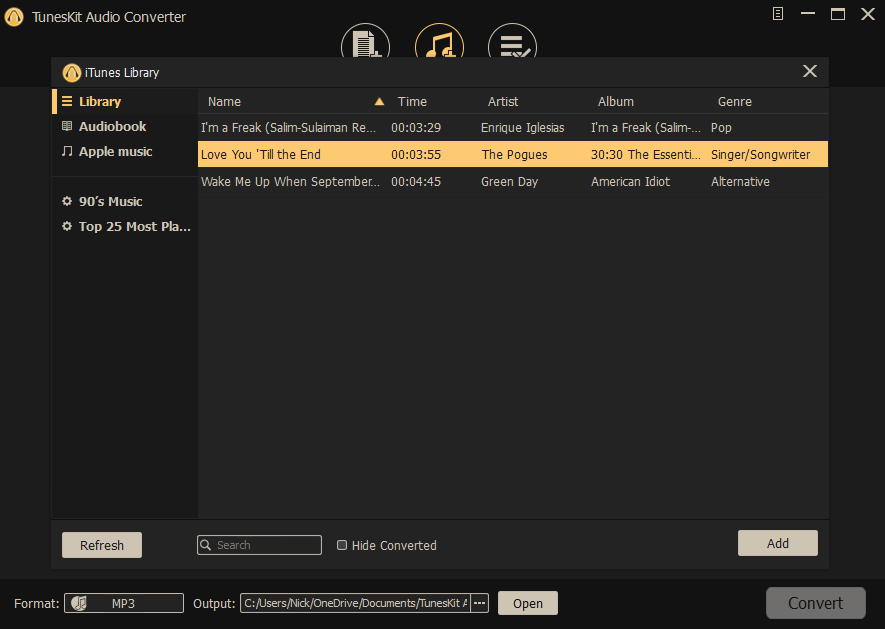
6. In the top panel, there are three options, Add Files, Load iTunes Library and Converted. So first select Add Files or Add iTunes Library to choose the audio file to convert.
7. Now select the song that you want to convert and click Add.
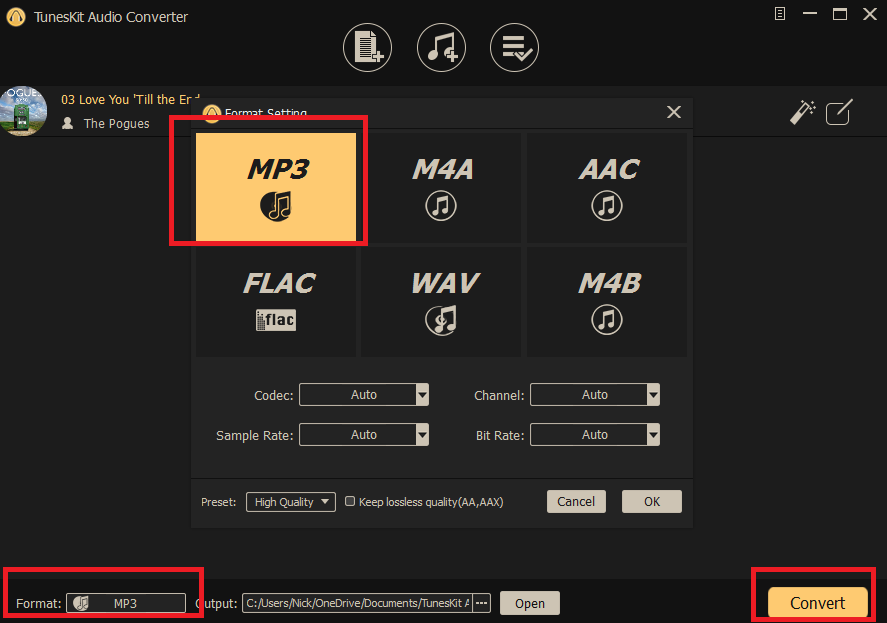
8. The music will be loaded. Choose the output format and location. Finally, click on Convert.
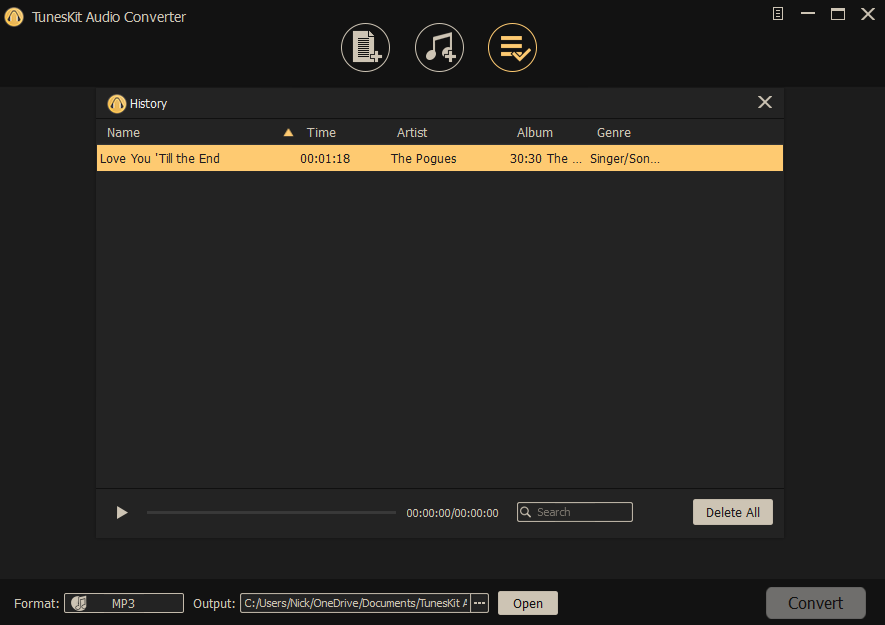
9. Go to the Converted tab and you can find the converted song.
That’s all about installing and using the application. Next, I am discussing the Pros and Cons of the software.
Pros
Cons
There is no negative aspect that can be discussed. If one thing that I can mention here, is that for trial versions, only 1/3rd of the audio files can be converted. This is a limitation, and the company can change the policy.
Hope this article helped you.

