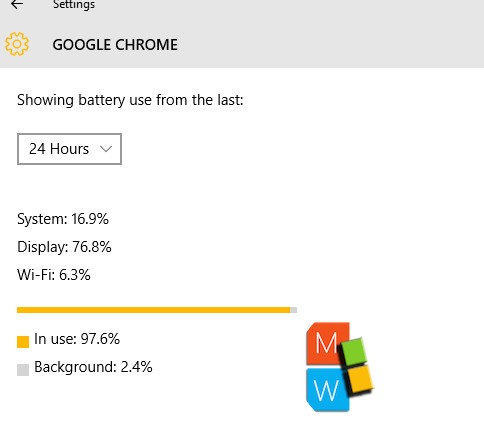
When you use the computer for long hours, the excess use causes draining of battery. Sometimes, it’s impossible to figure out which apps are draining your battery, especially if the same computer is used by multiple users. Windows 10 has introduced a separate Battery Use feature that gives you a detailed information about the Apps consuming your laptop or computer’s battery. The following tutorial will help you to check the applications that are eating up your computer battery. You can monitor the Apps, the in-use battery consumption and the background drainage.
Steps to Check Which Applications Are Draining Your Battery on Windows 10?
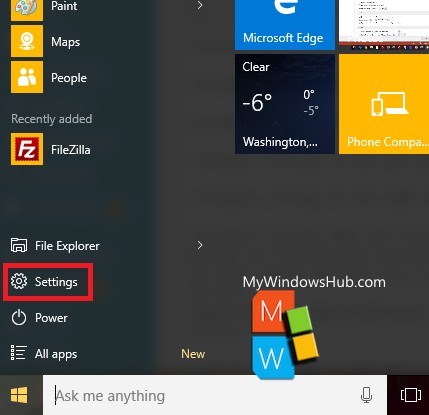
1. Open Start Menu and go to Settings.
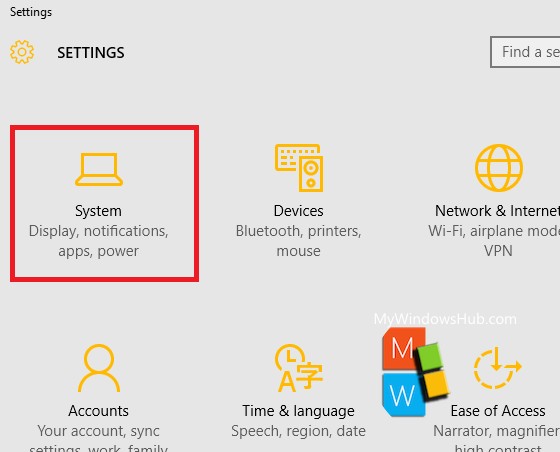
2. Now click on System.
3. In the left panel, click on Battery Saver.
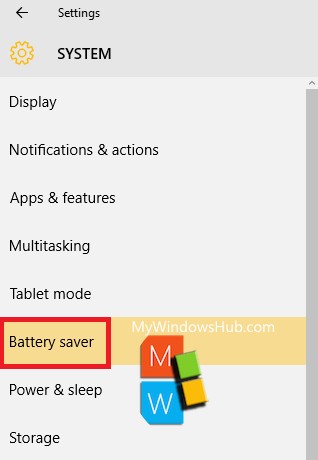
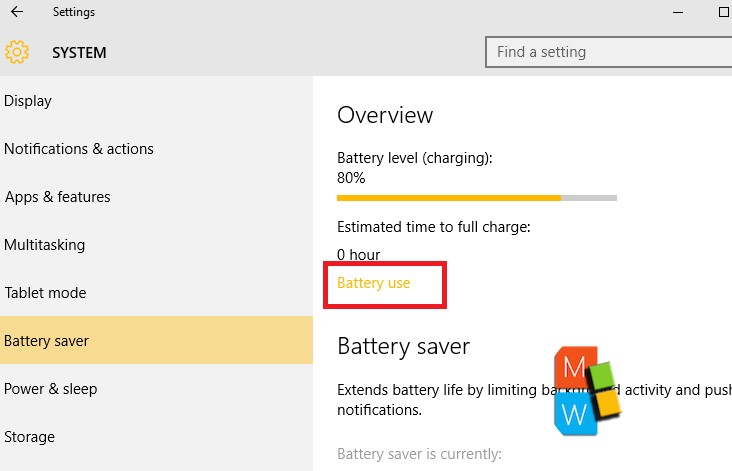
4. In the right pane, click on Battery Use under Overview.
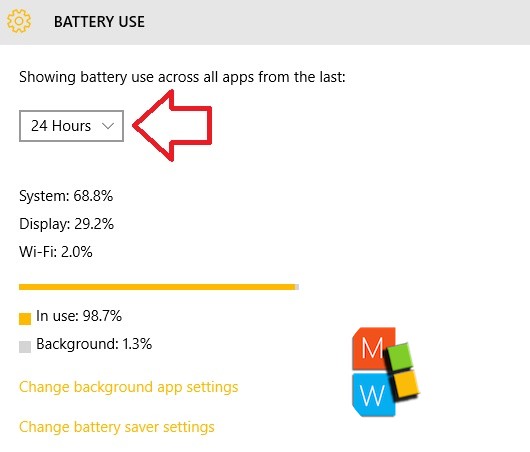
5. When the Battery Use opens, you will find an option called Showing battery use from the last. The default option is 24 hours. You can change it by choosing any one of the two other options 48 hours and 1 week.
6. Scroll down to check the Apps that are using your battery. The battery drainage is given by percentage %.
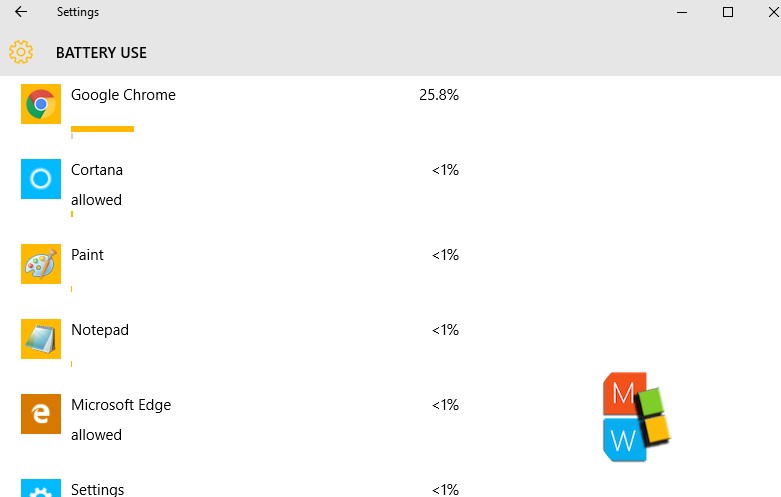
7. Click on the Apps and go to Details. You can see the details of the in-use battery consumption and background consumption.
