

This article will help you know know how to install Custom Third Party Themes in Windows 7, Vista and XP.
Read it carefully : Changing System files using Third party softwares can be dangerous. I do not recommend it and I am not responsible if it harms your system. Backup Your System Before performing any steps.
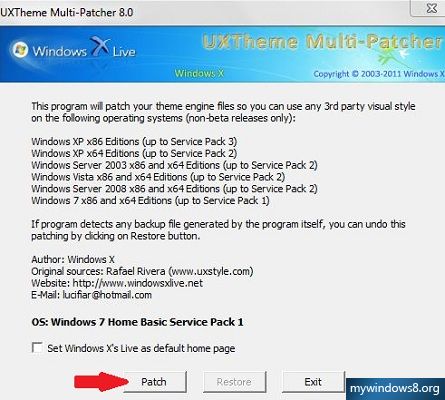
Uxtheme Multi-patcher 8.0
Uxtheme Multi-patcher 8.0 is the best Third party Theme Patcher and it is very easy to use.
Key features of Uxtheme Multi-patcher 8.0
1. It can be operated in normal mode. No need to enter in safe mode.
2. Supports Windows XP x86 (up to Service Pack 3), Windows XP x64 (up to Service Pack 2), Windows 7 x86 and x64 editions (up to Service Pack 1), and Vista. Developers claim it also works on Windows Server 2003 and 2008.
You can download it using following link:

Following are simple steps to use Uxtheme Multi-patcher 8.0:
1. Unzip and run the .exe file with Administrative privilege.
2. Click on Patch and it will do rest of the work.
3. Restart your system and you are done.
Next, you need to copy your desired theme folder (containing a .theme file and a folder containing .msstyles file) to C:\Windows\Resources\Themes\ folder (If you have installed your Operating System in different drive replace C: with proper drive letter). Now apply the theme from Desktop Properties window. That’s it.
About Nick
Nick is a Software Engineer. He has interest in gadgets and technical stuffs. If you are facing any problem with your Windows, feel free to ask him.