As we have mentioned earlier, computer network connections are usually aided by ports, which act as gateways for facilitating the connections. There are two types of ports, dynamic and defined. Dynamic ports facilitate multiple clients to connect to Defined ports. When all ports are busy, the Dynamic ports suffer certain failure, known as port exhaustion. There are several reasons behind port exhaustion. Sometimes, the clients forget to close the ports properly. Even if these ports are not used, they remain busy.
There are many ways to identify a port exhaustion situation. Check them out:
Signs Your device is suffering Port Exhaustion:
- When you cannot login to the computer using the required domain credentials. Sometimes, an already used account works, whereas a newly created one fails. This issue arises due to caching.
- Another sign which says your device is facing a port exhaustion issue is the Group Policy update failing. You will get error response which says, “failed because of lack of network connectivity with domain controller”.
- Network Drives become inaccessible.
- File sharing cannot be accessed.
- Failure of the remote desktop to the server where the app has been hosted.
- Event ID such as 4227, 4231 in Event viewer for TCP with a message that allocation of dynamic port failed is also an important symptom.
Steps to Troubleshoot Port Exhaustion in Windows 10 using NetStat command on Command Prompt
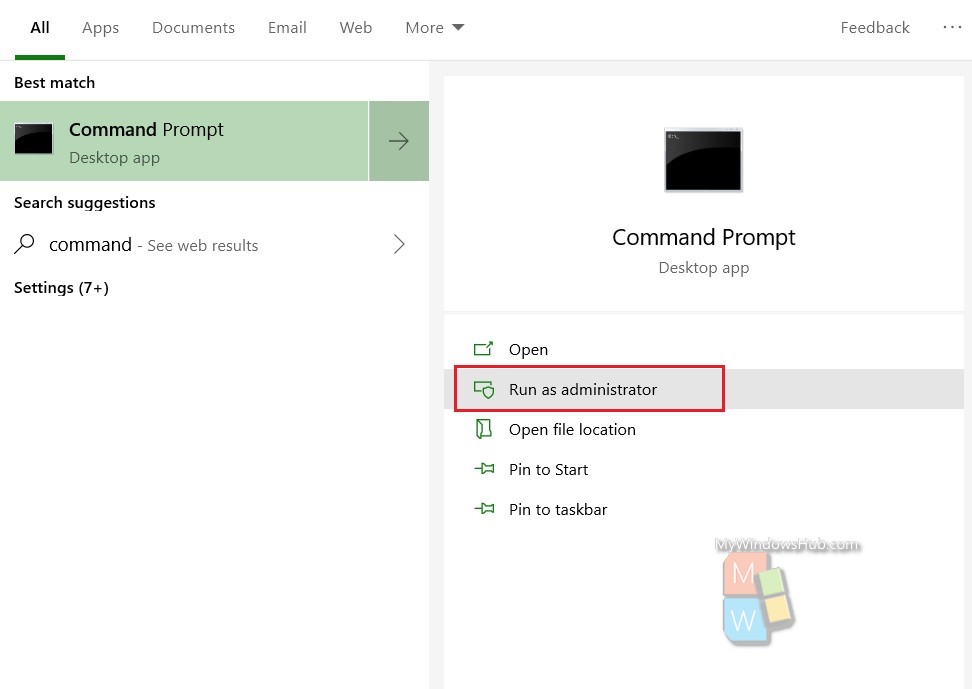
Open the Start Menu and type “Command Prompt” in your Cortana search bar. The result will appear. Choose Run As Administrator to open Command Prompt with elevated properties.

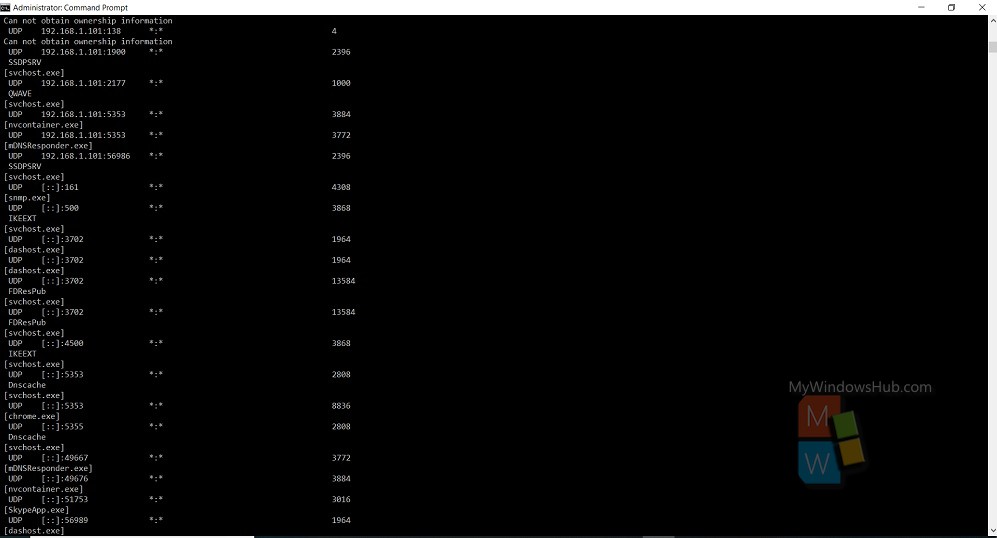
Type the following command and hit Enter netstat -anobq
Next, check out the results. Find out the process ID with maximum entries as BOUND.

For using NetStat command in a loop, use the following script:
@ECHO ON
set v=%1
:loop
set /a v+=1
ECHO %date% %time% >> netstat.txt
netstat -ano >> netstat.txt
PING 1.1.1.1 -n 1 -w 60000 >NUL
goto loop
That’s all!

