If you want to install Linux distributions on Windows 10, then you have to prepare your Windows 10 PC or laptop with all the necessary settings and features, which can support Linux. So, the first step is installing Windows Subsystem for Linux. It is an optional feature and can be turned on in many ways. Before that, let us have a sneak peek to Windows Subsystem for Linux.
What is Windows Subsystem for Linux or WSL?
Windows operating system allows its users, especially developers, to run a Linux environment on Windows 10 operating system without any requirement of a dual boot setup or virtual machine. This Linux environment on Windows is termed as the Windows subsystem for Linux and it supports most utilities, applications, command-line tools of Linux.
It allows you to choose the Linux distribution of your requirement from the Microsoft Store. WSL is capable of running important command line tools such as sed, awk, grep, and other ELF064 binaries. It can run a plethora of Bash shell scripts and command line apps. This includes tools like emacs, tmux, vim; languages like NodeJS, Javascript, Python, Ruby, C/C++, C#, F#, Rust, Go: Services like Apache, MySQL, lighttpd, MongoDB, PostgreSQL, SSHD, etc.
You can run Linux applications on your Windows 10 device without the requirement of dual boot feature.
In this article we shall see how to install WSL on Windows 10.
Steps To Install Windows Subsystem for Linux On Windows 10
I. The first step is to install WSL.
II. The second step is upgrading WSL to WSL 2.
III. Install Linux distribution
What Is The Difference Between WSL and WSL 2?
WSL 2 is the new version of WSL, with improved architecture and an updated way how Linux interacts with Windows. WSL 2 adds full system call functionality and ameliorated the file system performance. We can run WSL, upgrade to WSL2 or switch between these versions as per your choice. There are some differences in support and feature between WSL and WSL 2. Let us have a quick look:
| FEATURE | WSL | WSL2 |
| Integration between Windows and Linux | YES | YES |
| Fast boot times | YES | YES |
| Small resource foot print | YES | YES |
| Runs with current versions of VMWare and VirtualBox | YES | YES |
| Managed VM | NO | YES |
| Full Linux Kernel | NO | YES |
| Full system call compatibility | NO | YES |
| Performance across OS file systems | YES | NO |
I. Install WSL For Linux On Windows 10
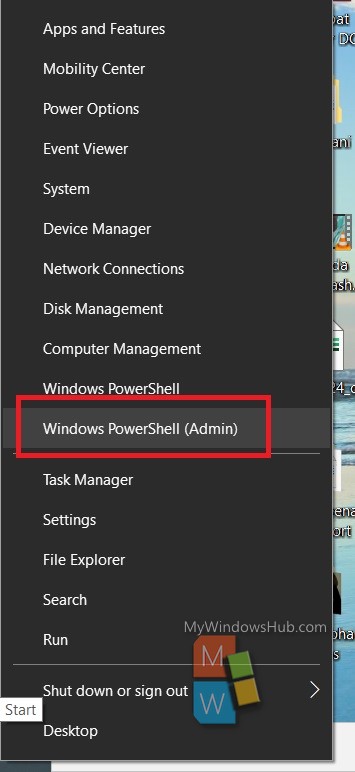
1. Right click on the Start button on your desktop, and select Windows PowerShell (Admin).
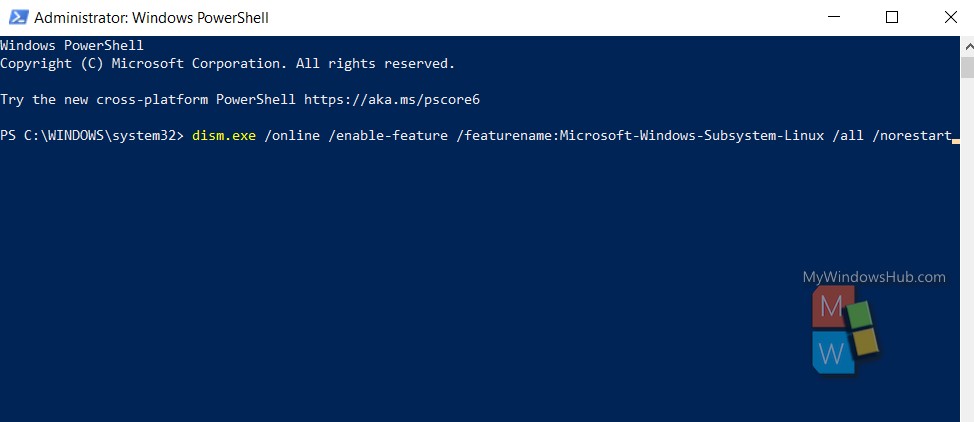
2. Now copy and paste the following code:
dism.exe /online /enable-feature /featurename:Microsoft-Windows-Subsystem-Linux /all /norestart
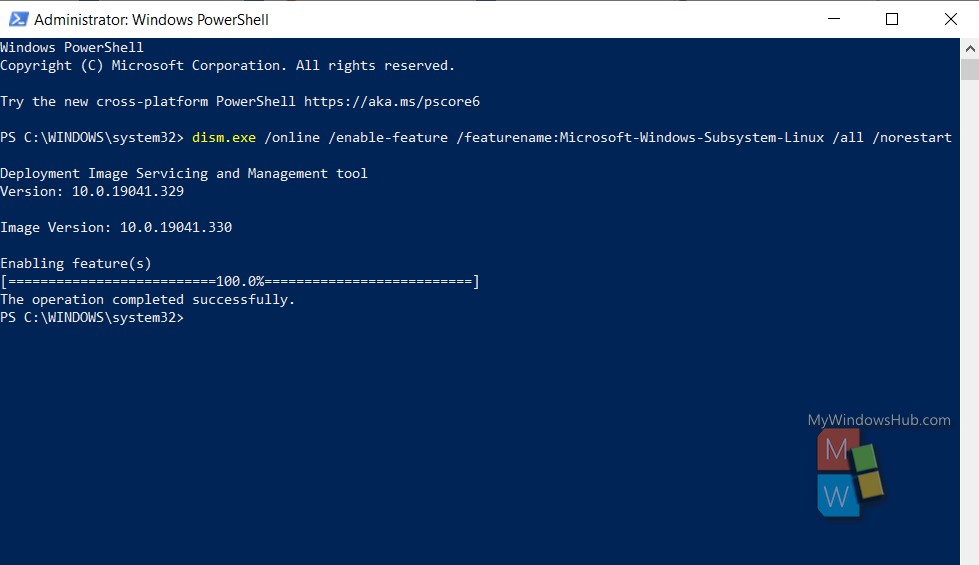
3. WSL feature is now enabled on your Windows. Now, upgrade to WSL 2. But you want to use WSL 1, then head straight to installing Linux distribition of your requirement.
II. Steps To Update To WSL 2
System Requirement: For supporting WSL 2, your Windows 10 Device needs to have version 2004 Build 19041 or higher. So, check your version. To check the version, press Windows+R to open Run windows, type winver and hit Enter.
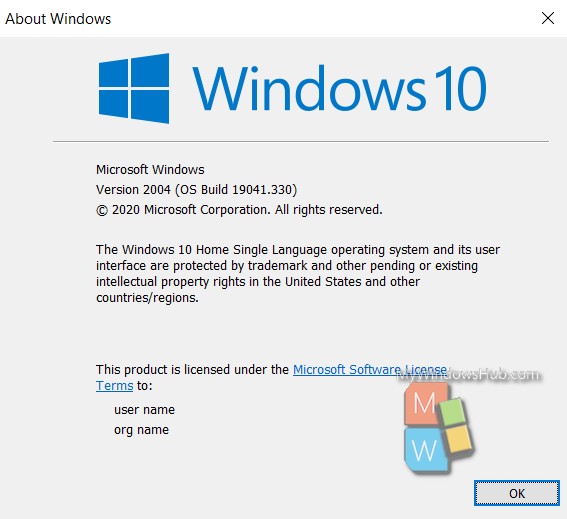
1. Now, you have to enable virtual machine platform. It is an optional feature and can be enabled using PowerShell cmdlets. So, open Windows PowerShell, copy and paste the following command and hit Enter.
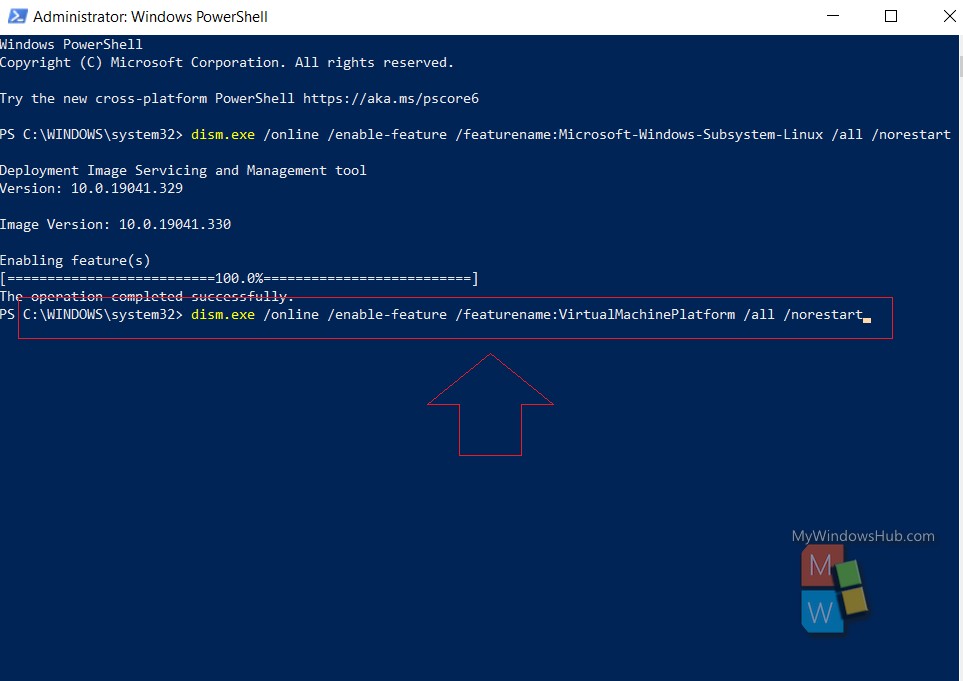
dism.exe /online /enable-feature /featurename:VirtualMachinePlatform /all /norestart
2. Virtual machine platform feature is now enabled. Now, restart your computer.
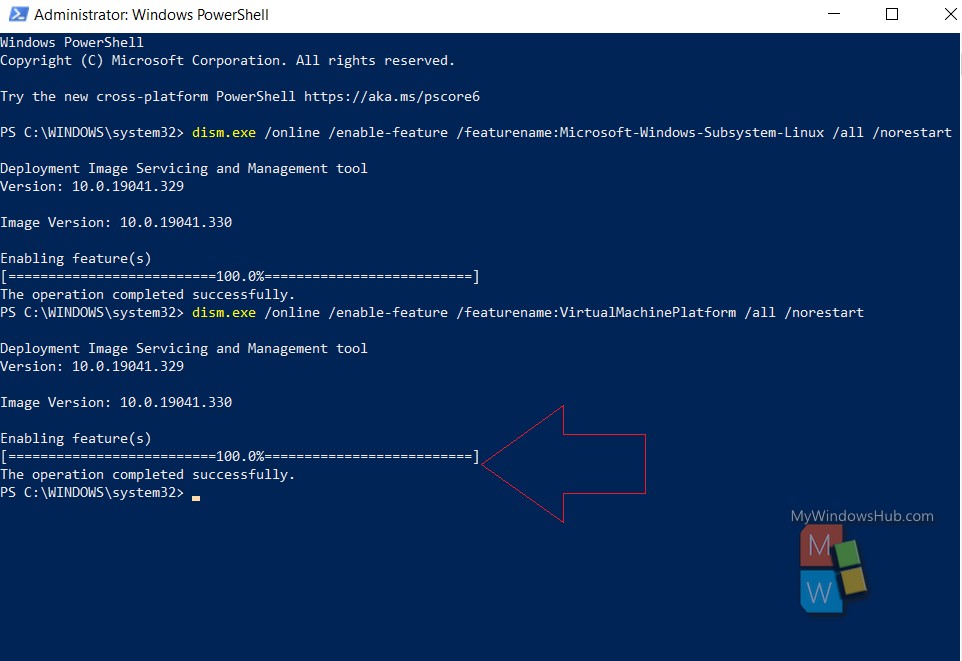
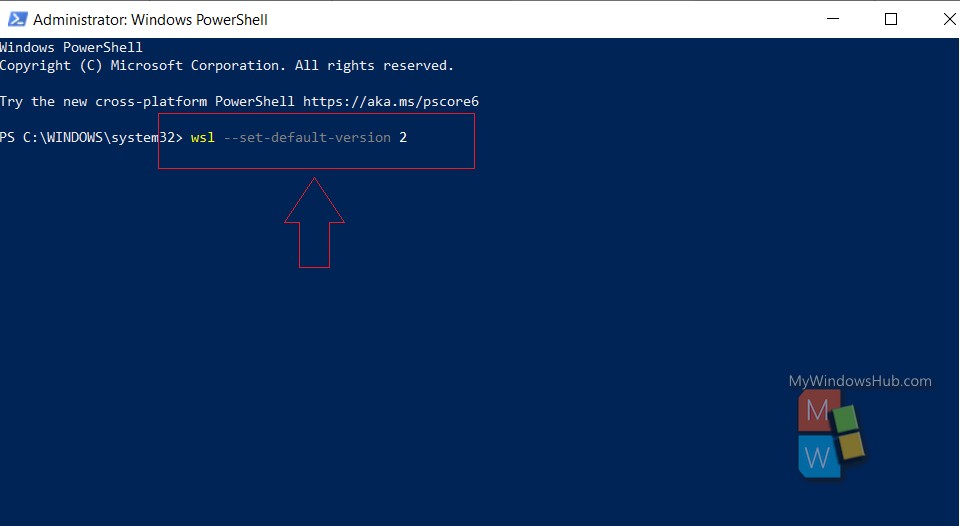
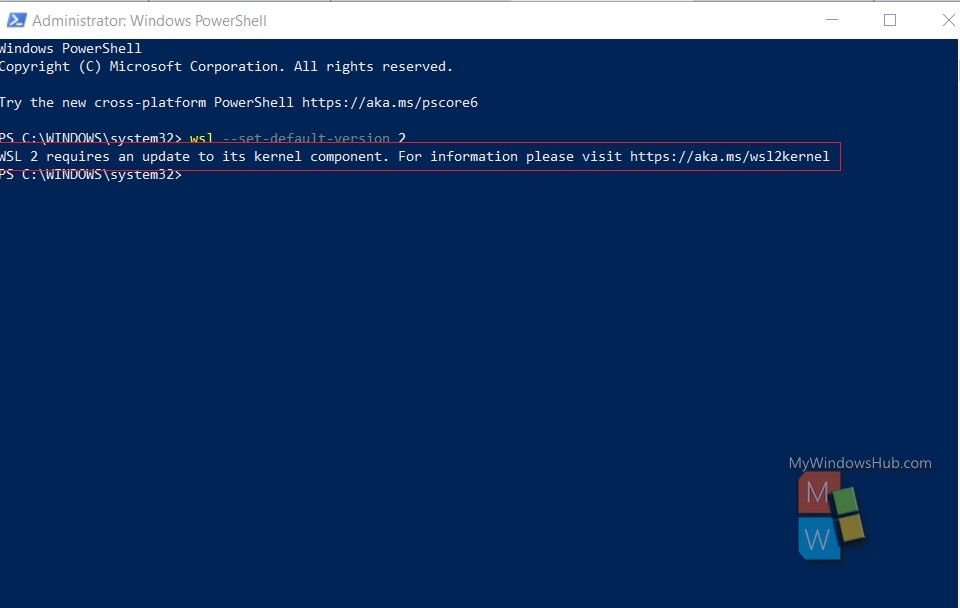
3. Next, you have to set WSL 2 as your default version. Therefore, open Windows PowerShell, copy and paste the following command and hit Enter.
wsl --set-default-version 2
4. You may get the following message:
WSL 2 requires an update to its kernel component. For information please visit https://aka.ms/wsl2kernel
Click on the URL and visit the page.
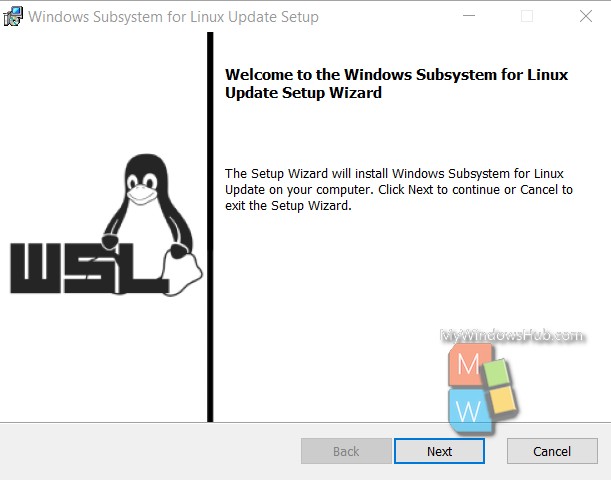
5. Download the latest WSL 2 Linux Kernel package. After downloading, install the .msi file. If prompted by UAC, click Continue or Yes. 9
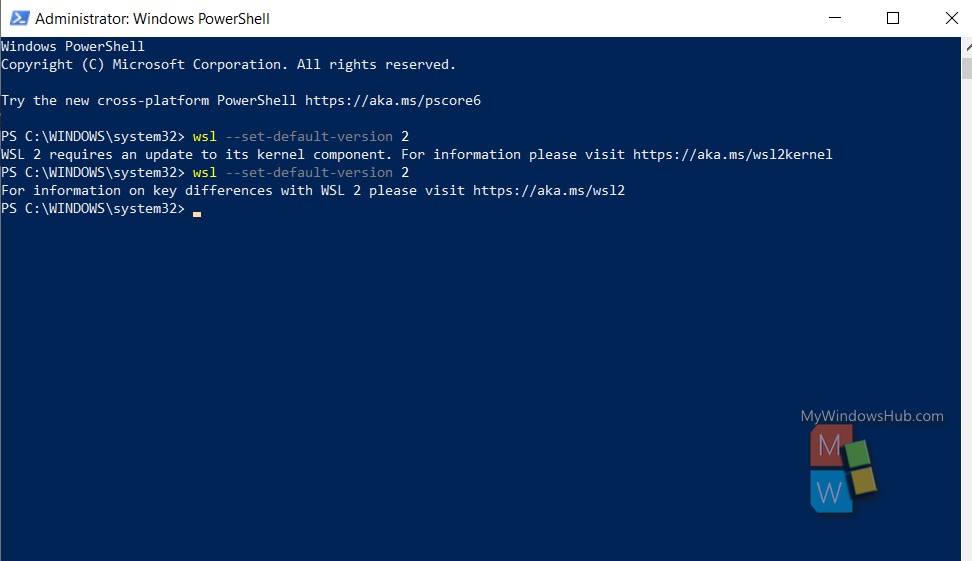
6. When done, repeat step number 3, that is setting WSL 2 as your default version.
III. Install Linux Distribution Of Your Choice
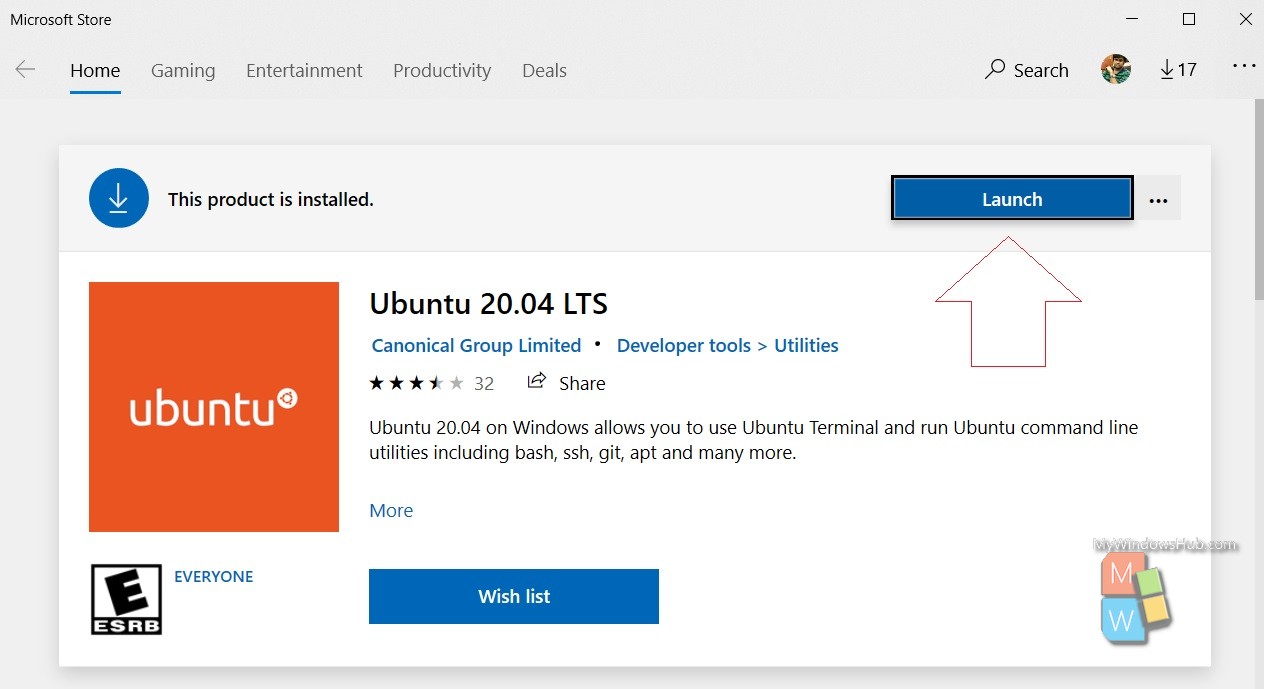
Go to the Microsoft Store, and download the Linux distribution of your choice.
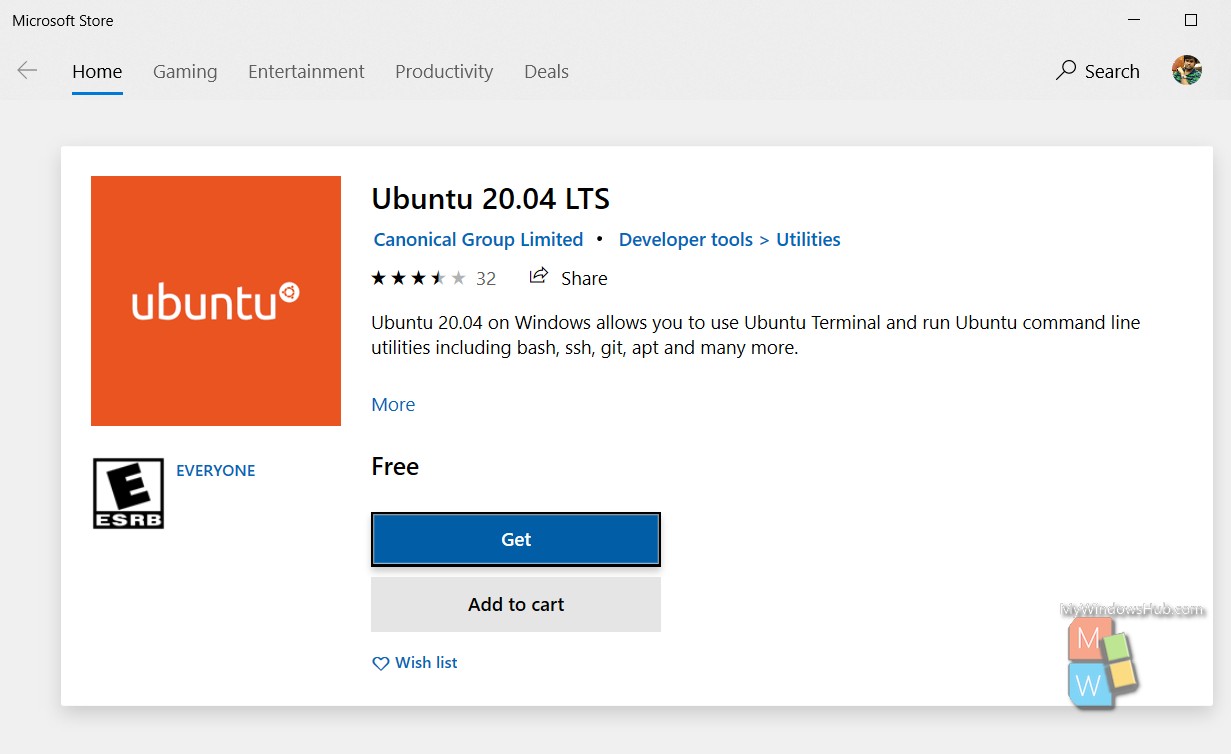
- Ubuntu 16.04 LTS
- Ubuntu 18.04 LTS
- Ubuntu 20.04 LTS
- openSUSE Leap 15.1
- SUSE Linux Enterprise Server 12 SP5
- SUSE Linux Enterprise Server 15 SP1
- Kali Linux
- Debian GNU/Linux
- Fedora Remix for WSL
- Pengwin
- Pengwin Enterprise
- Alpine WSL
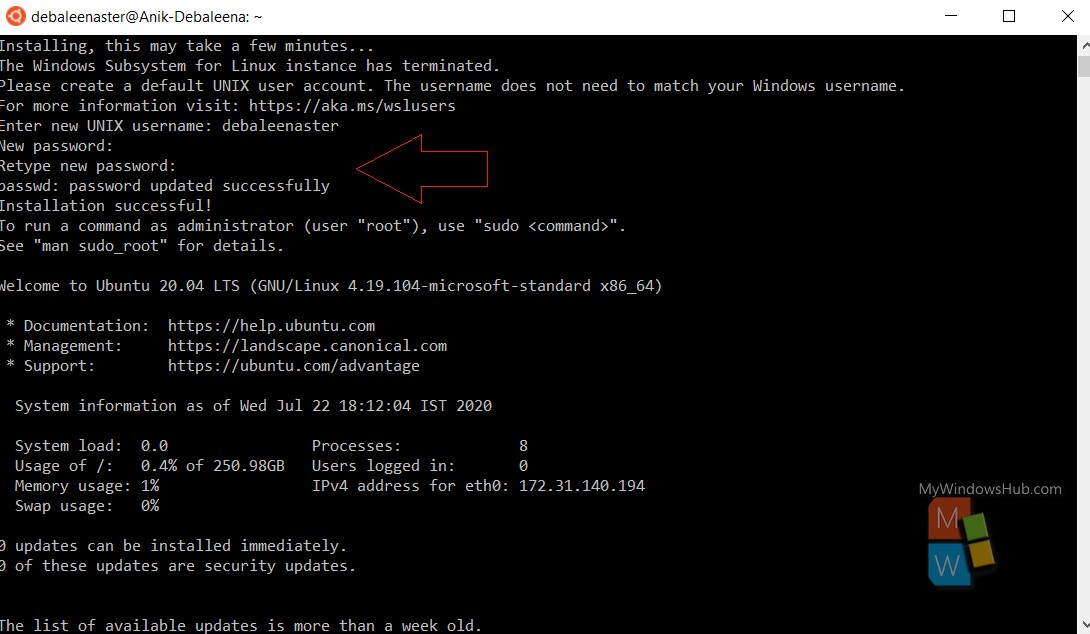
Now you can launch the Linux distribution. When you are launching for the first time, it might take several minutes.
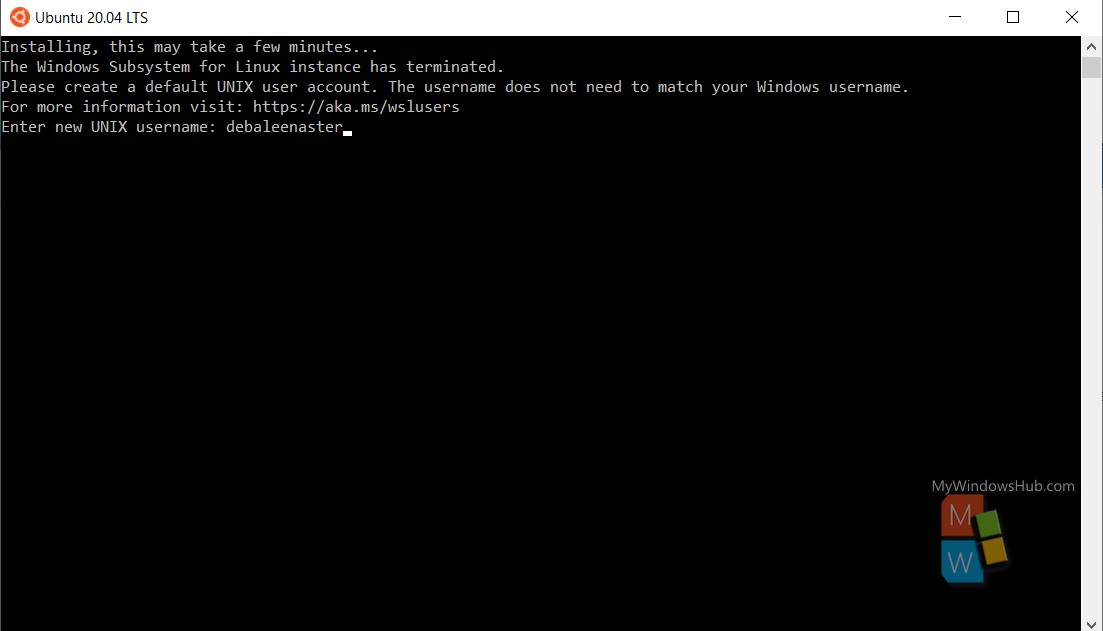
When it is done, you will be asked to enter the username. Type the username and hit Enter.
Next type the password and hit Enter. Retype the password and hit Enter. Since passwords should not be shown, you will see blank. No asterisk mark or dot can be seen.
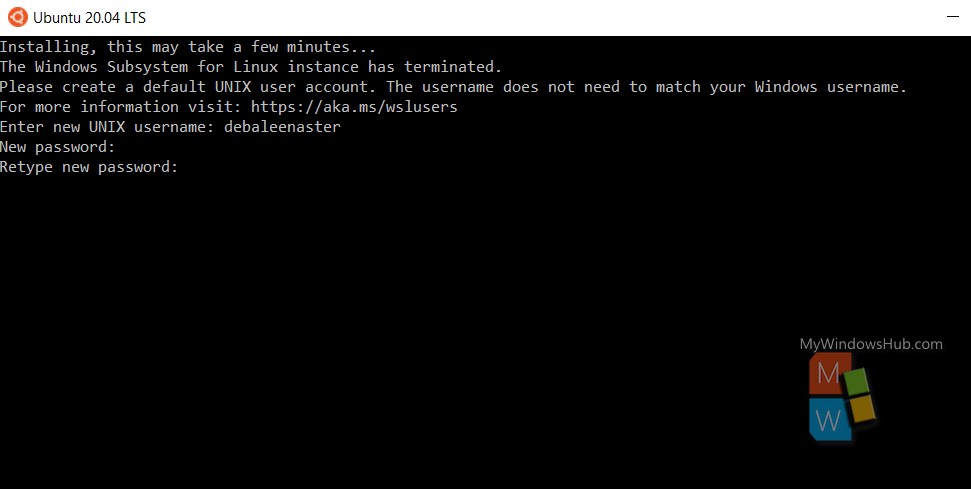
Your username and password is now created and you are ready to go!
