Microsoft Word is one of the most popular document editor application for Windows as well as macOS. It is full of features and whether you are writing an essay, a book or a journal, MS Word is complete and self sufficient. Many a times, students cannot find out the right guidance to use this software because it is massive and finding out a single layout or design is a tough job.
If you are creating an authentic document in MS Word which is your original creation, or something confidential, over which you have copyrights, then it is better to insert watermark, bearing the name of your organizatiom, company, you name, etc. For confidential reports, you can insert confidential watermark as well. In this article, wre shall teach you, how to insert customized watermark on your MS Word document.
Steps To Insert Customized Watermark In MS Word Documents
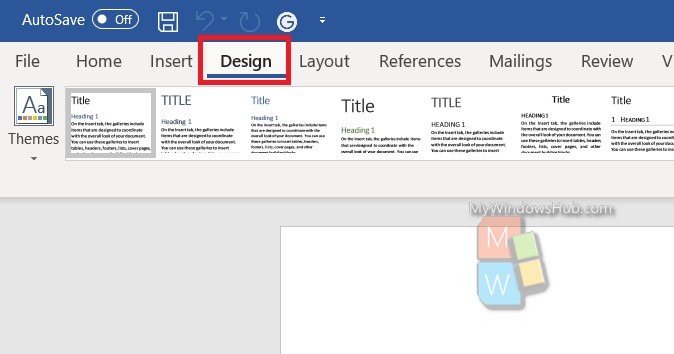
First of all open the Word document where you want to insert watermark. Next, you need to click on Design

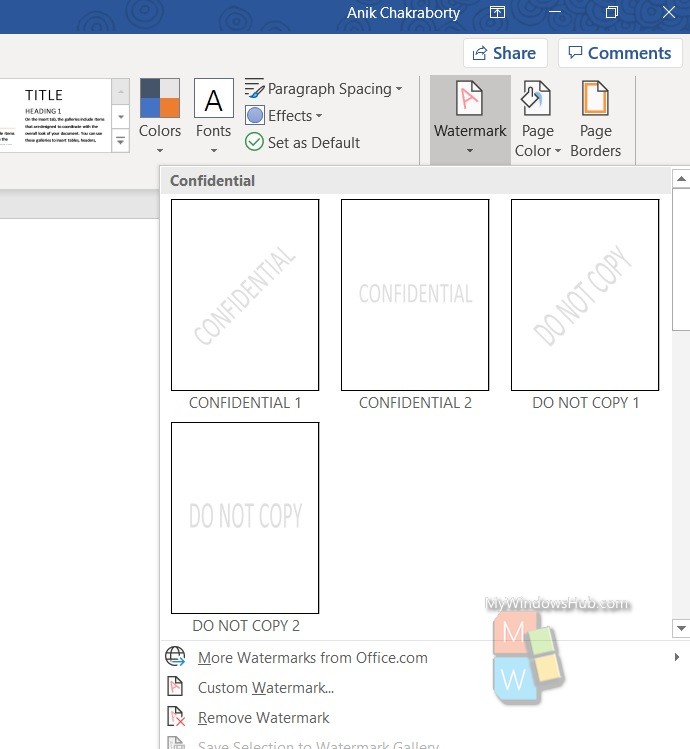
Next, in the right panel, click on the dropdown arrow just below the Watermark option.

There are some specimen watermarks, like Confidential and Do Not Copy, which are quite frequently used. You can use them just by selecting the necessary watermark.
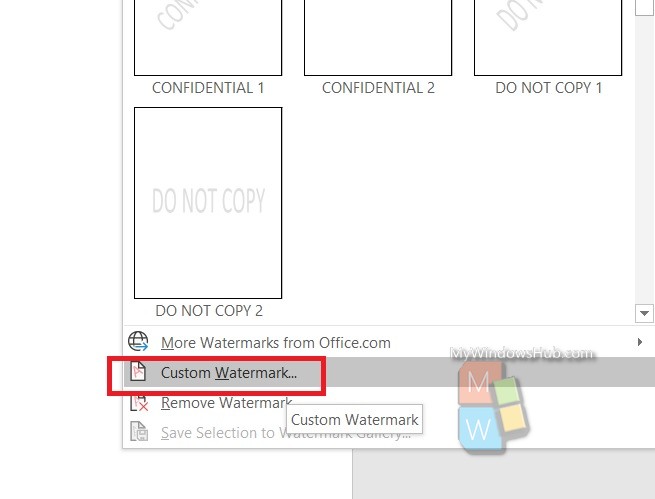
If you want to create a watermark of your own, such as a customized watermark (your own name, name of your website, college, etc), then select Custom Watermark.

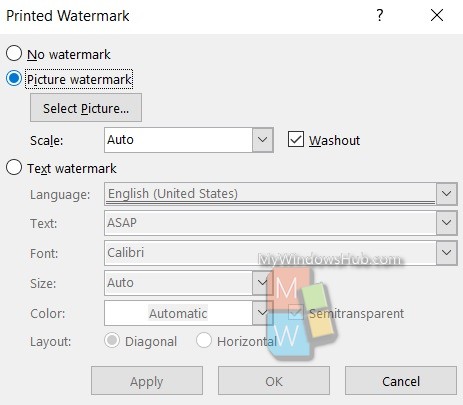
You can select among Picture or Text watermark.

Upload the picture watermark or just enter the text in case of text watermark.


