AHCI Link Power Management manages the various power management modes for disks and storage devices, which are connected to the main system via AHCI interface. The different modes of AHCI Link Power Management are:
- Active – Neither HIPM or DIPM is allowed. In this case, link power management is disabled.
- HIPM – HIPM stands for Host Initiated Link Power Management. For this mode, HIPM can be used only.
- DIPM – Device Initiated Link Power Management only can be used.
- HIPM + DIPM. Both HIPM and DIPM can be used.
- Lowest – HIPM, DIPM, and DEVSLP are activated. DevSlp or DevSleep are also referred to as SATA DEVSLP. This feature enables a SATA device to go to a low power sleep mode.
Based on your hardware, you can choose any one of the above modes.
By default, AHCI Link Power management option is not visible and remains as a hidden feature. By writing some cmdlets, you can unhide the AHCI Link Power Management option in Windows 10. You can find the same under Power Options advanced settings of Control panel.
In this article, I will show you how you can easily add or remove AHCI Link Power Management – HIPM/DIPM to/from Power Options in Windows 10.
Steps To Add/Remove AHCI Link Power Management – HIPM/DIPM From Power Options In Windows 10
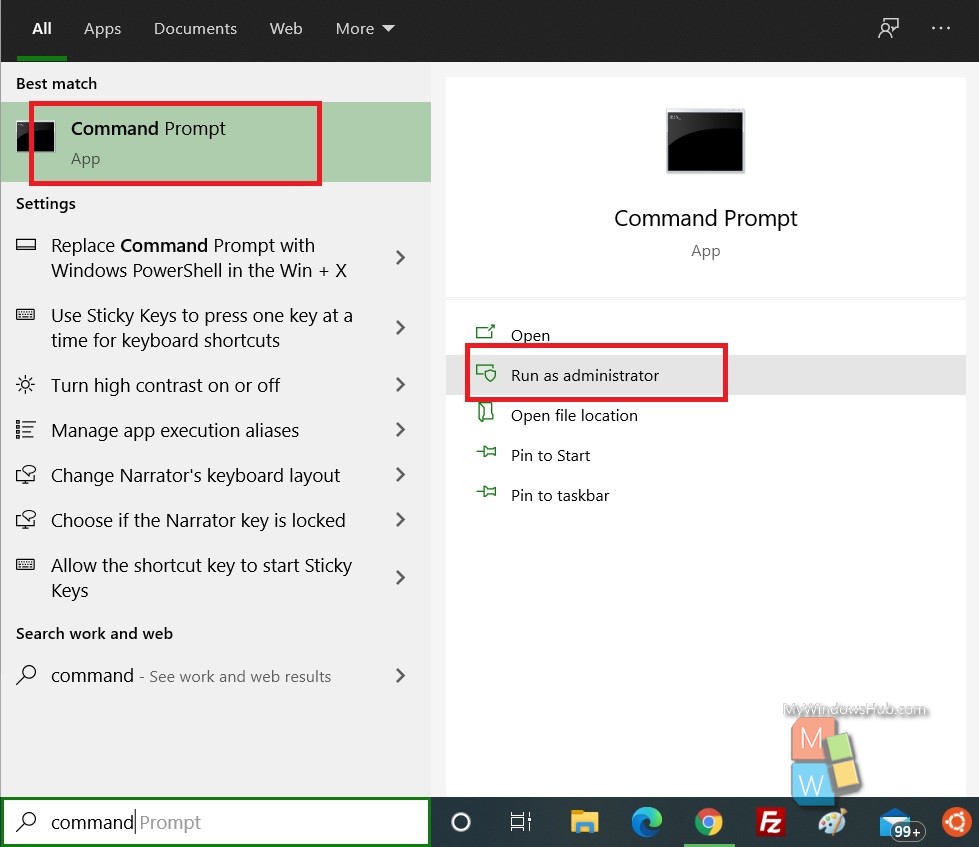
1. Open Windows 10 Search panel, and type Command Prompt. From the search result, right click on Command Prompt and select Run as Administrator. This will launch the Elevated Command Prompt.

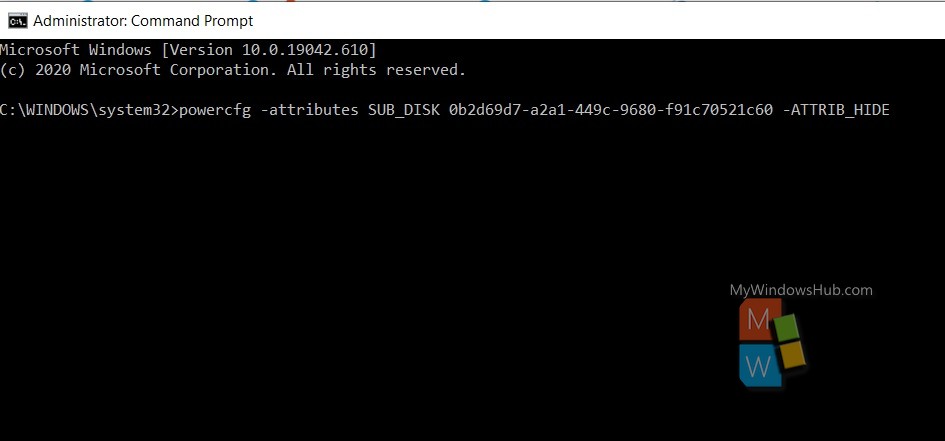
2. If you want to add AHCI Link power Management to Power Options, copy and paste the following command and hit Enter after that.
powercfg -attributes SUB_DISK 0b2d69d7-a2a1-449c-9680-f91c70521c60 -ATTRIB_HIDE
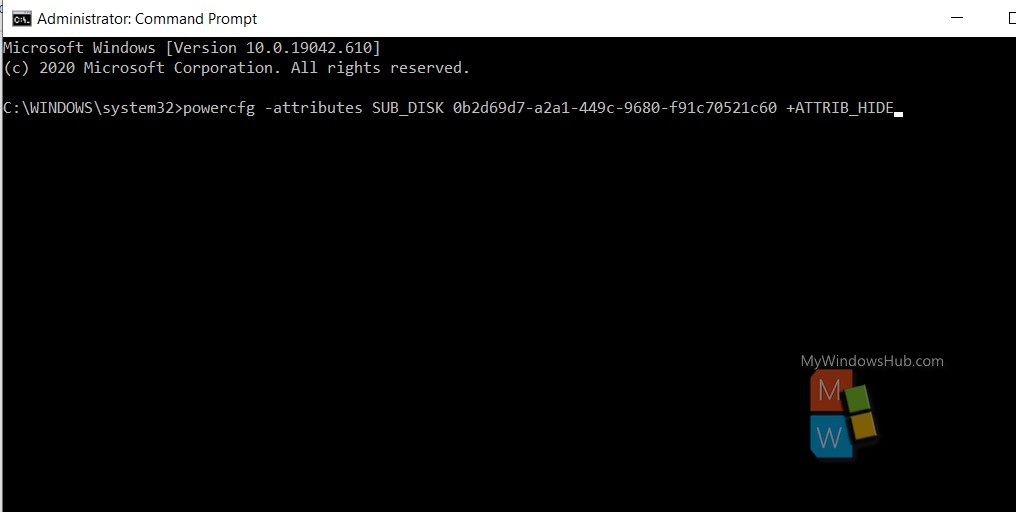
3. If you want to remove AHCI Link Power management – HIPM/DIPM from power options, copy and paste the following and then hit Enter
powercfg -attributes SUB_DISK 0b2d69d7-a2a1-449c-9680-f91c70521c60 +ATTRIB_HIDE
Now, close the Elevated Command prompt if you want.

