Network tethering has become a very common concept. Almost all of us have used it, either by lending internet from our friend or giving out. Nowadays, every advanced desktop and mobile devices now have the ability to share internet with other devices. This process is called Wi-Fi tethering. When your device is giving out internet to others, it becomes a mobile hotspot. Your internet bandwidth is then shared among the users who are using your device’s internet. For Windows 10, the process of creating a mobile hotspot has become simpler than ever. When you create a mobile hotspot on your device, you need to have a Network name by which others can identify the which network are they connecting to, Network password so that you Wi-Fi is not misused by any random people. Finally comes Network band which gives you options to choose bandwidth. You can choose from the available values or simply select, anyone which is available.
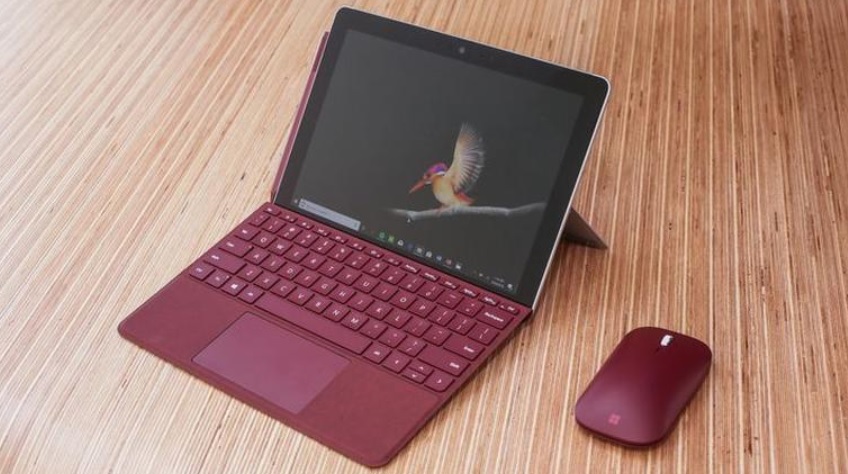
Steps To Change The Network Name And Password Of Mobile Hotspot on Windows 10
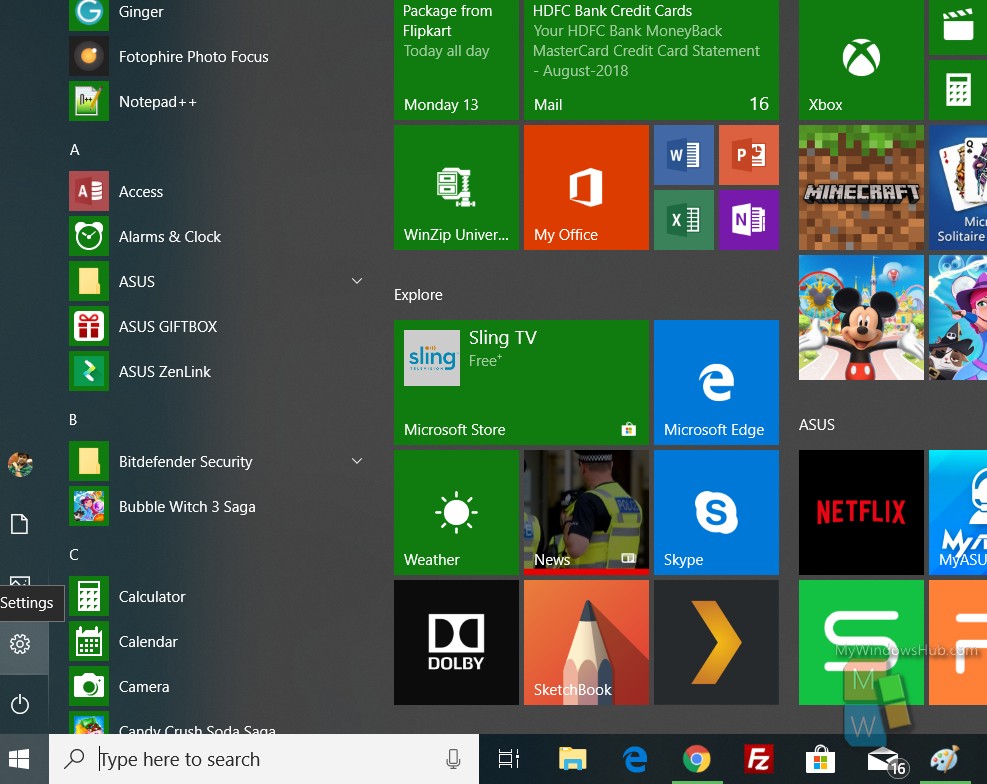
1.Open the Start Menu and click on Settings option.
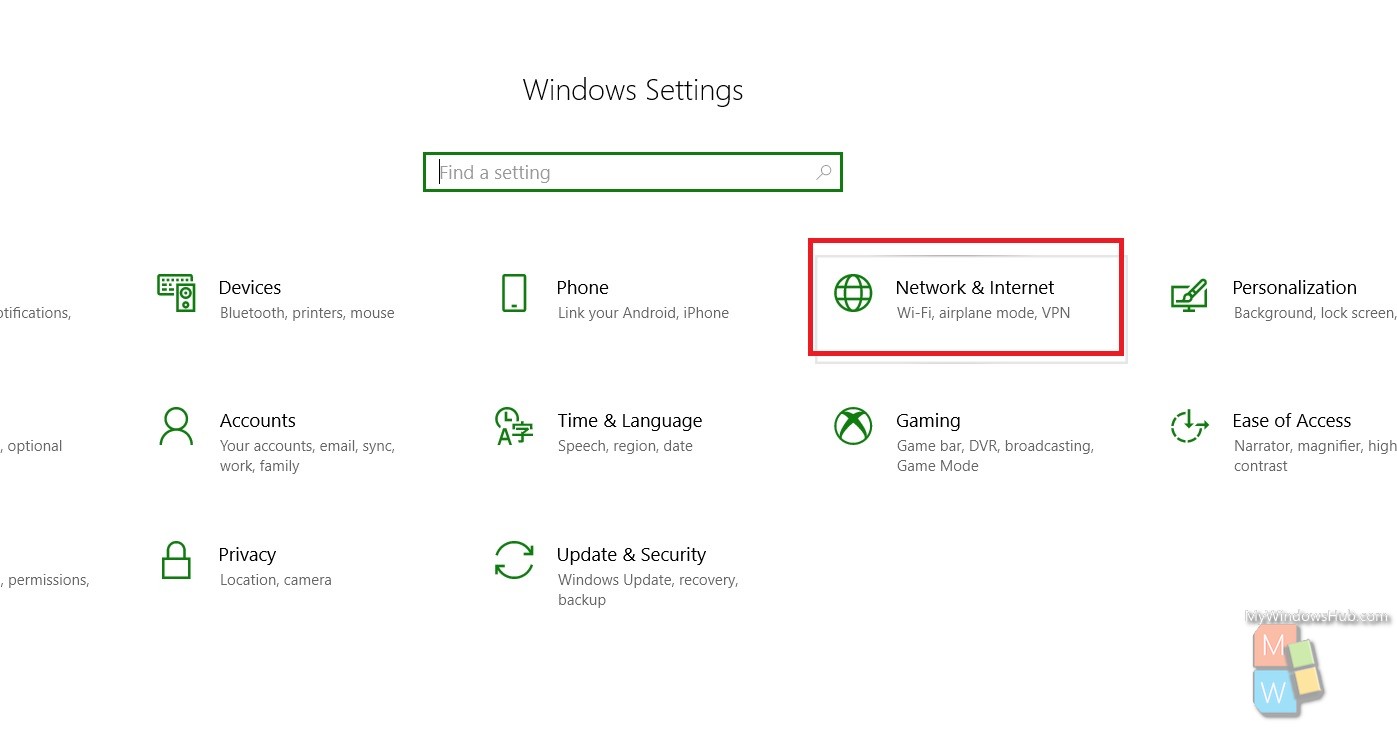
2. As the settings open, go to Network and Internet.
3. In the left panel, select Mobile Hotspot.
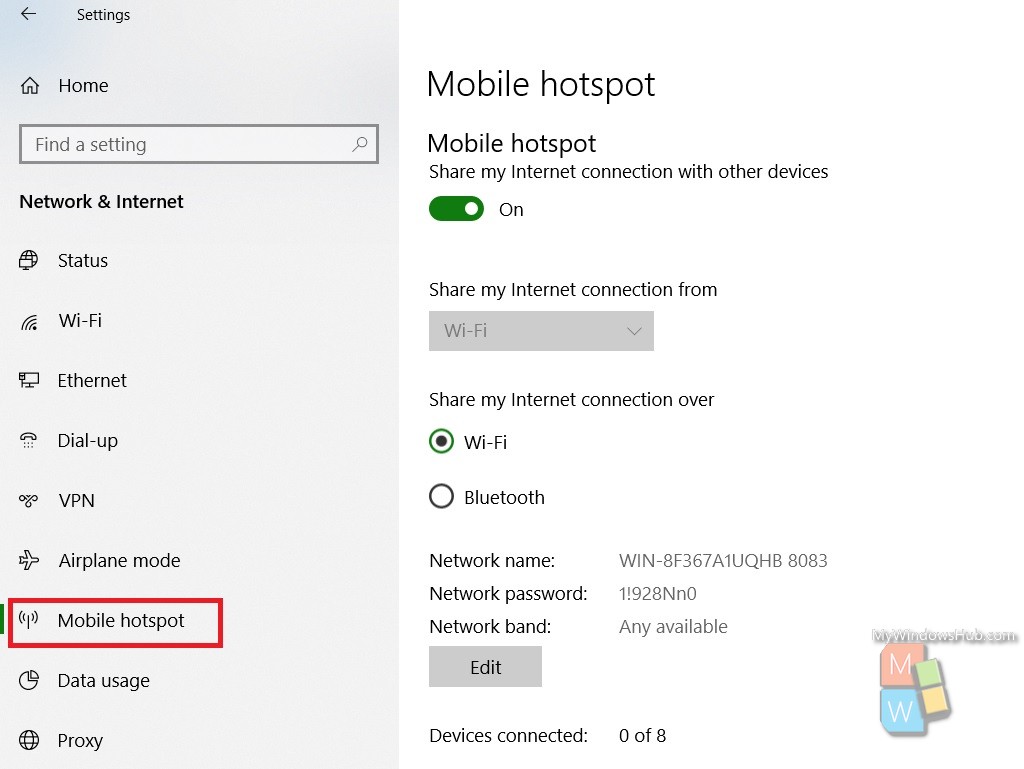
4. In the right panel check Mobile Hotspot option. By default, it is turned off. But if you want to share your internet with other devices in your vicinity, turn it on.
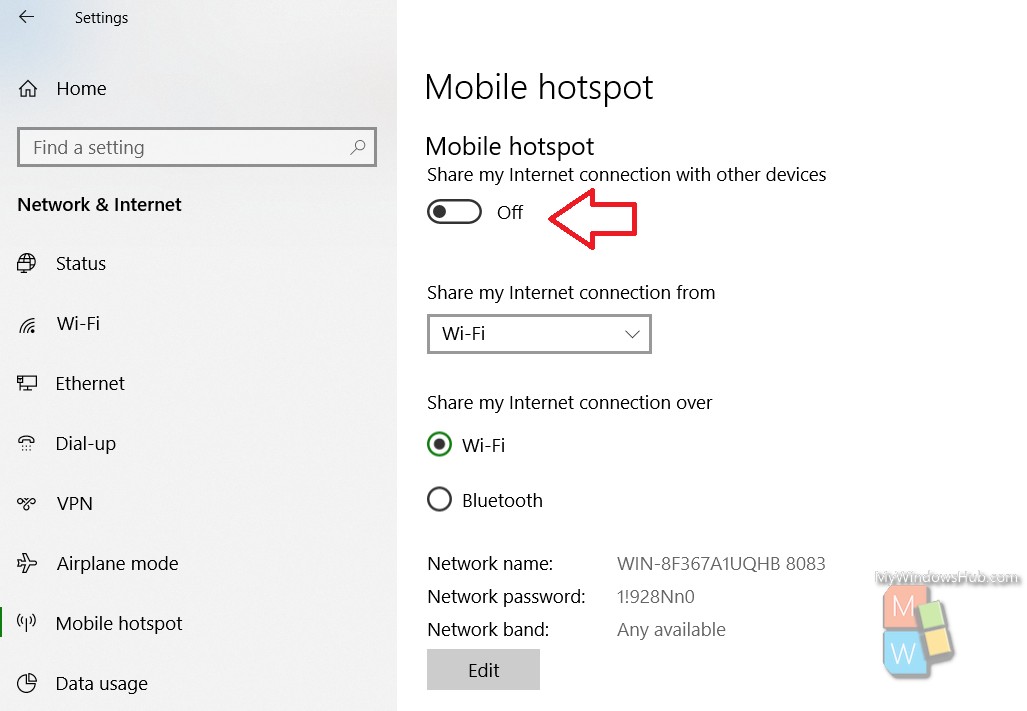
5. To turn on hotspot, you will have to move the slider to the right to turn it on. When the slider turns green, it means the feature has been turned on.
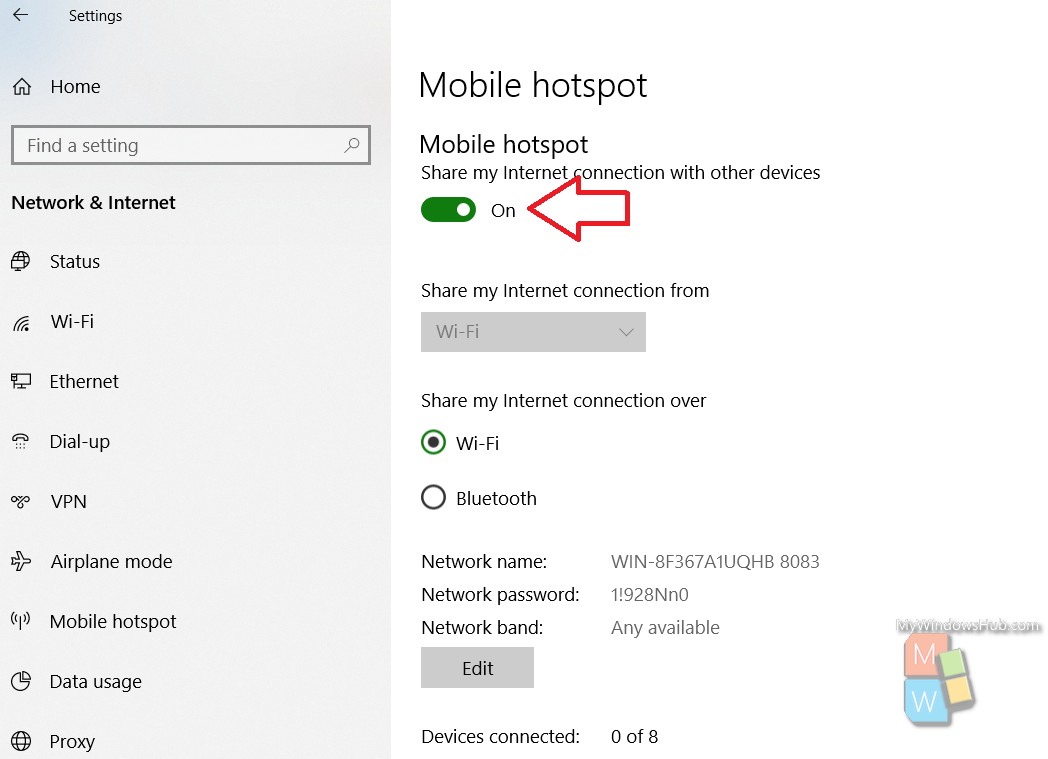
6. Now, as you know, you have two options by which you can create the hotspot in your device. One is via Wi-Fi, which will provide the devices to use the internet. The second method is via Bluetooth which can be used to data sharing. So, select the one option you need by selecting the radio button.

7. The details of the passcode, network name, network band is given. You can change them whenever you want. To change network name, password and band, click on Edit. A new window opens. Set the name password as per your requirements.
That’s all!

