Photos App is Microsoft’s default photo sharing application for Windows 10. The app has replaced the very old and popular Windows Photo viewer application. Photos App not only enables you to view photos and pictures, but also lets you organize, edit and share all your digital memories together. Since the app is tightly integrated with OneDrive cloud platform, it thus, brings all your photos and videos together from all your devices, accounts. Moreover, the app, by defaults, edits and enhances the images based on certain algorithm to make them look great. The Photos app also customizes the photos and creates beautiful personalized albums for you.
Photos App also lets you customize the look of the user interface. You can change the Theme. Even though the options are limited, that is, Light, Dark and System Settings, yet users often prefer fidgeting with looks. Sometimes, the Dark Theme or mode is chosen in order to save battery whereas sometimes user prefers the conventional light mode. In the UWP, the theme is termed as Mode. Check out the simple steps to change the mode in photos App.
Steps to Change The Theme of Photos App on Windows 10
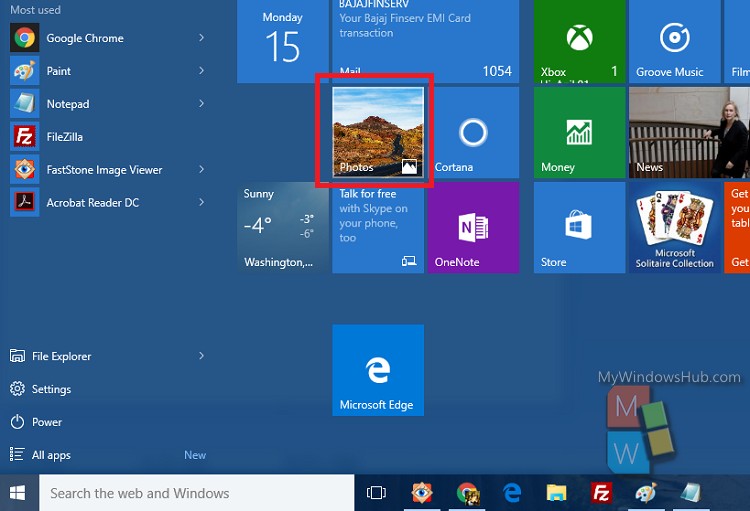
1. First, click on the Start Button to open the Live UWP Apps. Click on Photos.

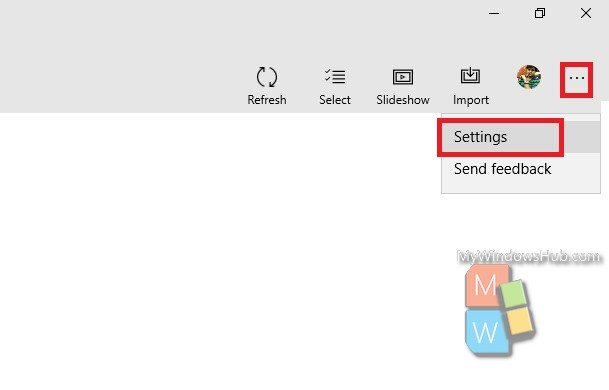
2. As the Photos App opens, click on the three dots located at the top right corner of the app screen. Click or tap on it and select Settings.

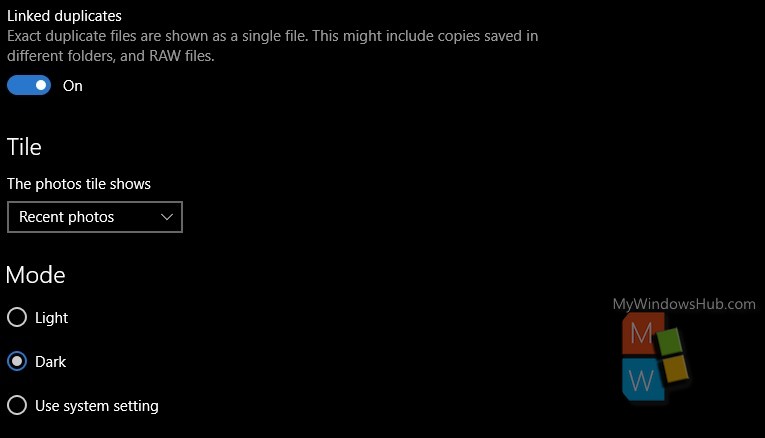
3. Now scroll down and you will find an option Mode. The default option selected is the Use System Setting.
4. Select any theme or mode of your choice, like Light, Dark. The changes will be saved automatically.

That’s all!

