

VPN not working with Windows 10? Learn 5 Easy Methods to Fix it!
A virtual private network is becoming a necessity to perform online activities due to the rising geo-restriction and the concern of online privacy. VPN helps you to remain anonymous to perform online activities without any threat of hacking and data theft. However, many Windows users have risen concern over VPN not working with Windows 10.
Many VPN providers claim to be compatible with Windows and offer dedicated apps. However, sometimes it shows an issue connecting with Windows 10.
So, if you are having trouble connecting VPN with Windows 10 then try using the following methods:
1 – Use a Premium VPN Service
From thousands of VPN providers in the industry, it is hard to get the right provider that is compatible with your operating system. Many services claim to work with Windows 10 but fail to deliver the promise after the installation. The best way to fix this issue is by getting renowned and reliable VPN providers that offer a dedicated Windows app to install on your computer.
My top choice VPN providers for Windows 10 are:
- ExpressVPN
- NordVPN
- Surfshark
These VPN providers are not only compatible with Windows 10 but allow you to access any geo-restricted content online that you want to access, such as the ability to switch Netflix country and bypass firewalls of websites in unsupported countries.
Do not opt for free or unreliable VPN services to use on Windows 10, it will cause more trouble than providing any benefit.
2 – Reinstall/Upgrade Windows App
Mostly, the issue of Windows 10 VPN occurs when you install an update or upgrade your Windows i.e. from 8.1 to 10. If you are using a VPN app on a Windows device then it has probably become outdated after the Windows 10 update.
Therefore, the best option is to delete the VPN app and install the latest version of your VPN provider, it would probably fix your Windows 10 VPN issue.
3 – Change Time & Date
As per the instruction of major VPN providers, the system date and time could cause trouble in the functioning of a VPN. Sometimes the incorrect date and time in your system cause the VPN app to stop working.
Moreover, when you are connected with a VPN and try to access a location with a huge time difference that also causes trouble for a VPN. In that case, change your time to the location you want to connect with and then connect to the VPN server.
4 – Add VPN Profile Manually
Another way to fix the VPN compatibility issue with Windows 10 is by configuring VPN into the Windows profile manually.
Here is how you can create a VPN profile using Windows built-in feature:
- Click on the Windows icon on the left bottom and go to settings
- Select the “Network & Internet” option
- From the left sidebar, select “VPN”
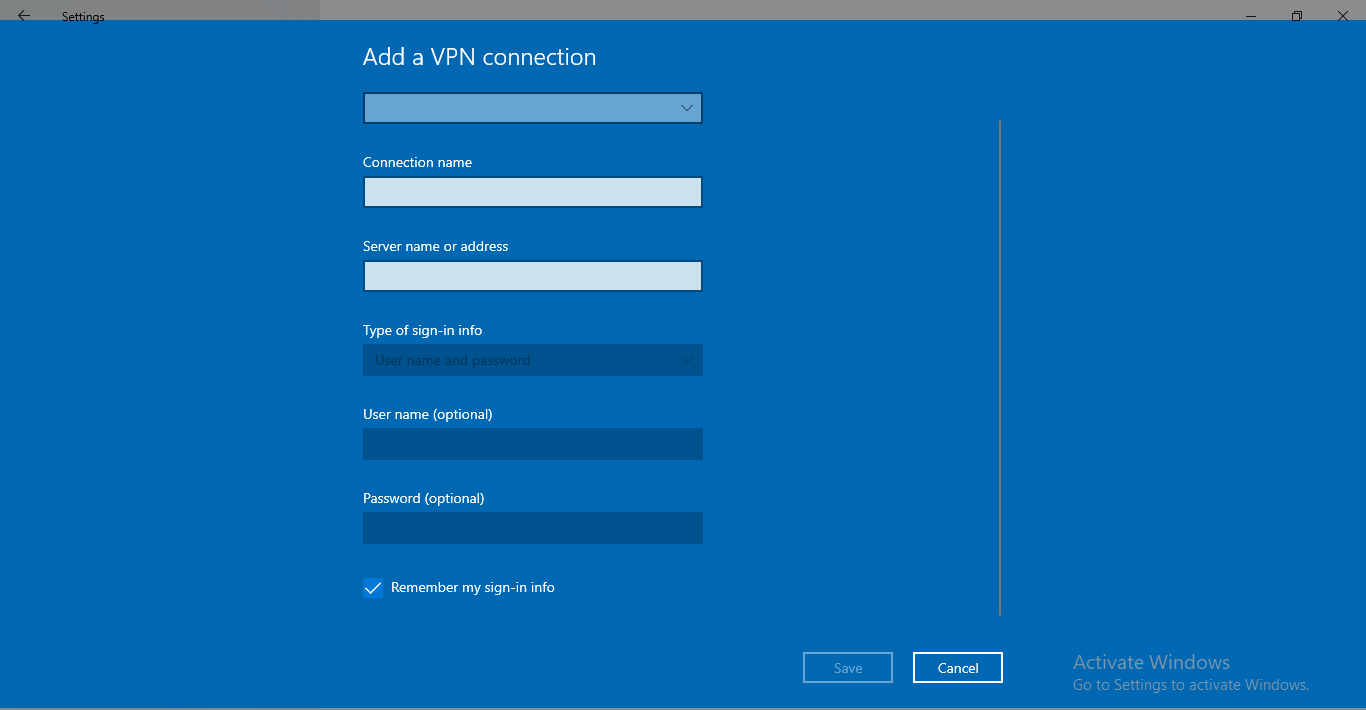
- Click “Add a VPN connection”
- Select VPN provider > Windows (built-in) > create your connection name
- Get server name or address from your VPN provider and fill it in “Server Name or Address” blank
- Select your preferred VPN type
- In the “Type of sign-in info” dropdown menu, select your sign in option i.e. username and password
- Lastly, clicks “save” to complete the VPN profile setup
After this setup, go to your VPN Windows app and sign-in with your credentials. Now, you would not find any issue with your VPN on Windows 10.
5 – Flush the DNS Entries from Device
The stored DNS entries from your ISP can cause trouble in VPN functioning on your Windows 10 device. Here is how you can flush DNS from your device:
- Go to the Windows search bar and type run or press “Windows Key + R” to open Run.
- Type “cmd” to open the command prompt
- Then, type this command “ipconfig/flushdns” and press Enter Key.
- You will see this notification:
“Successfully flushed the DNS Resolver Cache”
Now, reconnect VPN to protect your privacy on Windows 10 and perform your online activities anonymously.